Building
Welcome to Alpha Anywhere
After you register Alpha Anywhere, you are shown the Select Workspace dialog. Select Workspace has two tabs: Workspace & Tasks and News & Updates. News & Updates is where you will find details about new releases for Alpha Anywhere, upcoming webinars and events, and links to informative articles.
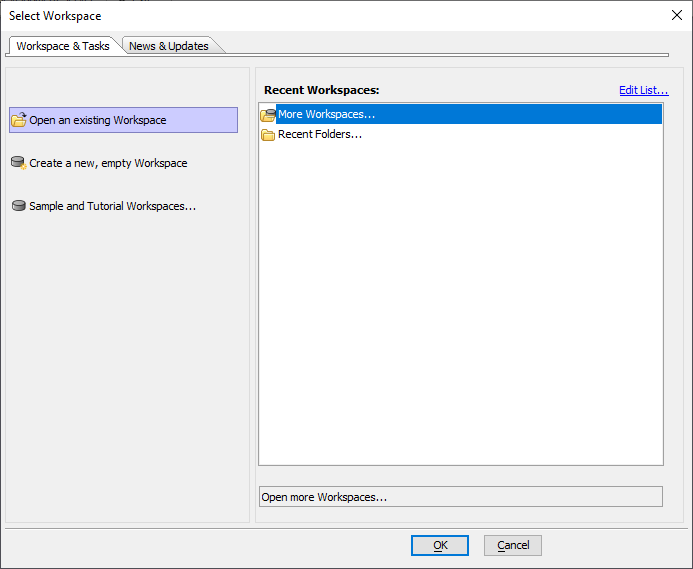
Workspace & Tasks is where you create a new or open an existing workspace. A workspace contains all the files your application needs, including components, JavaScript libraries, images, HTML pages, web pages, and style sheets.
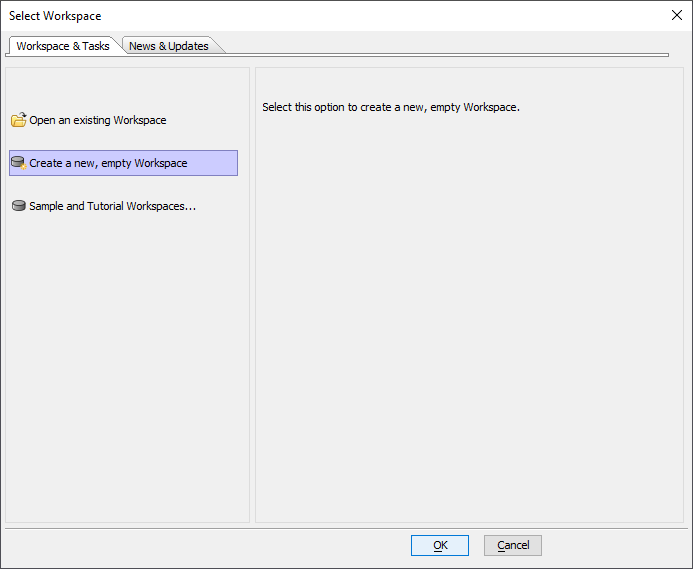
Since this is your first time launching Alpha Anywhere, you will need to create a new workspace before you can start building an application. New workspaces are created using the Create a new, empty Workspace option:
Select Create a new, empty Workspace and click OK.
 Create a new, empty Workspace
Enter a Workspace name. In this introductory tutorial, we will name the workspace "HelloWorld".
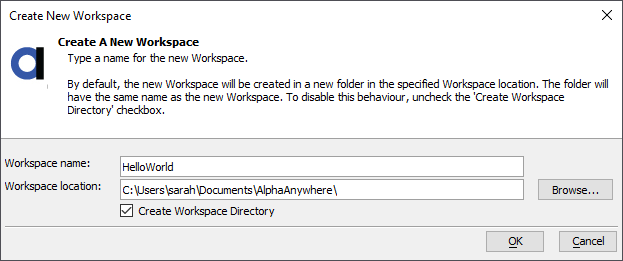
Workspaces by default are saved in the "AlphaAnywhere" directory in the User Documents folder. You can change this location if desired using the Browse... button.
Click OK to create the workspace.
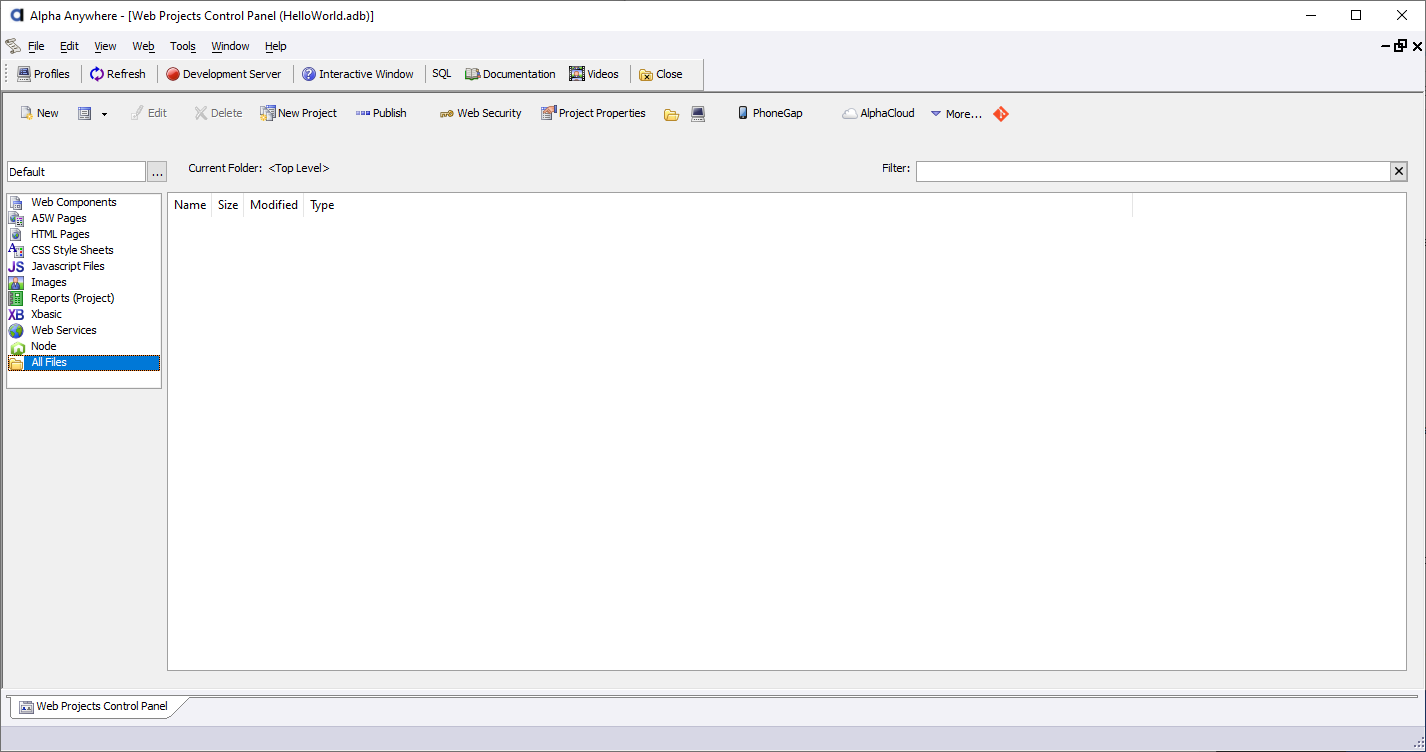
The Web Projects Control Panel
The Web Projects Control Panel is where you manage your web and mobile applications. Here, you can add files, manage security, and deploy.
Let's get familiar with how applications are built and create a simple application with a button that displays a message. To begin, we will need to create a new component. Components are the building blocks of Alpha Anywhere web and mobile applications. There are several different types of components. We'll focus on the UX component in this tutorial.
Select All Files on the Web Projects Control Panel to show all files in your project. Right now this will be blank because you have not added any files yet.
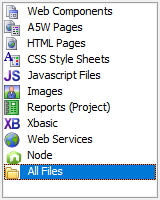 Show all files
The type of files you can create with the New button can be filtered. For example, if Javascript Files is selected, the New button creates a new JavaScript file. Selecting All Files lets you create any type of file.
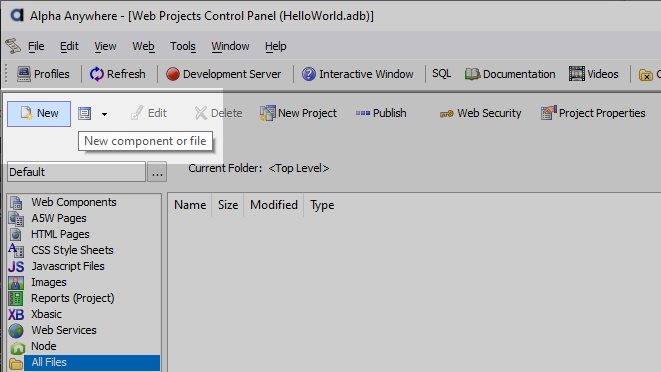
Click the New button.
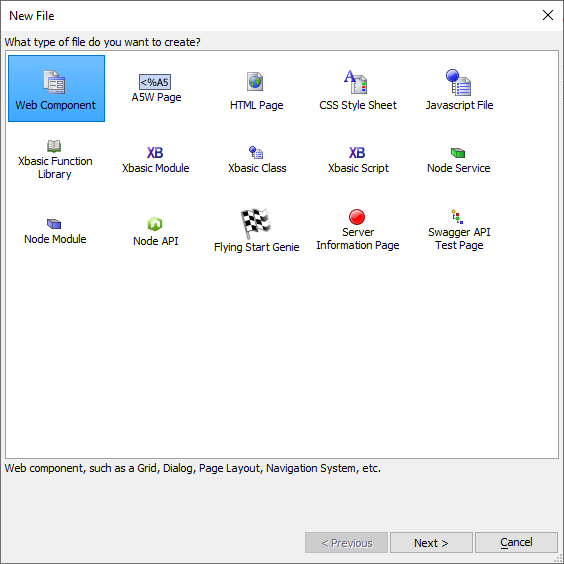
Select Web Component and click Next.
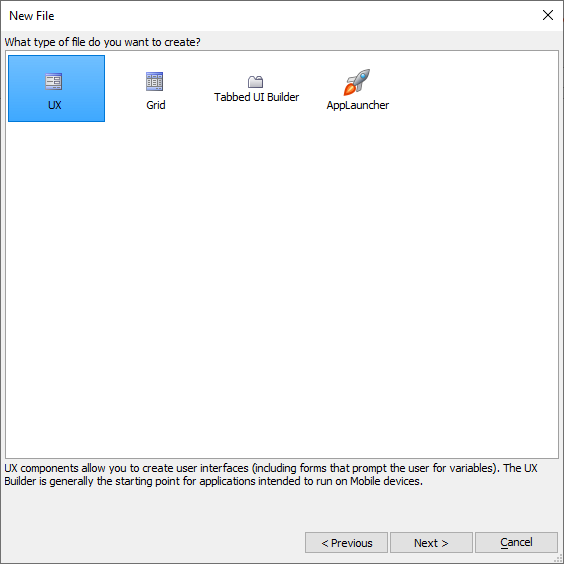
Select UX and click Next.
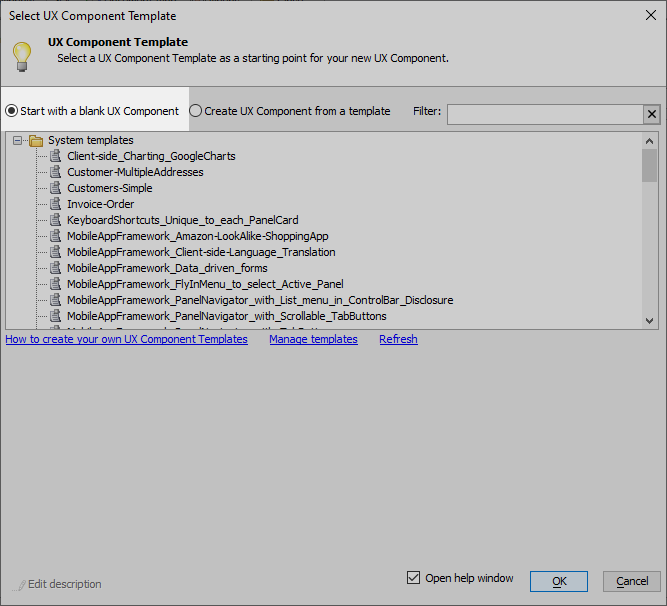
Make sure Start with a blank UX Component is selected and click OK.
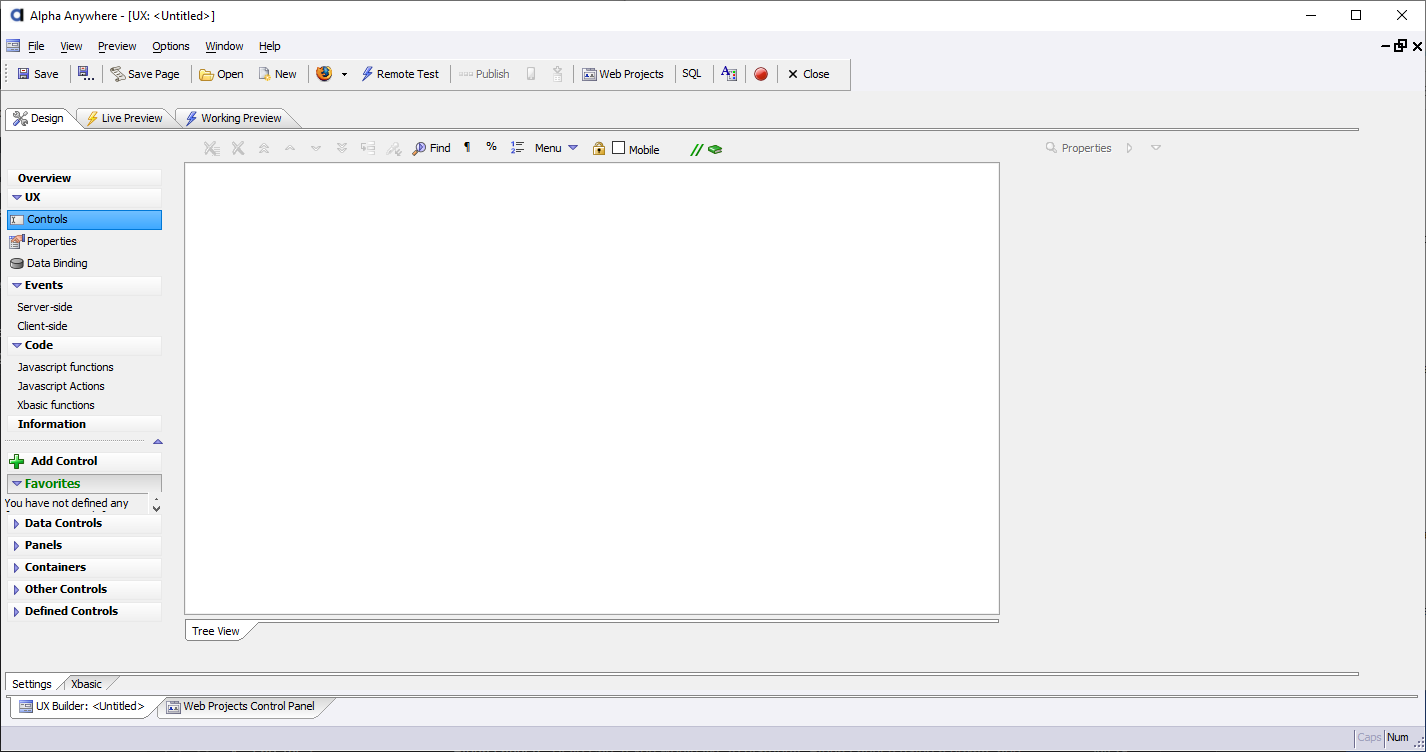
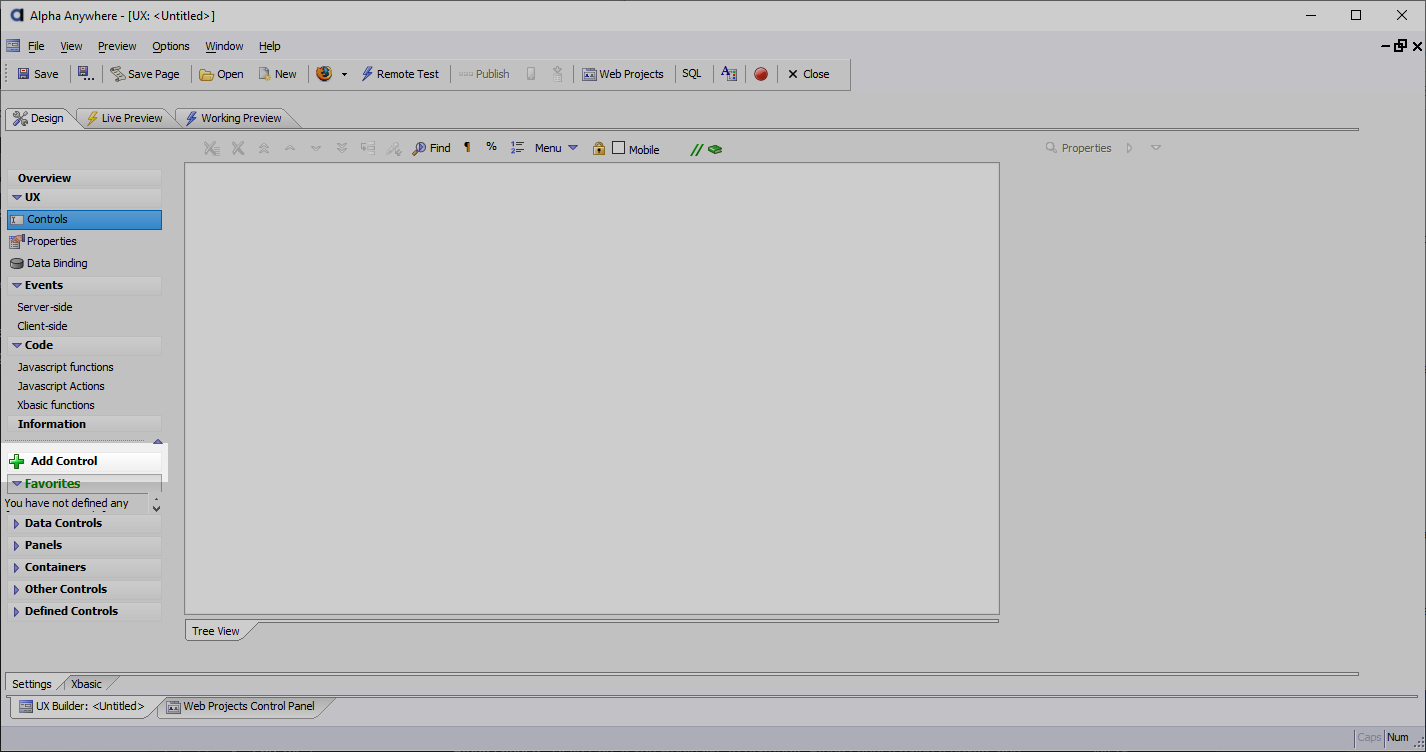
The UX Builder
The UX Builder is where you will do most of your development work. Here you add buttons, fields, and other controls and define how they will operate. The interface is divided into two sections. On the left is where you add controls. On the right is a tree representation of your application. This is currently blank because no controls have been added yet.
Let's add a button control to our app that will be used to display a message.
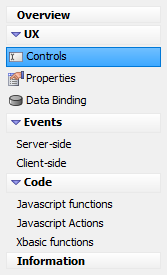
Open the Controls pane.
Click Add Control.
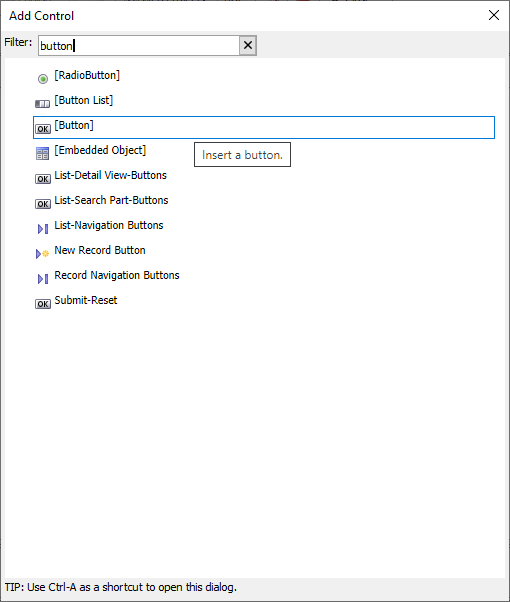
Select [Button] from the list to add a button. You can type "button" in the Filter box to filter the control list.
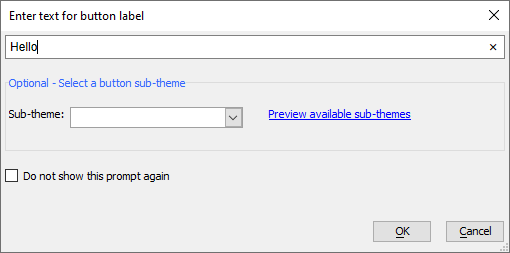
Enter "Hello" for the text for the button and click OK.
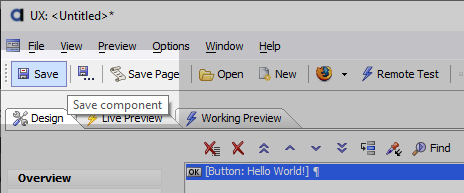
Save your Application
Now that we've added a control, let's save our work.
Click the Save button in the toolbar or select Save under the File menu.
Enter "helloWorld" in the File name box and click Save.

Add an Action to the Button to Display a Message
Next, we'll add an Action to button. The Action will display a message when the button is clicked.
Locate the button's click event (found in the Javascript - (Touch, Mouse, Pointer Events) section) and click the
 smart field button to open the event editor.
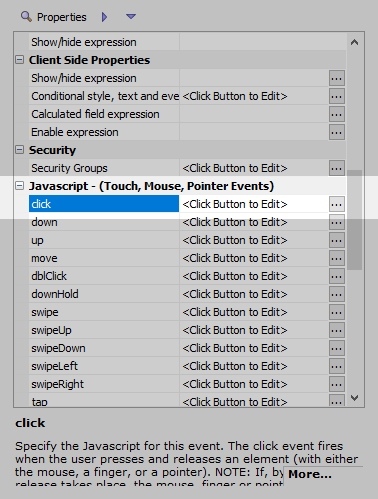
With Action Javascript selected, click Add New Action to open the Action Javascript picker.
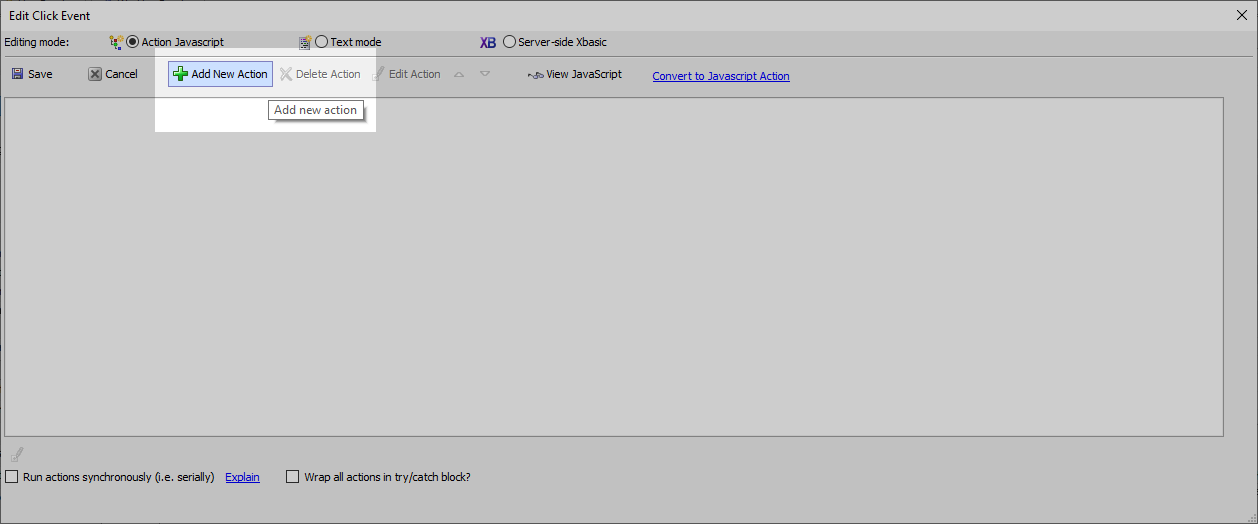
Actions are added to events in Alpha Anywhere using Action Javascript.
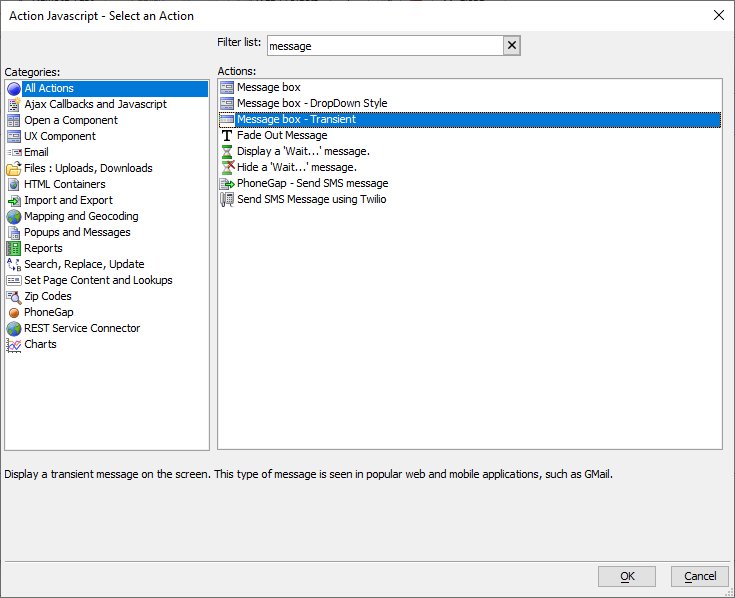
Select Message box - Transient in the Actions list and click OK. You can use Filter list to filter the actions.
Enter "Hello, world!" in the Message text property.
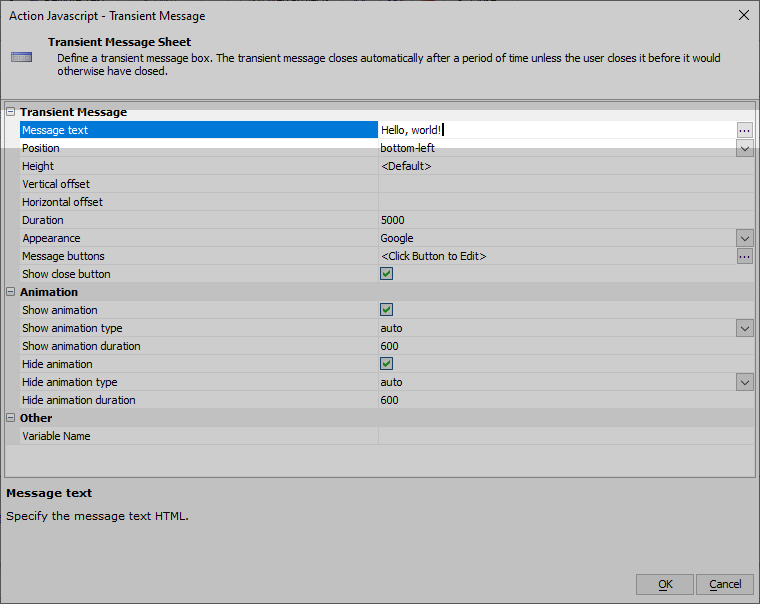
Change the Position to "center". This will display the message in the center of the screen.

Click OK to save the action.
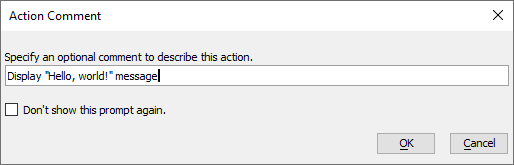
Enter an optional description of the action, i.e. "Display "Hello, world!" message".
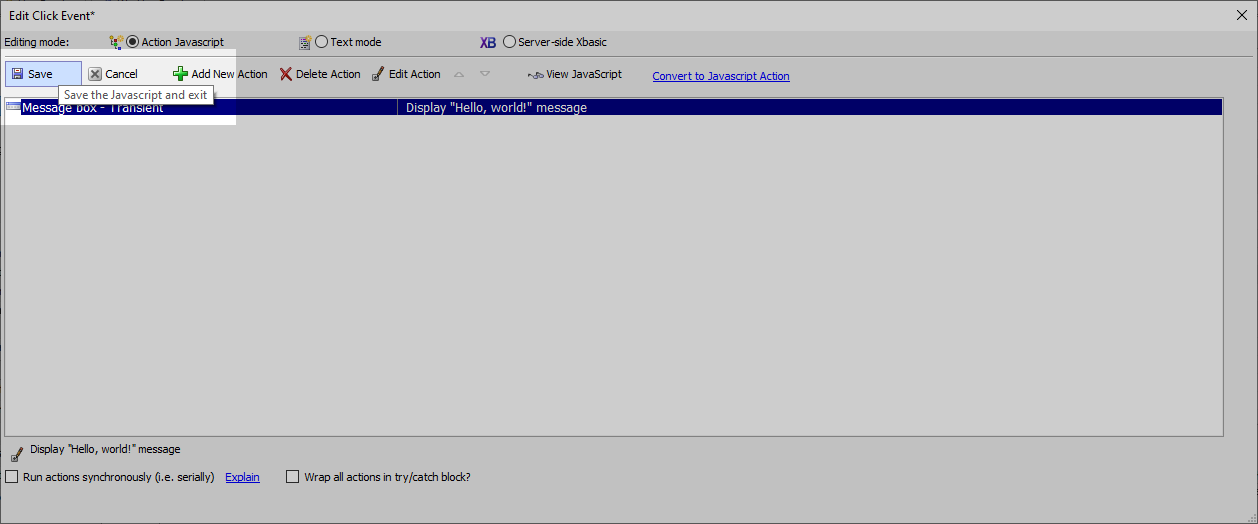
Click Save to save your changes to the event.
Save your work.
Now that the application is built, let's test it out.