Introduction
One of the benefits of using IIS as the web server for Alpha Anywhere applications is the provider architecture IIS uses. You can develop an application knowing that it can be deployed to different customers with only configuration changes. One area where this stands out is for authentication and authorization. IIS uses a membership provider for authenticating users and a role provider for authorizing users. One customer may need to use SqlServer for their security data and therefore need to use the SqlServerMembershipProvider and SqlServerRoleProvider. Another customer my need to use Oracle for their security data and therefore need to use the OracleMembershipProvider and OracleRoleProvider. Your application can use either with a configuration change. The following is a description of using an Oracle database for authenticating and authorizing users in an application by configuring a custom provider in Alpha Anywhere Developer Edition. The same high level steps are used for any other custom provider:
- Install database drivers for Alpha Anywhere Developer Edition and for IIS
- Install a schema for ASP.NET providers
- Create a publish profile that uses the chosen membership and role providers
- Publish to IIS
- Test Authentication and Authorization
- Custom provider configuration - Part 1
- Custom provider configuration - Part 2
- Custom provider configuration - Part 3
- Custom provider configuration - Part 4
Install database drivers for Alpha Anywhere Developer Edition and for IIS
The drivers have a pre-requisite of .NET 3.5 so make sure that is installed on the server and development machine. Install the 32-bit Oracle Data Access Components (ODAC) on the development machine and install both the 32-bit and 64-bit ODAC on the IIS server machine. The 64-bit ODAC is needed on the server machine so that you can manage users and roles with the IIS Manager ".NET Users" and ".NET Roles" feature.
For the purpose of these instructions I am running IIS and the Alpha Anywhere Developer Edition on the same machine so I installed the 32-bit and 64-bit ODAC on that machine. I chose to use the "xcopy" installers using ODAC121021Xcopy_x64.zip and ODAC121021Xcopy_32bit.zip. I unzipped the 32bit.zip file into a "x32" folder and the 64bit.zip into an "x64" folder. Following the instructions in the readme.htm in the zip file(s) I installed with the following command lines:
in the x32 folder:
install.bat all c:\oracle-32 odac-32
in the x64 folder:
install.bat all c:\oracle-64 odac-64
I then added c:\oracle-32;c:\oracle-32\bin;c:\oracle-64;c:\oracle-64\bin; to the beginning of my system PATH and rebooted my machine to make sure everything will have that in its path.
Install a schema for ASP.NET providers
Follow the instructions for Database Server Setup in the Oracle Providers for ASP.NET Installation document to initialize a schema the Oracle providers will use. You at least need schema for the Oracle Membership Provider and the Oracle Role Provider. I set up all the providers using the InstallAllORacleASPNETProviders.sql script.
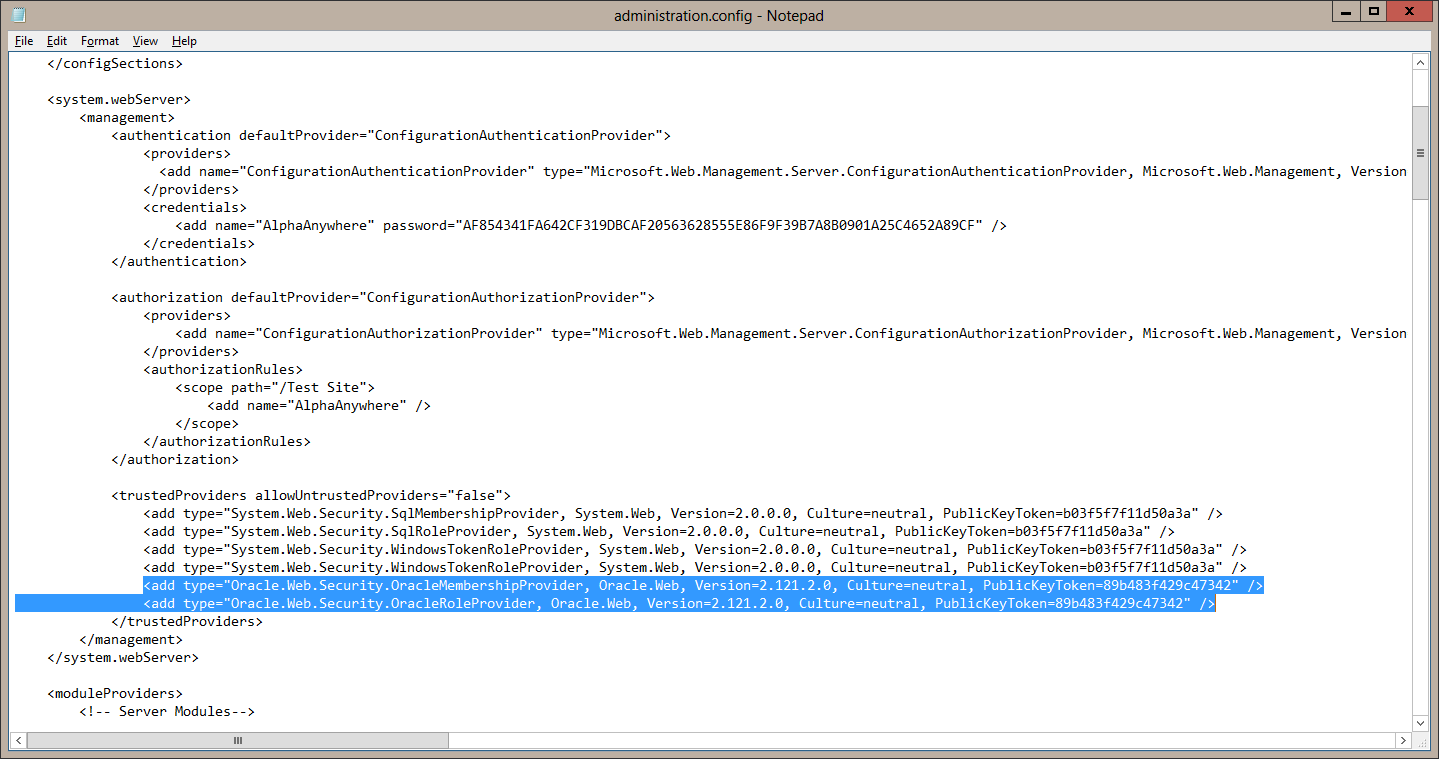
The last piece of configuration that you need to do is to allow IIS to use the Oracle providers. This is done by adding the Oracle providers as "Trusted Provider" in IIS. This must be done by editing the C:\Windows\System32\inetsrv\config\administration.config file. You will need to do this from an editor "Run as Administrator" or from an editor started from an administrator command prompt. Edit the file and add the following 2 lines to the "trustedProviders" section:
<add type="Oracle.Web.Security.OracleMembershipProvider, Oracle.Web, Version=2.121.2.0, Culture=neutral, PublicKeyToken=89b483f429c47342" />
<add type="Oracle.Web.Security.OracleRoleProvider, Oracle.Web, Version=2.121.2.0, Culture=neutral, PublicKeyToken=89b483f429c47342" />
The client and server are now setup to select and use Oracle membership and role providers.
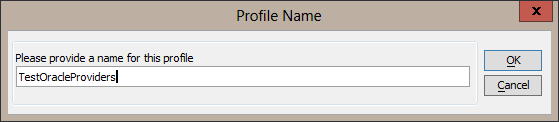
Create a publish profile that uses the chosen membership and role providers
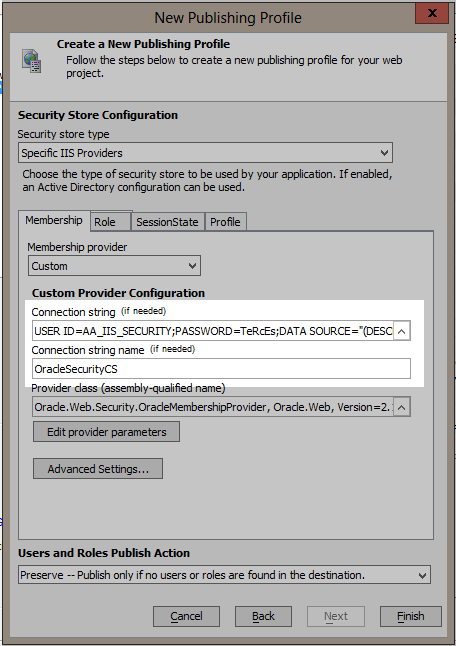
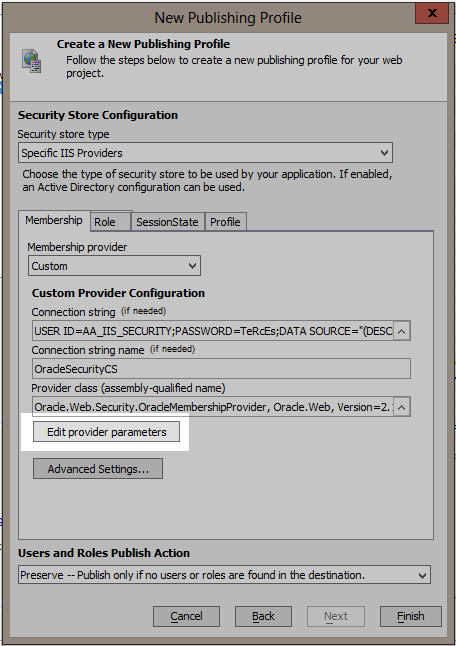
Create a new publish profile for IIS. When you get to the Security Store Configuration page change the Membership source to "Custom".
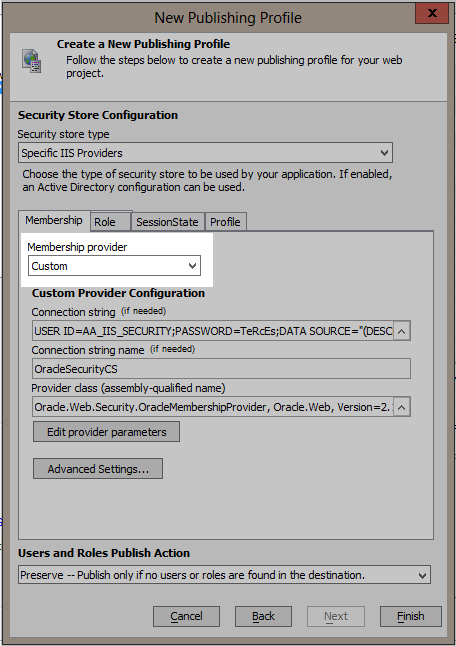
Create a connection string your Oracle database and give the connection string a name.
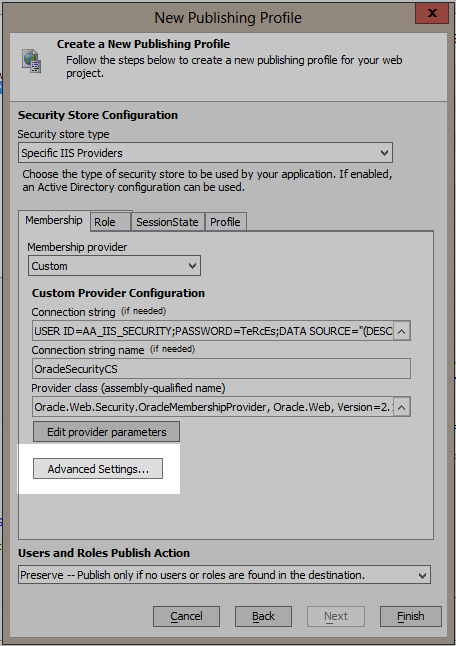
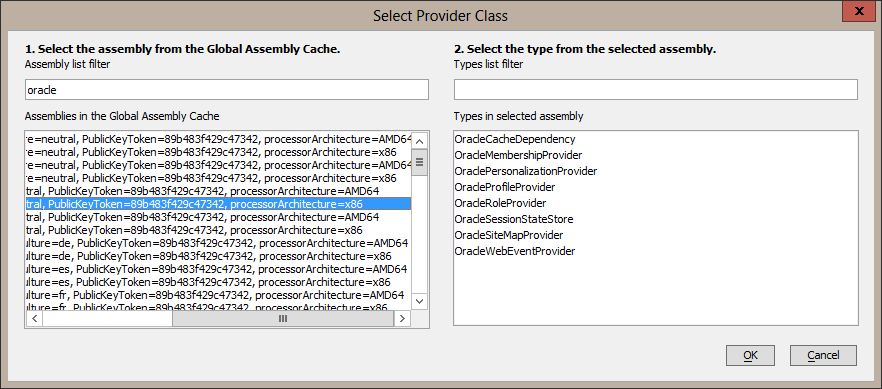
Now select the Oracle membership provider class by clicking on the smart button on the right of the Provider class edit box. The dialog may take a few seconds to display because it is loading all the class names available in the GAC. Enter "Oracle" in the Assembly list filter prompt and then select the Oracle.Web Version 2.121.2.0 assembly. Be sure to select the one with processorArchitecture set to x86. This is required so that the IDE will be able to load the types from the assembly.
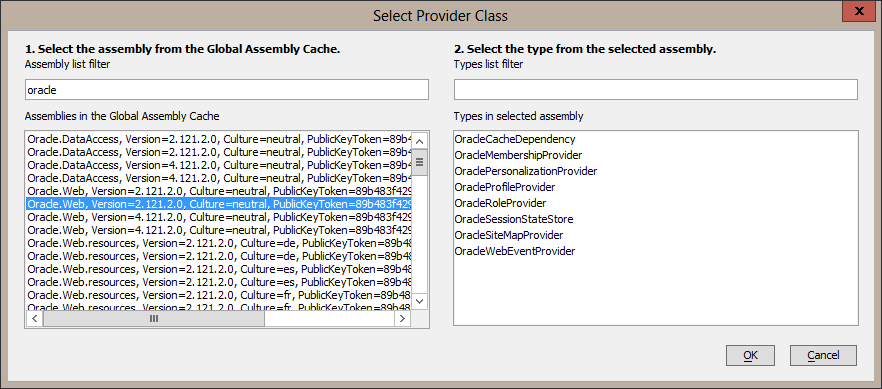
Select the OracleMembershipProvider type in the right hand list and then select OK. The provider class assembly-qualified name will be set.

Now click on the "Edit provider parameters" button to set the provider's parameters.
A grid will display with the available parameters for the OracleMembershipProvider.
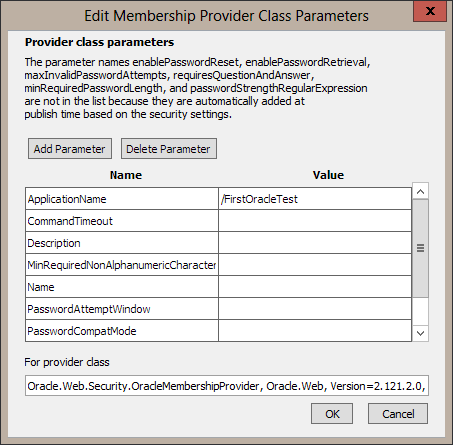
Note the message in the dialog that not every available parameter is listed because some are automatically set at publish time from the security settings.
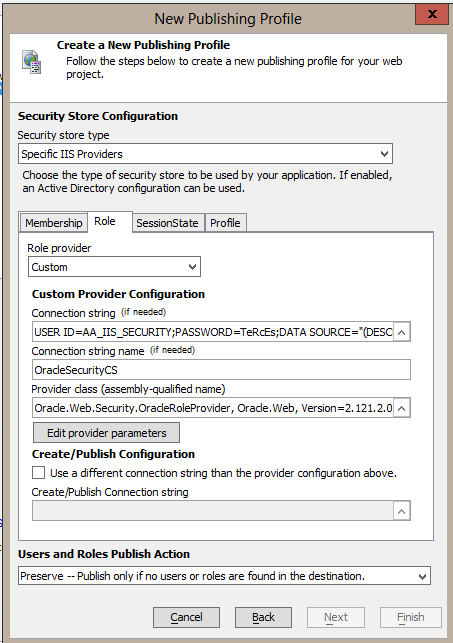
Now repeat these steps for the Role tab. Change the Role source to Custom. Enter the connection string to the database. This time choose the OracleRoleProvider class and be sure to set it's ApplicationName parameter to the same as used for the Membership provider.
I will use the Local State Server for SessionState in this example. To use Oracle for storing the session state, follow the same steps again for setting the SessionState State server source to Custom, selecting the OracleSessionStateStore for the provider class, and setting any needed parameters.

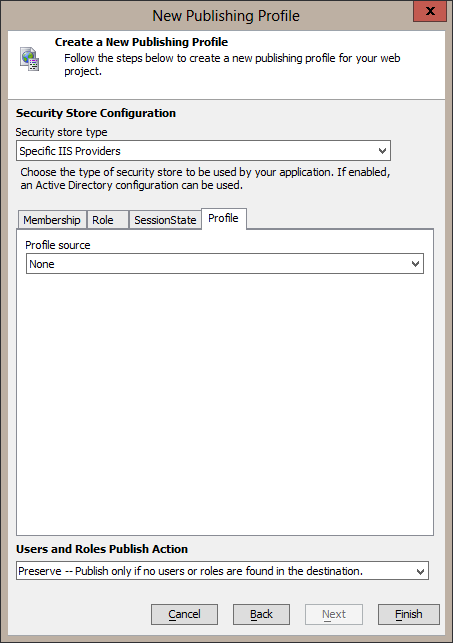
Finally, select None for the Profile source on the Profile tab.
Save the settings by clicking on the Finish button.
Now you can publish your application to IIS and have it use Oracle for authentication and authorization.
Publish to IIS
When you publish to IIS and your application has security data there is a publish option to publish users and roles. Since I have just created a new schema that does not have any users or roles in it I want to add the users and roles defined in my security settings to the Oracle database. I choose the "Preserve" option which will check to see if any users and roles exist. If at least one of either users or roles exist no security data is published. There are other options to merge, replace, or ignore depending on your situation.
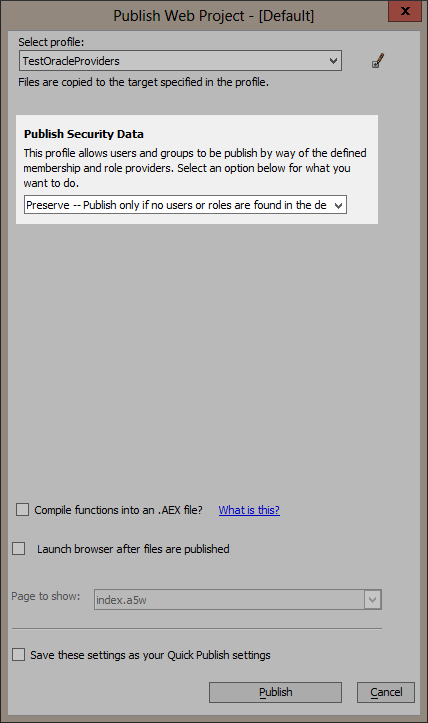
Now when I publish, the users and roles will be added to the Oracle database before my application is added to IIS.
Test Authentication and Authorization
Run your application and log in.
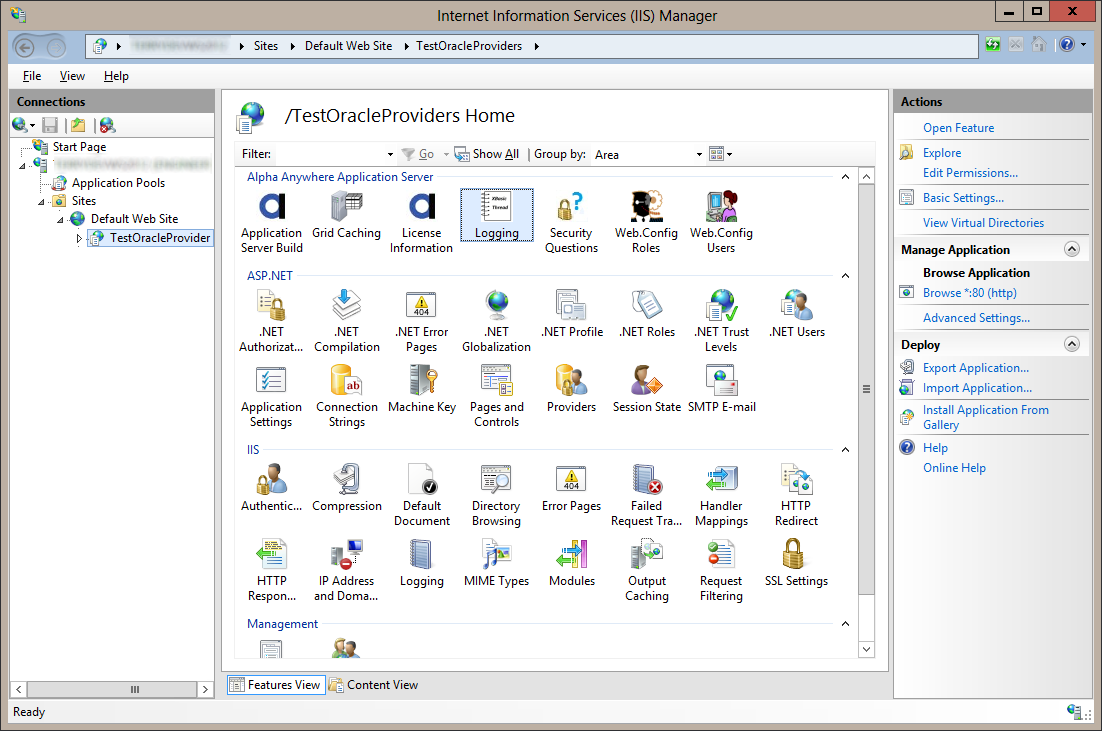
Login error details will be stored in the Trace_AuthenticationFailure.log file in the logging path. The logging path can be seen from Alpha Anywhere Application Server "Logging" feature in IIS Manager.