Importing the Northwind Access Database into SQL Server
Description
A step-by-step tutorial for importing the Northwind Access Database into SQL Server.
Discussion
The Northwind database is a Microsoft Access database that ships with Alpha Anywhere. In order to perform CRUD (Create, Read, Update, Delete) operations on the Northwind Access database, the database must be copied to a directory where you have read/write access or converted to another database format. The Northwind Access database can be found inside the MDBFiles directory in your Alpha Anywhere installation. Your Alpha Anywhere install is typically located at C:\Program Files (x86)\a5v12. In this tutorial, you will learn how to convert the Northwind Access database to a SQL Server database.
Open SQL Server Management Studio. Right-click on "Databases" and select New Database... from the context menu.
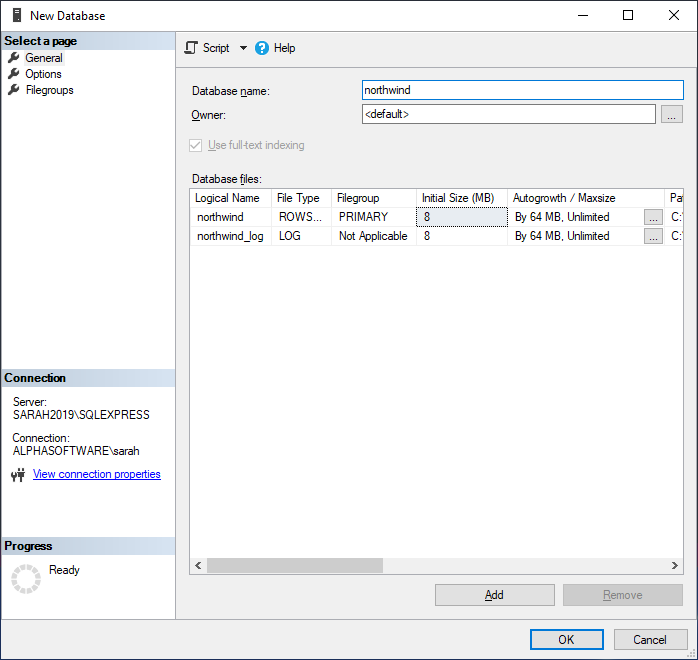
 Create a New Database...
In the Database name field, type in "northwind" and click OK
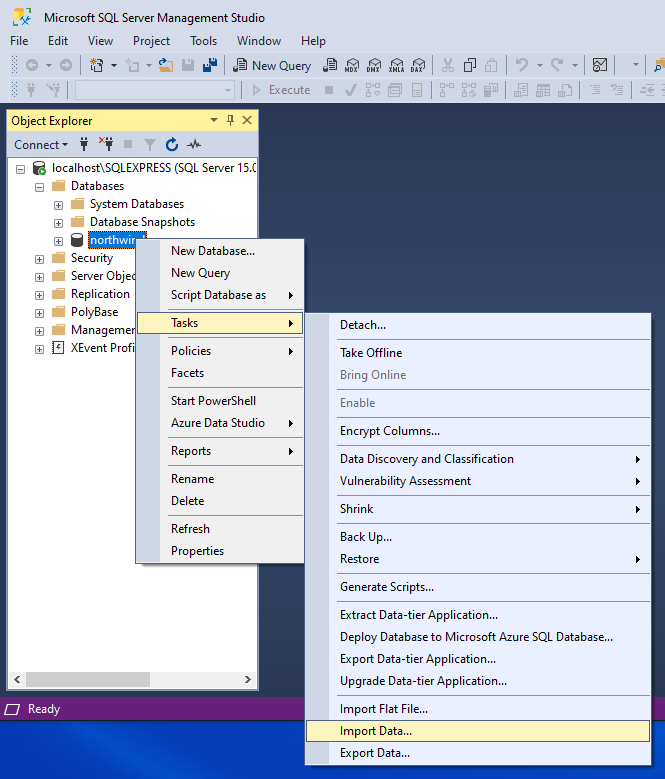
Right-click on the northwind database in the Object Explorer and select Tasks then Import Data....
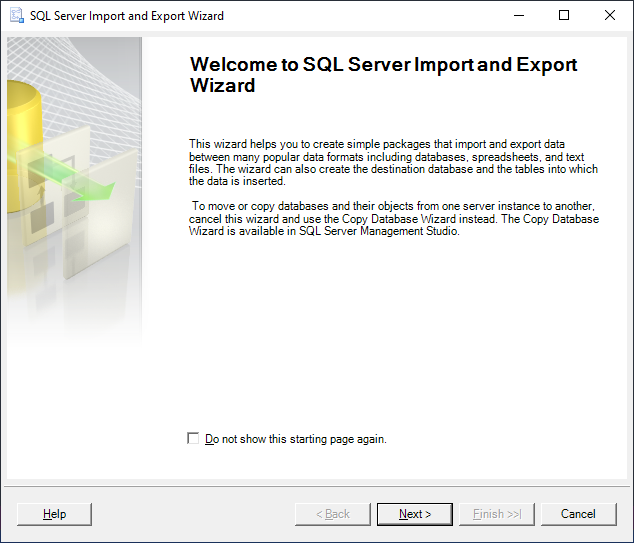
Click Next to start the SQL Server Import and Export Wizard.
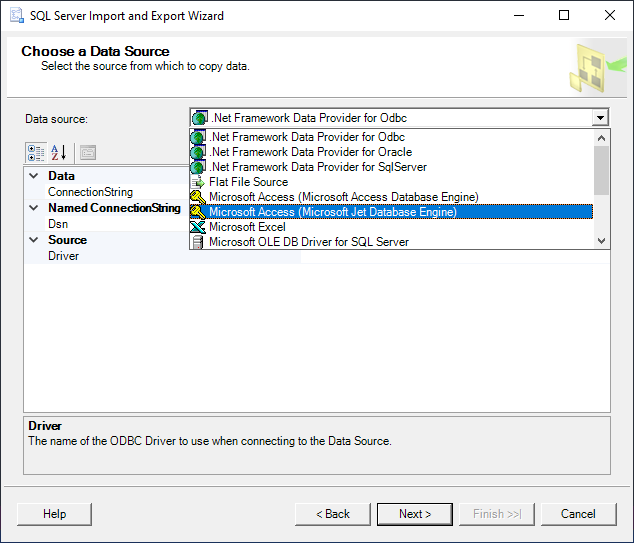
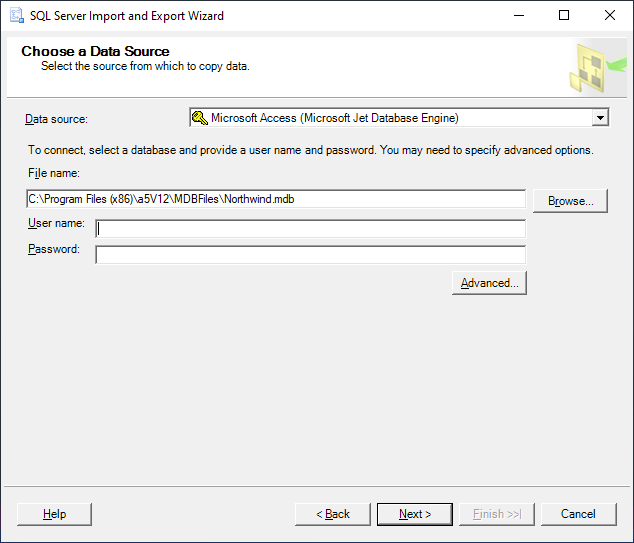
On Choose a Data Source, select Microsoft Access from the dropdown menu. If you have multiple Microsoft Access options, choose "Microsoft Access (Microsoft Access Database Engine)", if available.
Click Browse for File name: and navigate to the MDBFiles directory in the installation directory for Alpha Anywhere. Alpha Anywhere is typically installed in the C:\Program Files (x86)\a5v12 directory. Select the Northwind.mdb file and click Open.

Click Next > to proceed to the next step.
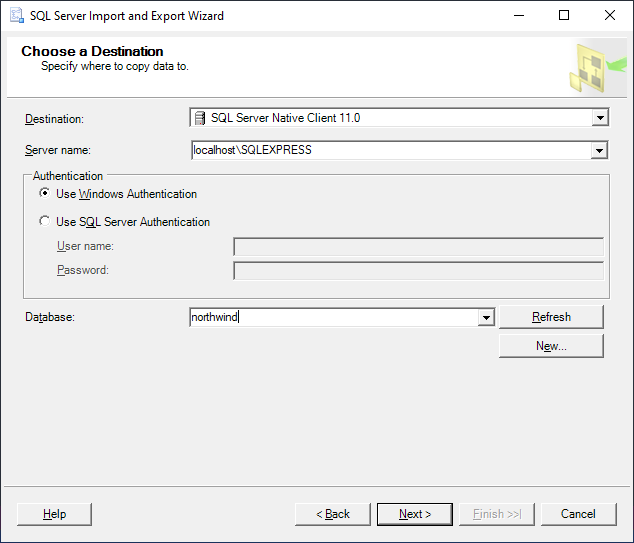
On the Choose a Destination page, select SQL Server Native Client 11.0 for Destination and northwind for Database. Click Next >.
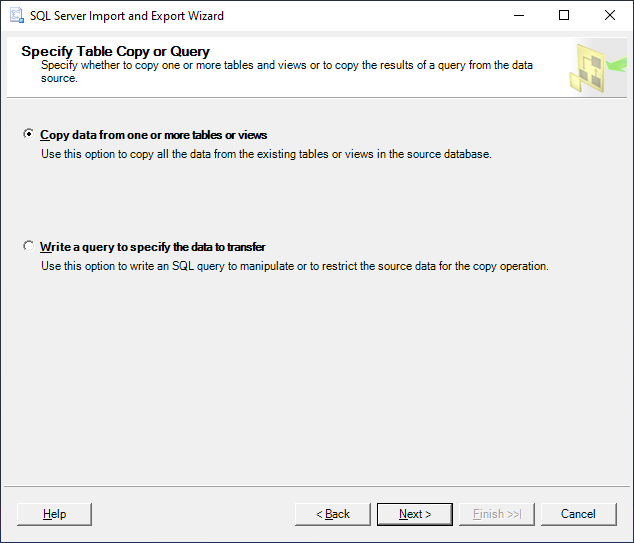
On Specify Table Copy or Query, select Copy data from one or more tables or views and click Next >.
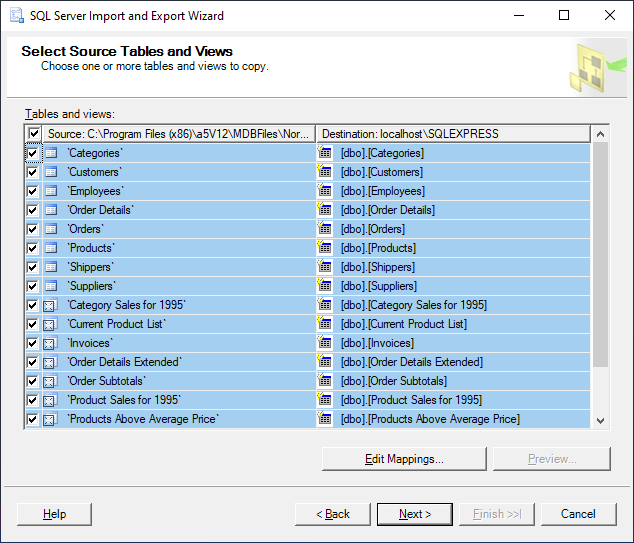
On Select Source Tables and Views, select all of the tables and views. Click Next >.
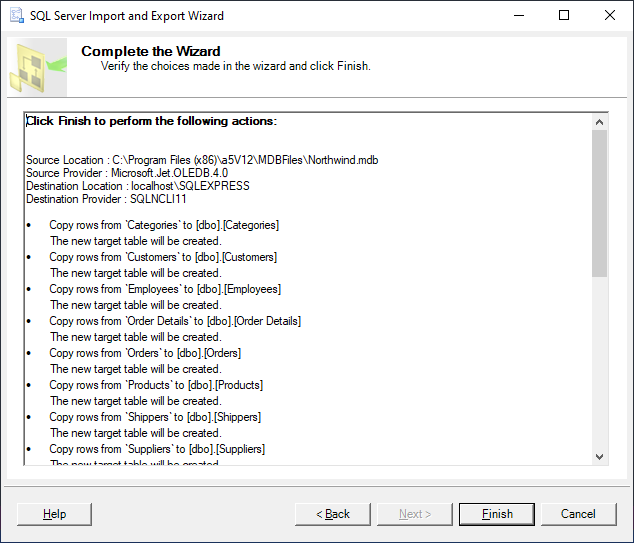
Click Next > until you reach the Complete the Wizard tab. Click Finish.
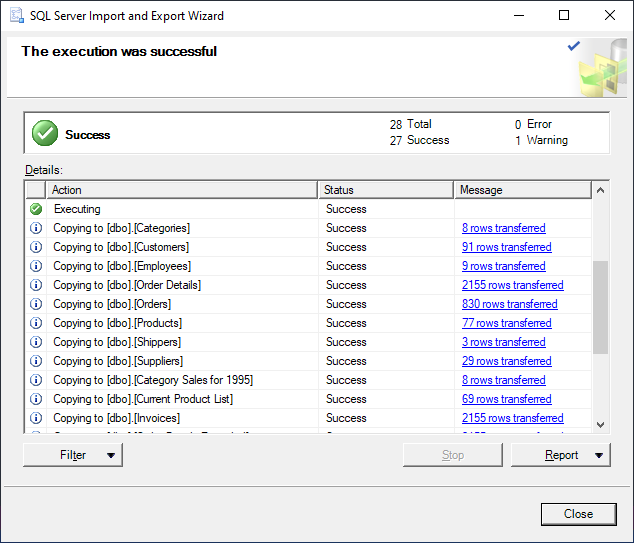
When execution completes, click the Close button.
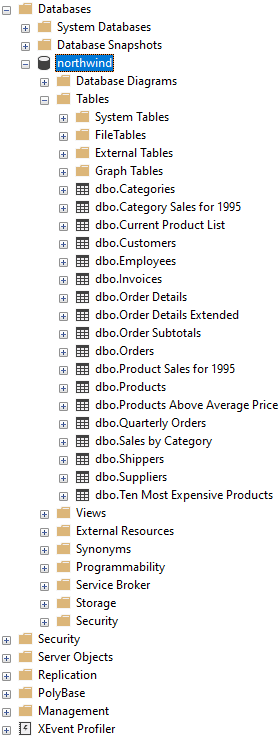
You should see a list of tables in the northwind database. The Northwind database is now imported into SQL Server.
Build a SQL Server Connection String
Now that the Northwind database has been imported into SQL Server, the next step is to create a Connection String to the database.
From the Web Projects Control Panel, select [ManageConnStr] Manage Connection Strings > Alpha DAO Connection strings from the Edit menu to create a new connection string.
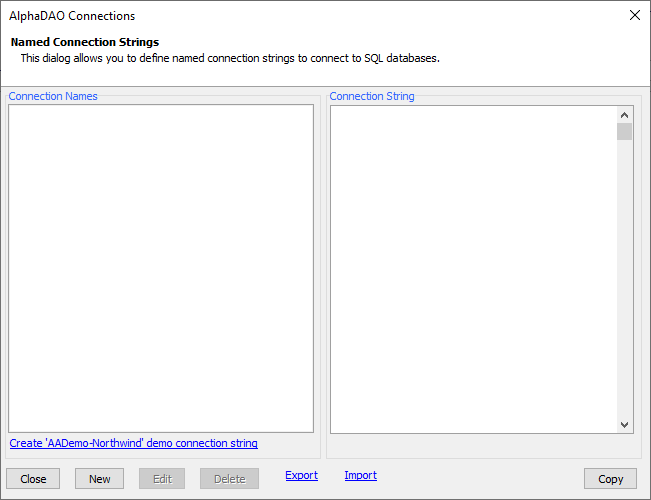
 Open the AlphaDAO Connections dialog.
Click the New button to create a new connection string.
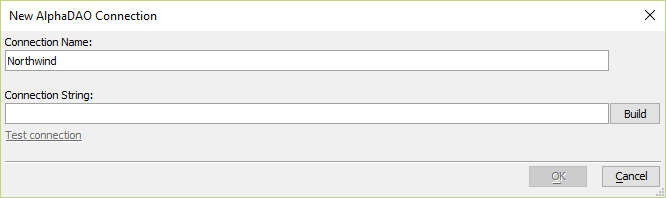
 The AlphaDAO Connections Dialog.
Type in "Northwind" for the Connection Name and click the Build button to construct the Connection String.
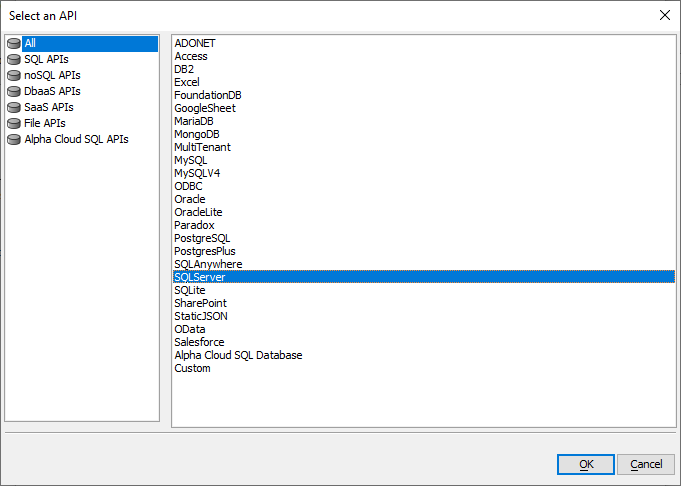
 Creating a new connection to the Northwind SQL Server database.
Select SQLServer from the list of options in the Select an API window and click OK.
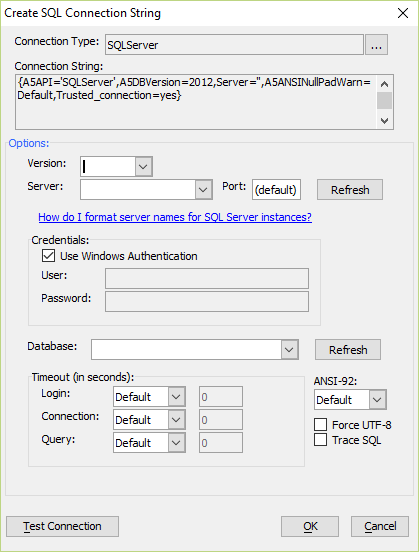
 Set the Connection Type to SQLServer.
Enter the Version, Server name, Port, and Credentials information for your SQL Server instance.
Server names should be in the form server\instanceName. If you omit the instance name, the default instance is assumed.
You can click the How do I format server names for SQL Server instances? link to open the help popup (shown below) to find more information on the server name.
 Configuration options for SQL Server.
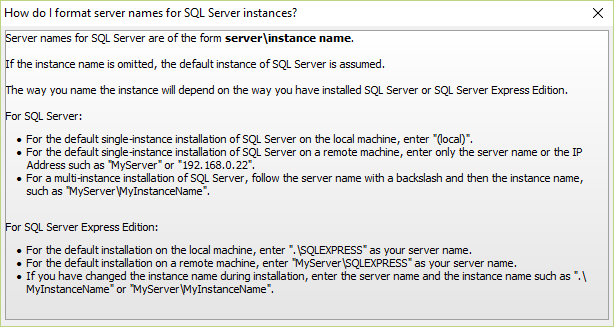 Help popup for "How do I format server names for SQL Server instances?"
Test the connection by clicking the Test Connection button. You should see a success message. If you receive an error message, verify the Version, Server, Port and Credentials are correct.
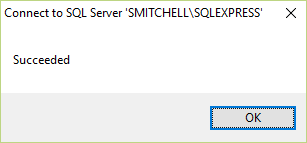 Success! The SQL Server connection works.
Click the Refresh button to populate the Database dropdown box. Select the Northwind SQL Server database you created from the list of options. Click OK to create the SQL Server connection string.
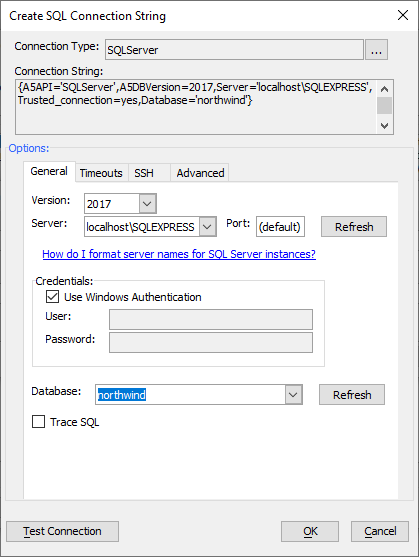 Configuring SQL Server connection string. This is image shows a configuration for connecting to a SQL Server Express instance. The Northwind database in this SQL Server instance is named "northwind".
Click OK to save the new Northwind connection string.
 Click OK to save the Northwind connection string.
Click the Close button to exit the AlphaDAO Connections dialog. You can now build a mobile or web application that communicates with the Northwind SQL Server database. Click here for a list of tutorials that use the Northwind database.
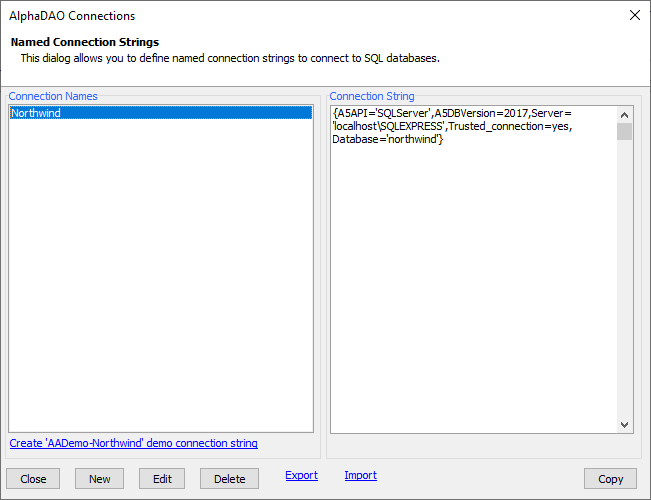 The Northwind AlphaDAO connection string for SQL Server.
See Also