IIS Getting Started Guide
Description
A guide to getting started with the Alpha Anywhere Application Server for IIS.
Alpha Anywhere Application Server for IIS Getting Started Guide
Preface
This document is one of a group of documents on using the Alpha Anywhere Application Server for IIS. The documents are:
Notes on Deprecated Features
Alpha Five Version 11 introduced changes that removed, deprecated, or added features for coding a web application. The Server Programming Changes for Version 11 document lists these changes. These changes were made so a web application can run under the stand-alone web application server and the IIS application server without needing to be modified. Review the linked document for changes you may need to make to your web application so that it will run under IIS. Here is a link to documentation for the Context object that is referred to in the Server Programming Changes for Version 11 document.
Overview
The Publishing - A More Typical Web Application instructions use the Application Server Demosample workspace to demonstrate publishing to an IIS server. Alpha Anywhere supports direct publishing. Direct publishing means Alpha Anywhere will connect directly to an IIS server. Refer to the Alpha Anywhere Application Server for IIS Installation Guide for details on the requirements for direct publishing.
Please forward questions, comments, and other feedback to [email protected].
Publishing - Simple Web Site
These instructions are a guide for publishing a one page web site without security in order to verify publishing to IIS is configured correctly.
Create a new, empty workspace named IISHello.
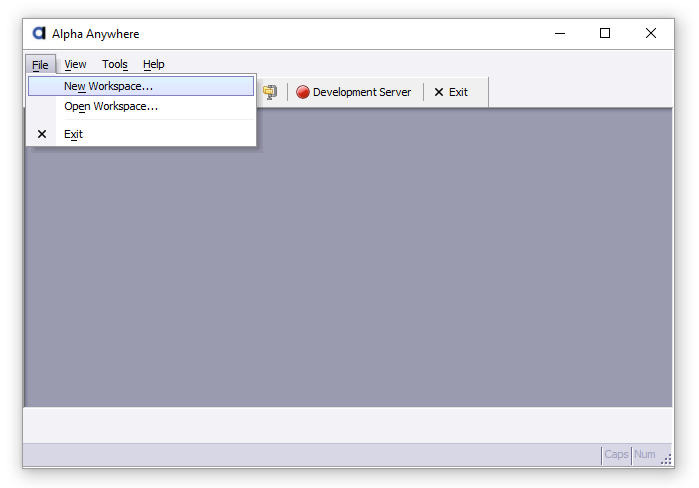 Create new workspace.
Create a new, blank a5w page.
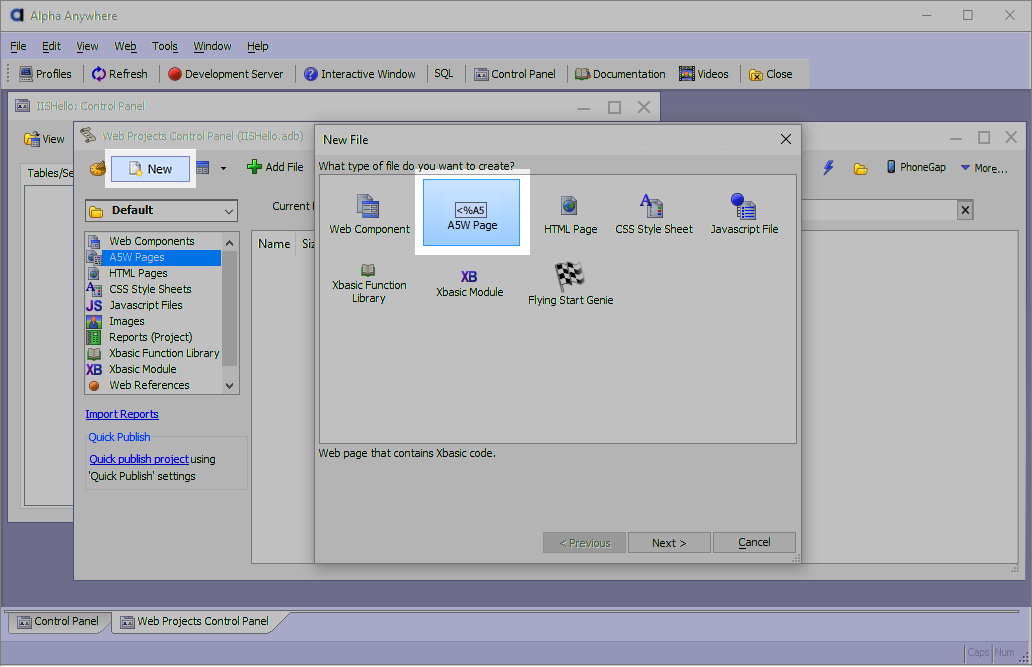 Create new a5w page.
Type Hello from IIS! in to the a5w page and then save as hello.a5w.
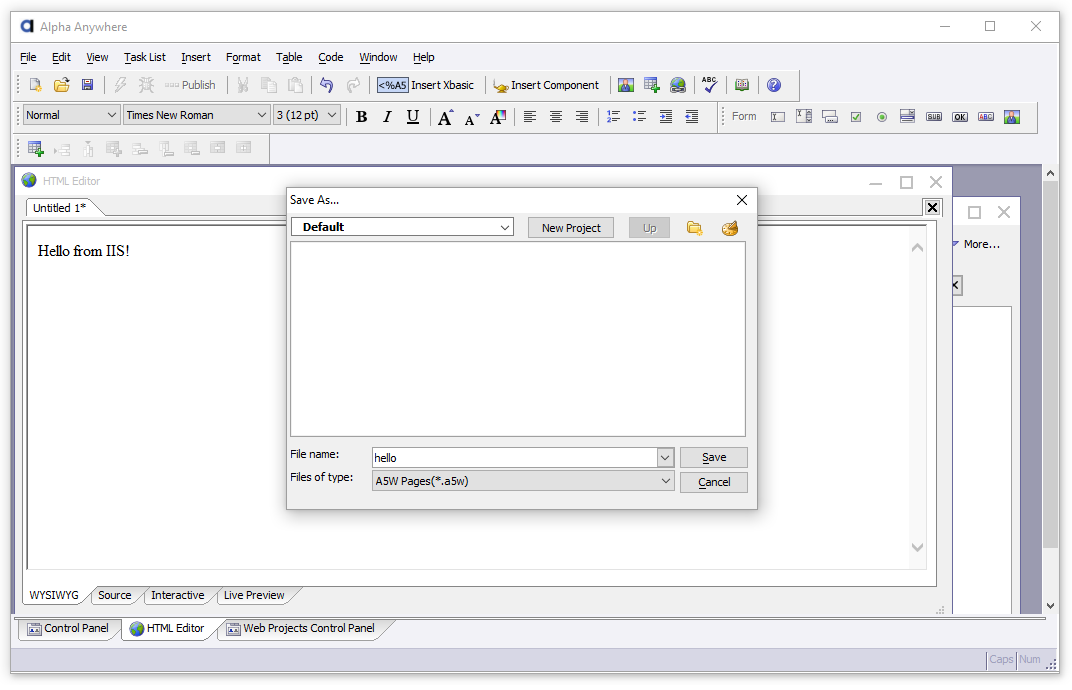 Save hello.a5w page.
Close editing hello.a5w and then click on the "Project Properties" button
 on the Web Projects Control Panel to set the default page.
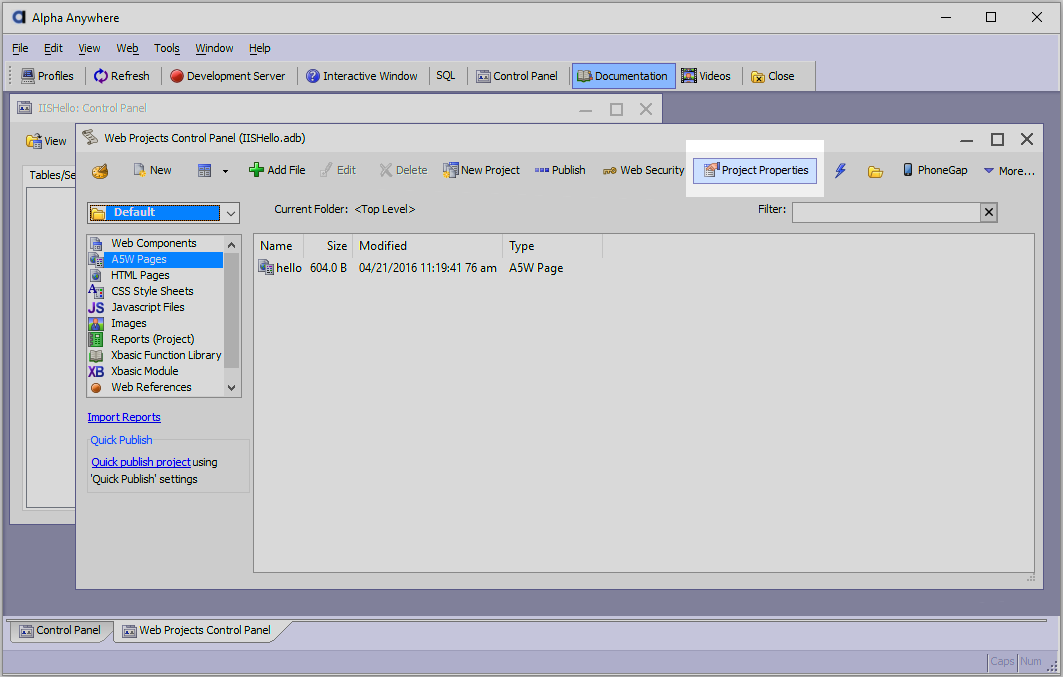 Project properties button.
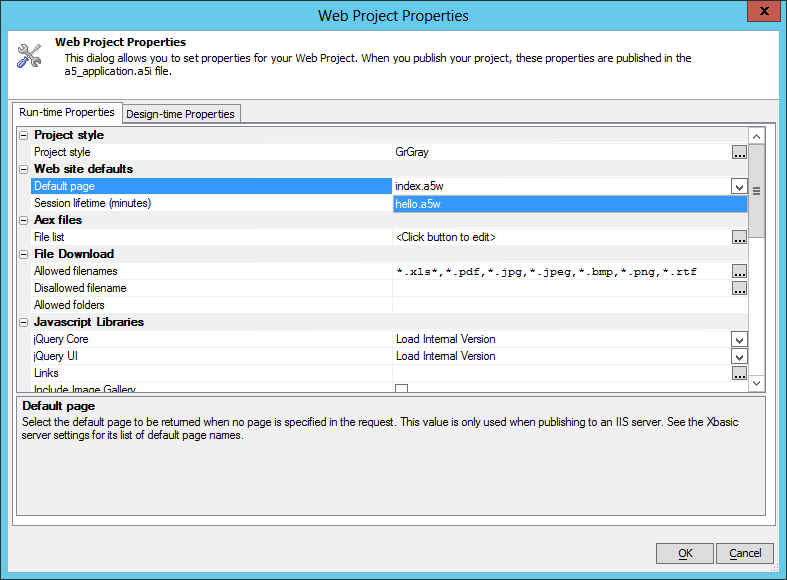 Set default page.
Click on the "Profiles" button
 on the main toolbar to show the publish profiles and then click on the "Add New Profile" button to create a new publish profile.
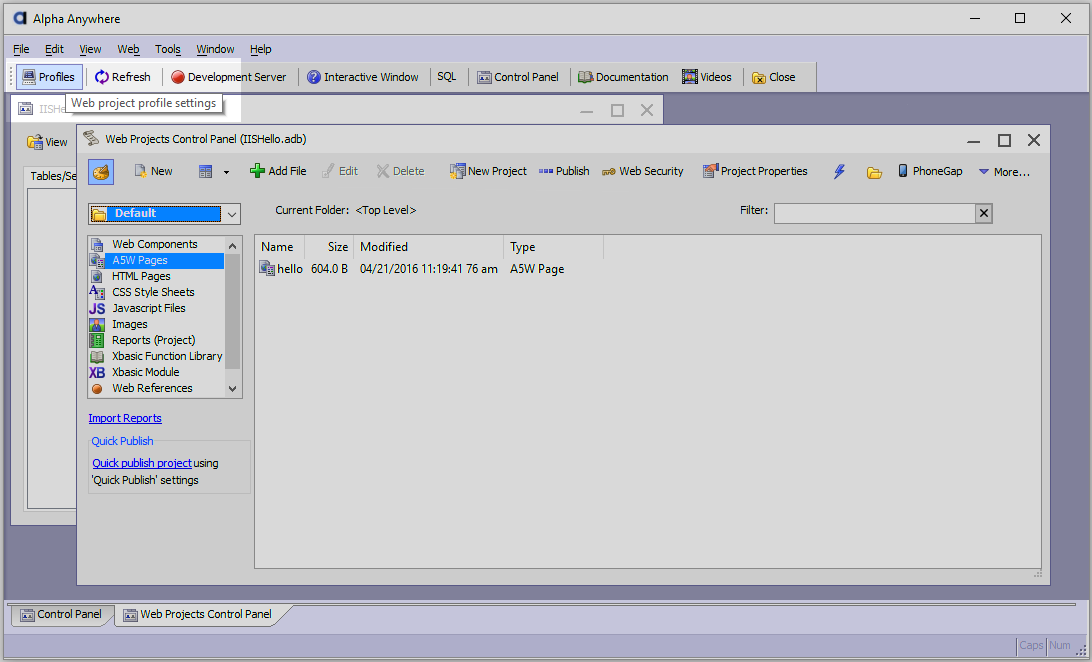 Profiles button.
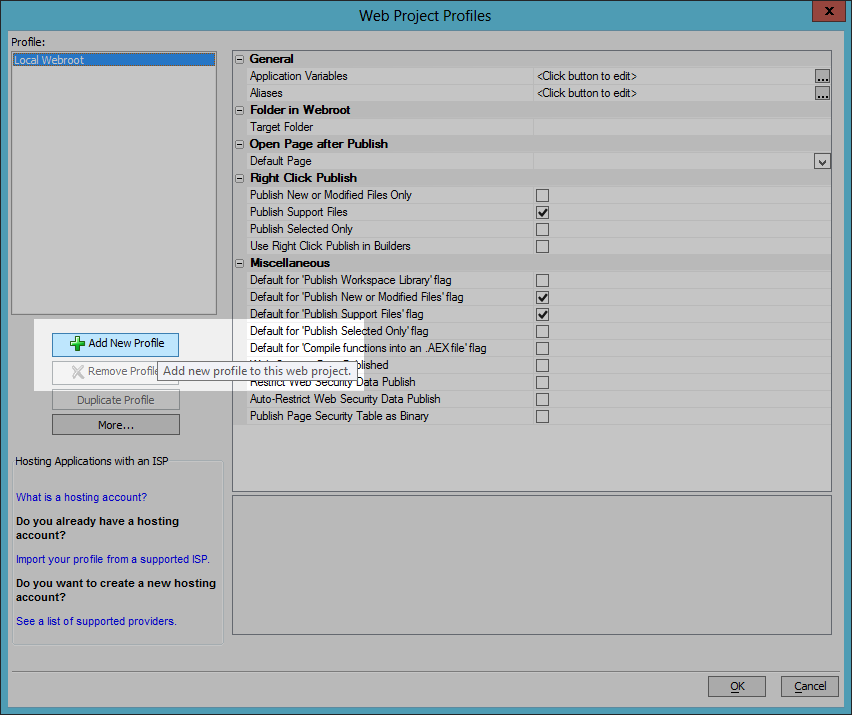 Add new profile.
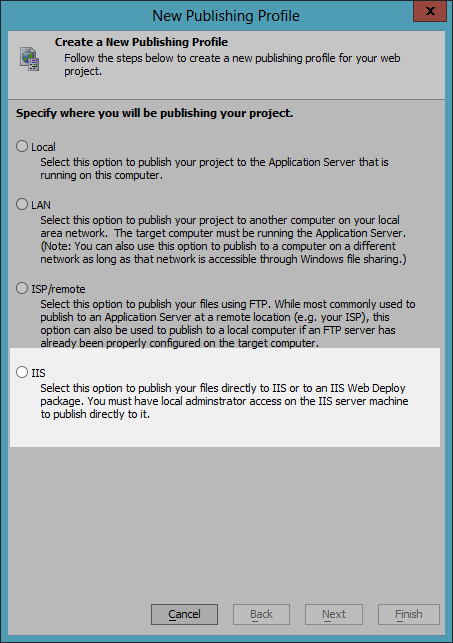
Select "IIS" to create a publish profile for publishing to IIS.
 Create IIS publish profile.
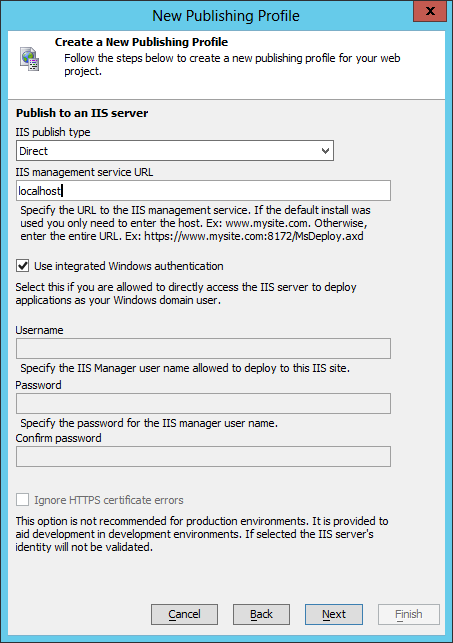
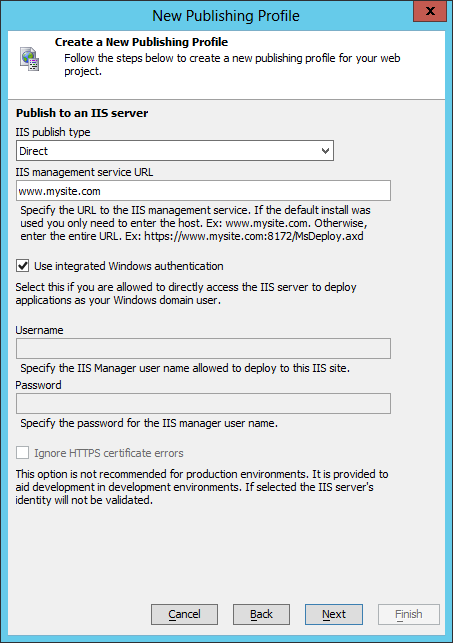
For this guide it is assumed that IIS is located on the same machine as Alpha Anywhere Developer Edition so the IIS management service URL is "localhost". If your IIS server is on a different machine enter that machine's host name or IP address. Since publishing is being done to localhost, integrated Windows authentication can be used for publishing. If your IIS server is on a different machine and it is not in your Active Directory domain, uncheck "Use integrated Windows authentication" and enter the credentials of a user that has local administrator access on the IIS server machine. You will also most likely need to Ignore HTTPS certificate errors for the purpose of this test publish.
 Create IIS publish profile page one.
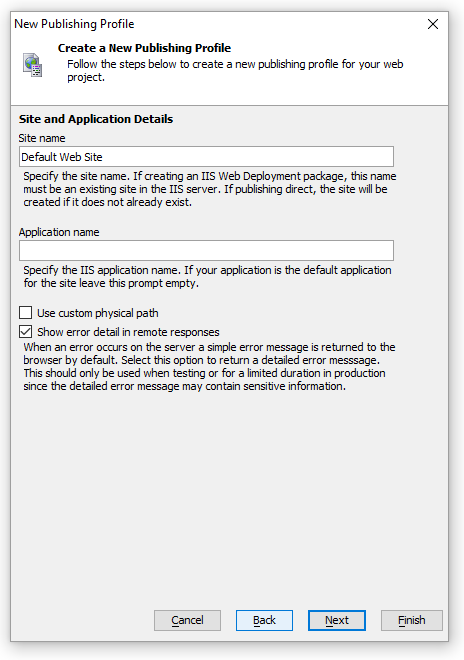
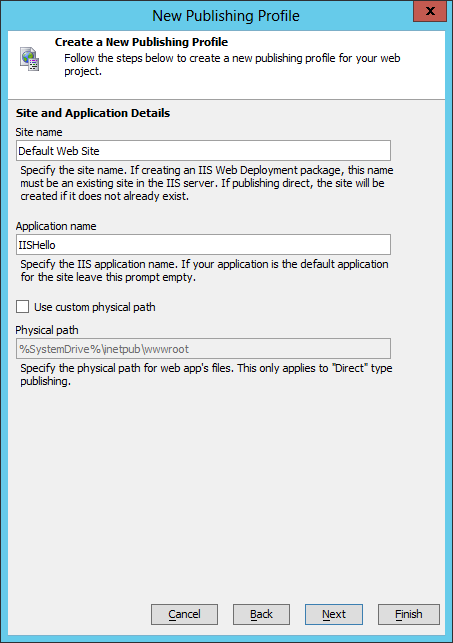
Click the Next button at the bottom of the genie. Keep the defaults that are set for the Site and Application Details and click on the Finish button.
 Create IIS publish profile page two.
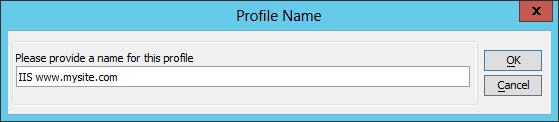
Enter the name "Simple IIS" and then click the OK button.
 Save IIS publish profile with name Simple IIS.
Click the OK button on the Web Project Profiles dialog. Now it is time to publish.
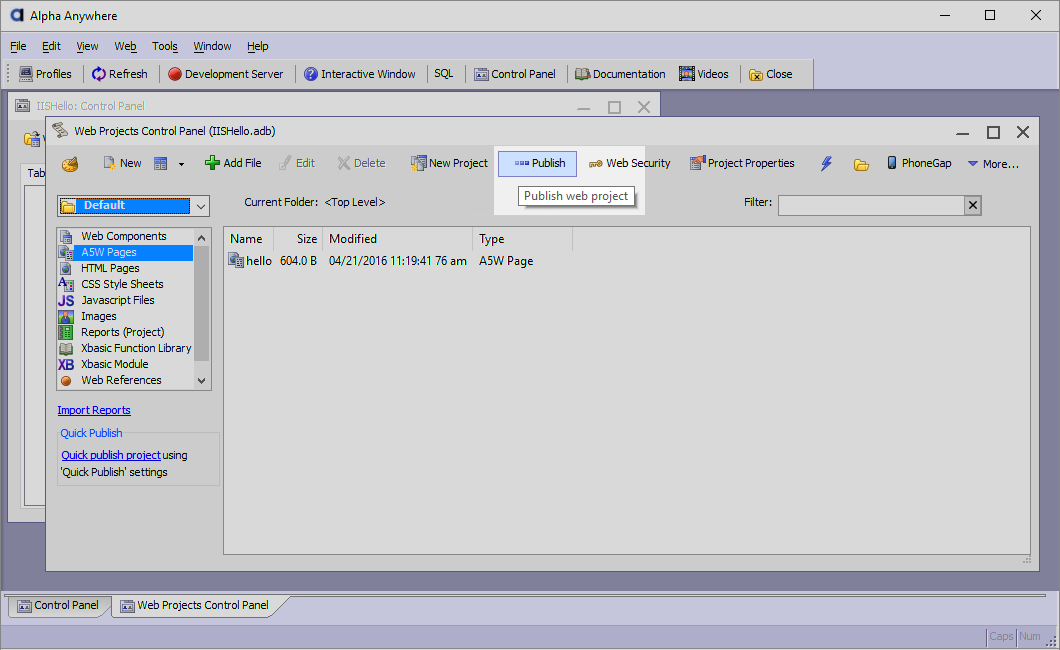
Click on the "Publish" button
 on the Web Projects Control Panel to bring up the publish dialog.
 Publish button.
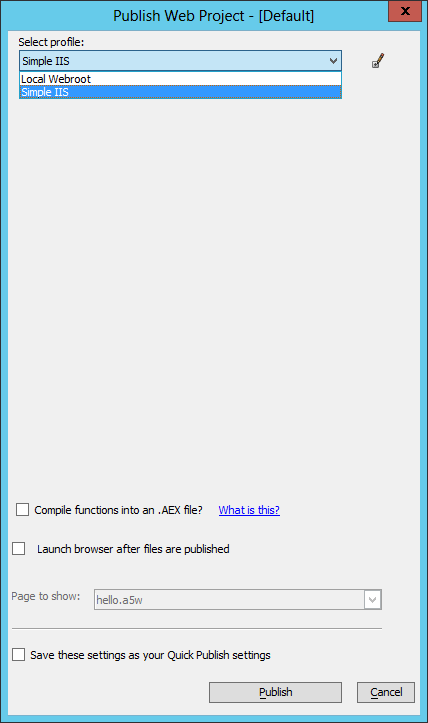
Select the "Simple IIS" profile and then click on the "Publish" button.
 Do Publish.
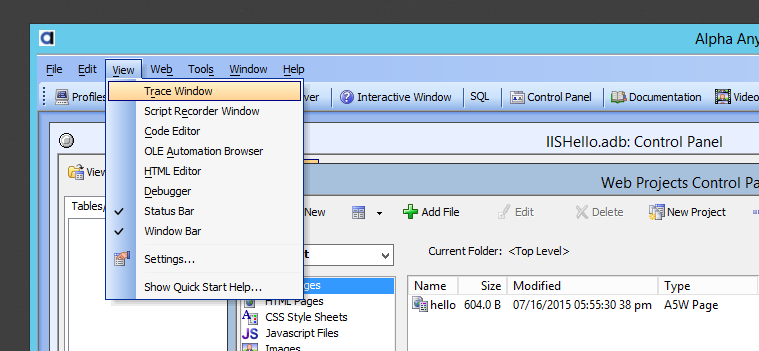 Trace window menu.
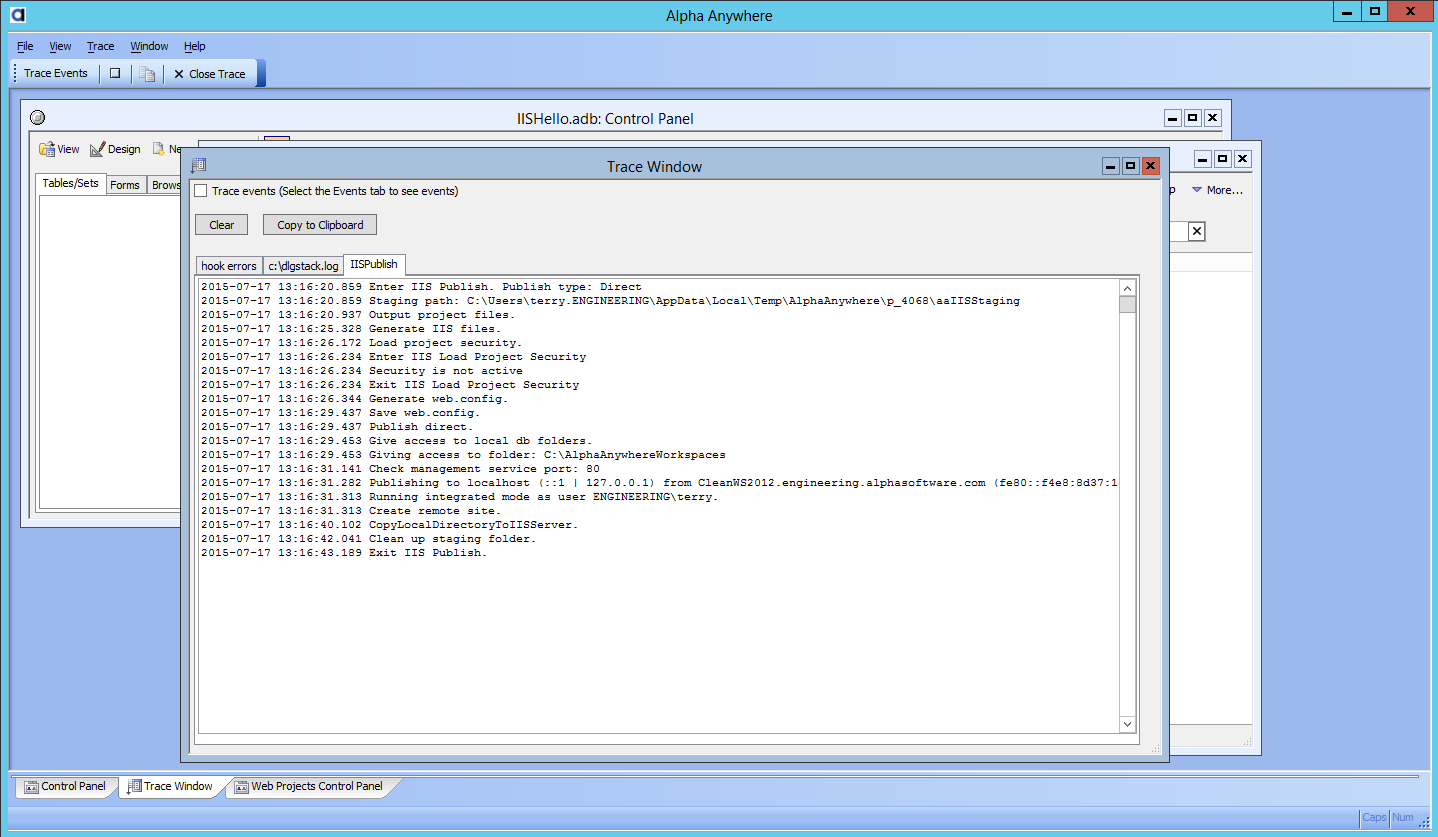 Trace window.A trace of the publish to IIS is logged to the Trace Window. If an error occurs this log will help diagnose what happened. To get to the trace log, go to the View menu on the main menubar and then the Trace Window sub menu. Then select the tab labelled "IISPublish".
Now bring up a browser and type "localhost/IISHello" to see the page that was published.
 Display IISHello site.
Publishing - A More Typical Web Application
These instructions are a guide for publishing a more complex web application that more closely resembles a typical web application which has security and accesses databases.
Create a new workspace using the Application Server Demosample workspace.
To publish to an IIS server create a new web project profile and select the new IIS type.
If you are developing on the same machine that the IIS server is on, you can use "localhost" as the IIS management service URL. If your IIS server is in the same active directory domain as your user account or is in a domain with cross domain trust and your user account is a local administrator on the IIS server machine you can can use integrated Windows authentication. Otherwise you will need to set up a local user on the IIS server machine that has local administrator access and use that user's credentials in the Alpha Anywhere publish profile setting.

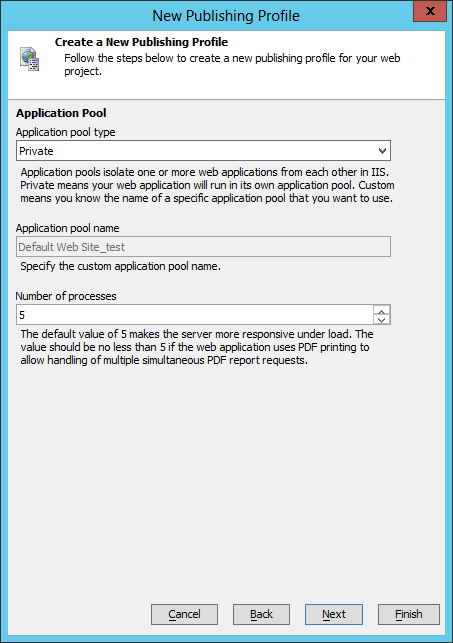
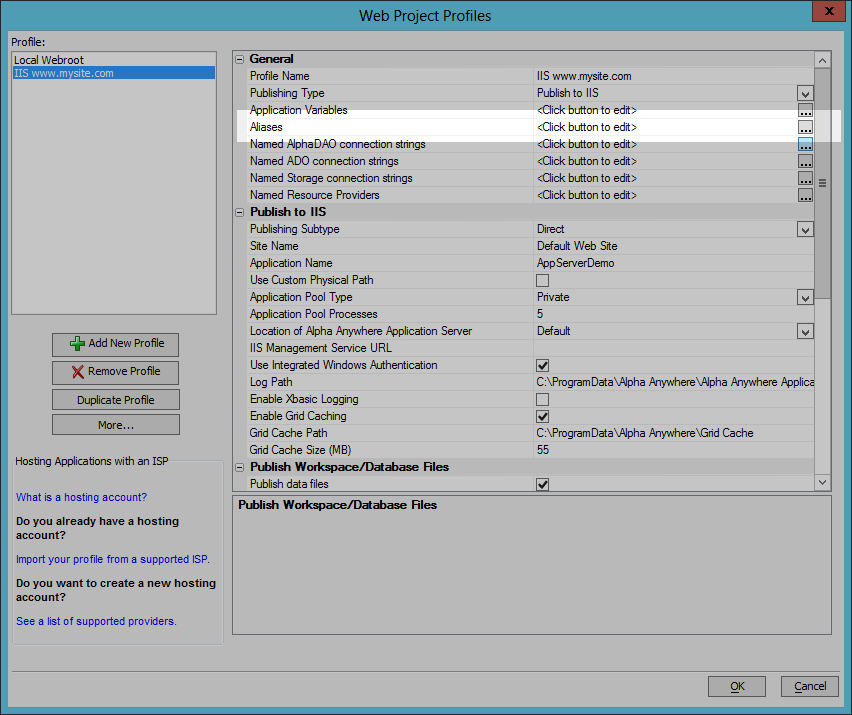
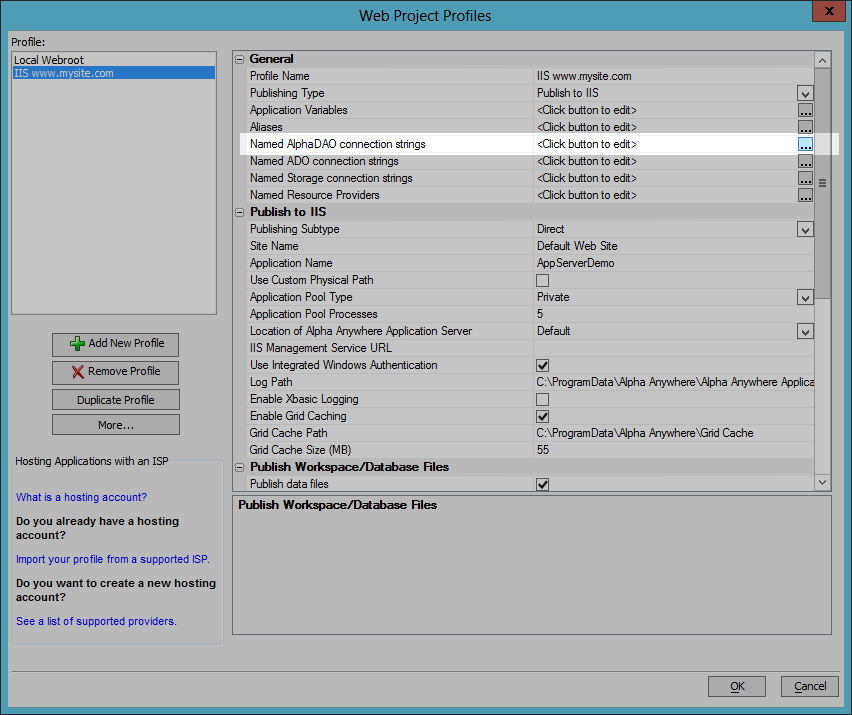
In general, you will want your application to run in its own application pool (i.e. "Private") to isolate it from other applications running under IIS.
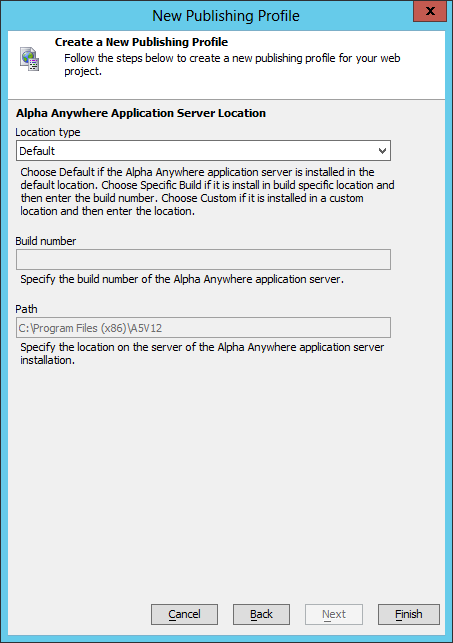
Specify the location of the Alpha Anywhere Application Server for IIS installation. Selecting "Default" assumes installation in C:\Program Files (x86)\A5V12 Application Server for IIS. If you installed to a different location you will need to select "Custom" and then enter the path to the installation.
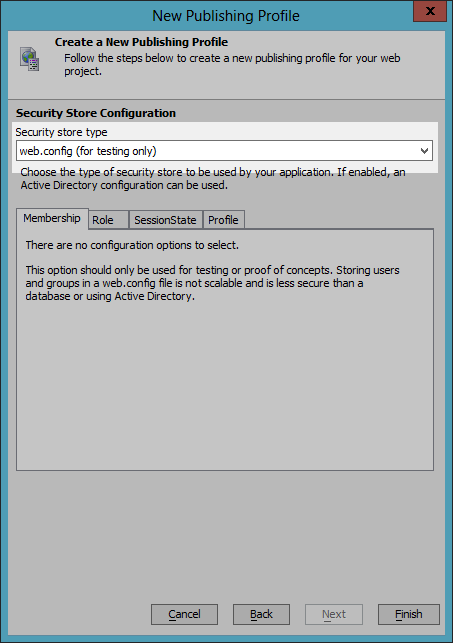
On the Security Store Configuration genie page select the "web.config (for testing only)" option. This stores the user and group data in the web.config file.
Profile Settings Specific to the Application Server Demo workspace
The Application Server Demosample workspace uses files and databases that are local to the development machine. These resources need to be made available to the IIS server.
Workspace Files
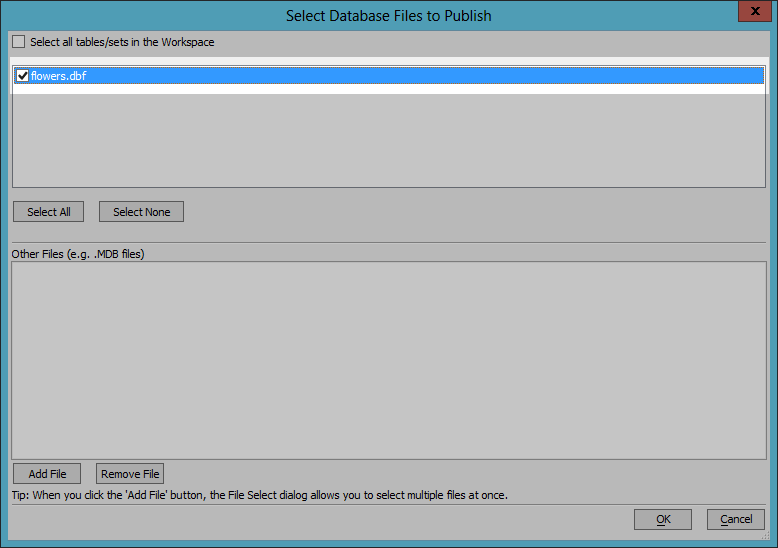
There one workspace file that needs to be published" flowers.dbf. To add this file to what gets published, check the Publish data files option and then click on the ... button in the Files to publish row.

Check the flowers.dbf file and then click the OK button. This will include flowers.dbf along with its supporting files in the publish.
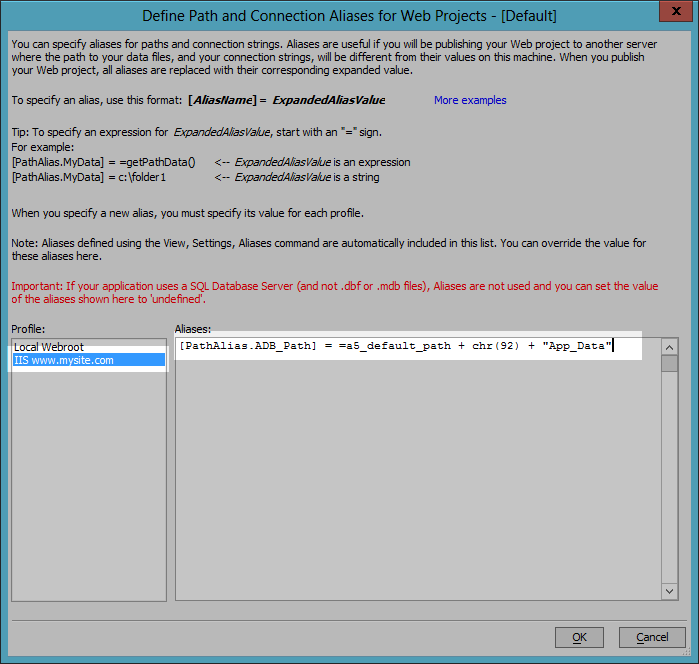
In order for your app to locate the flowers.dbf file after it is published you will have to update the Aliases for the profile. Click on the ... button for the Aliases row.
Now add the following expression as the value for the [PathAlias.ADB_Path] = entry:
=a5_default_path + chr(92) + "App_Data"
Note that this value starts with and = sign to denote that it is an expression so as you see in the image below there are two equal signs. The first is for "equals" a space and then the second is for "the following is an expression".
Named AlphaDAO connection strings
The Application Server Demosample workspace uses local .mdb databases. These databases need to be published to a database server accessible from the IIS server machine. This can be done through the web project publish profile settings.
Migrate Access Databases to SQL Server or SQL Server Express
Follow the steps in Importing the Northwind Access Database into SQL Server to migrate the .mdb database in each connection string to a SQL Server database. After migrating the Access Databases, update each connection string to point to the new SQL Server database for this publish profile's connection strings.
Now you are ready to publish to IIS. Go to the Web Projects Control Panel, select Publish and then select the IIS profile that you just created.

Showing Error Information During Publishing
Error details can be shown when a remote request fails while publishing to IIS. Normally a limited amount of detail is returned in a remote request when an error occurs on the server. This is done in order to reduce the likelihood of inadvertent information disclosure. To allow returning error detail to be returned from a remote request edit the publish profile and check the Show error detail in remote responses property.
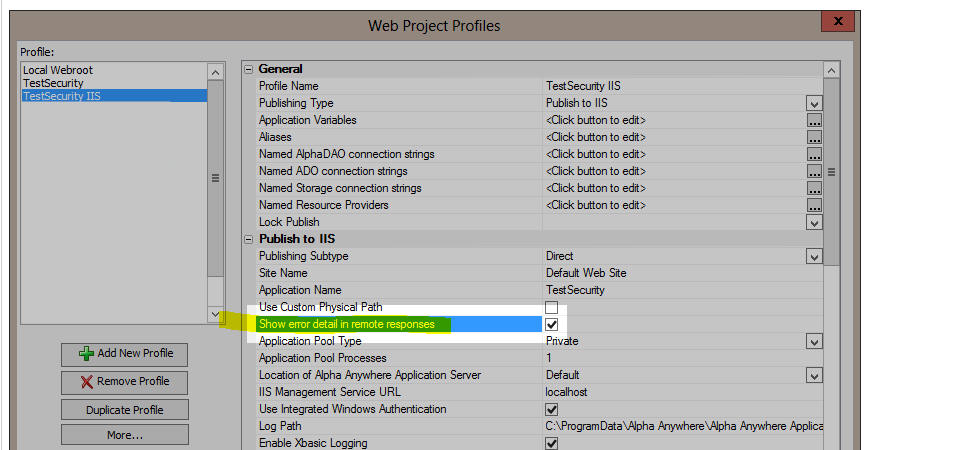
Alternatively, check the Show error detail in remote responses checkbox when creating a new IIS publish profile.