How to Export Tables from a Database
Description
When sharing components or sending in a bug report, you need to include a backup of the table(s) referenced by the component. Otherwise, the component cannot be run. This article describes how to export data from tables in MySQL or SQL Server.
Exporting Tables Using Navicat
Navicat is a popular tool used by many Alpha Anywhere developers to work with SQL databases. Navicat's Export Wizard can be used to export multiple tables from a database to SQL files.
In Navicat, expand the database that contains the tables you want to export. Click on "Tables" listed under the database in the database explorer to display all of the tables. Click on the Export Wizard toolbar button.

On the first page in the export wizard, select SQL sript file (*.sql). Click Next>.

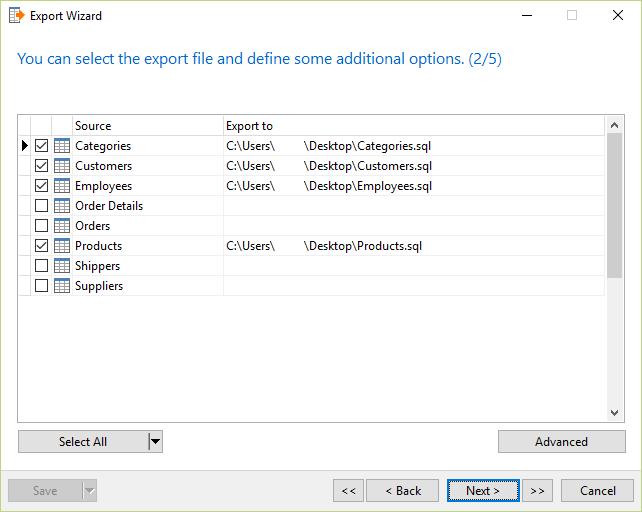
Select the tables you wish to export. Click Next>.
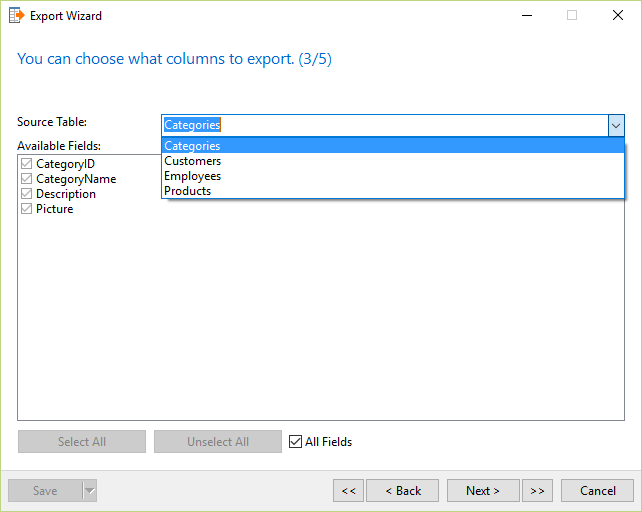
The columns to export page lists what columns from each table will be exported. By default, all columns from each table will be exported. Click Next>.
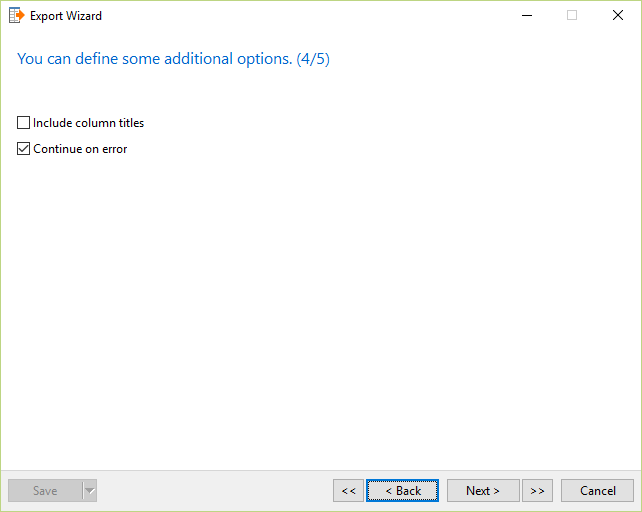
On the additional options page, cick Next>.
On the final page, click Start to export the data. When the export finishes, click Close. The generated SQL files will contain the create and insert statments necessary to import the tables to another database.
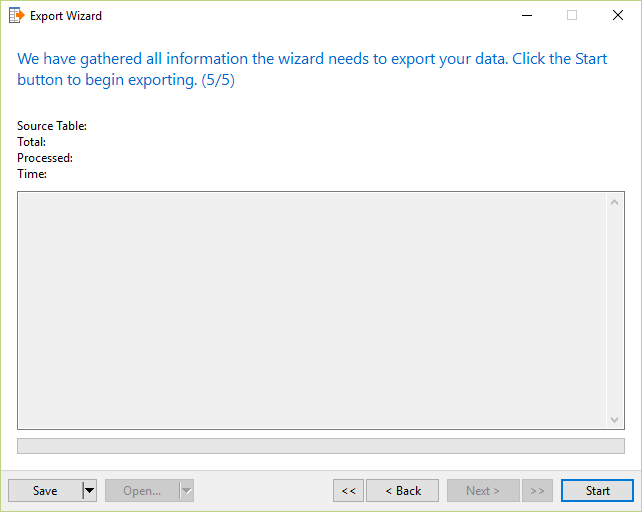 Click Start to begin the export.
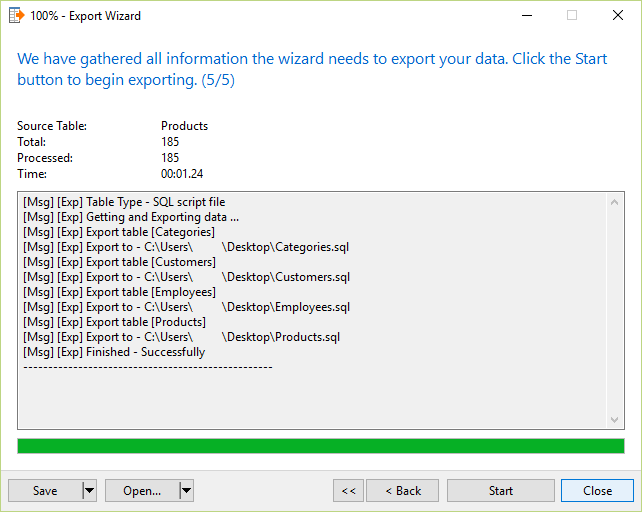 Export is complete.
Exporting Tables Using MySQL Workbench
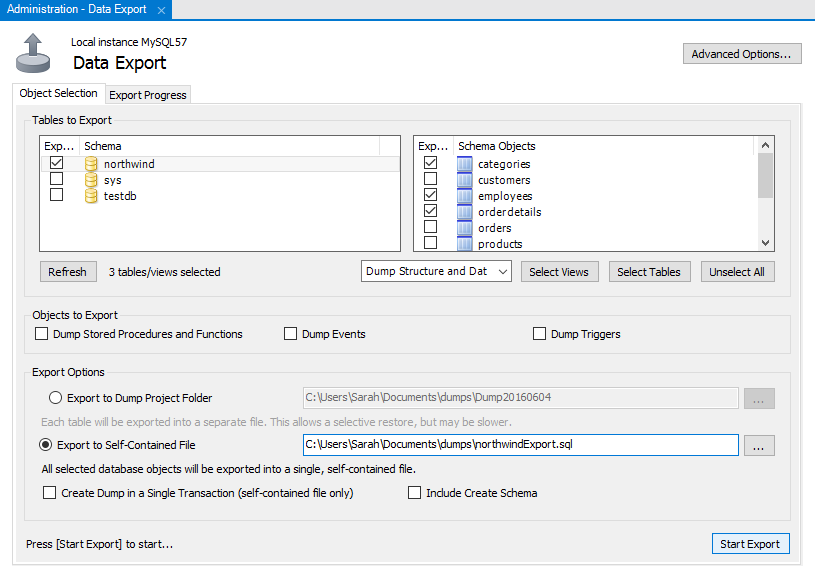
In MySQL Workbench, click Data Export under the Management options to opent he Data Export tool.

Click on the database you wish to export.
Select the tables you want to export.
Make sure Dump Structure and Data is selected for the Tables to Export dropdown box.
Choose Export to Self-Contained File.
Click Start to begin the export. Close the Data Export tool when the export is complete.
Exporting Tables Using SQL Server Management Studio
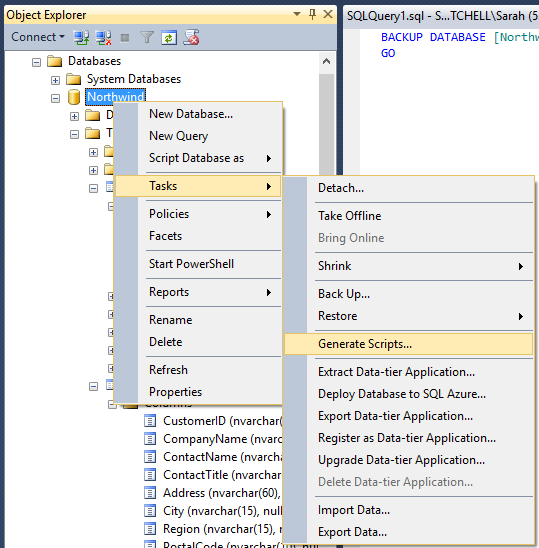
Right-click on the database that contains tables you wish to export. Select Generate Scripts... under the Tasks submenu.
Click Next > on the Introduction page.
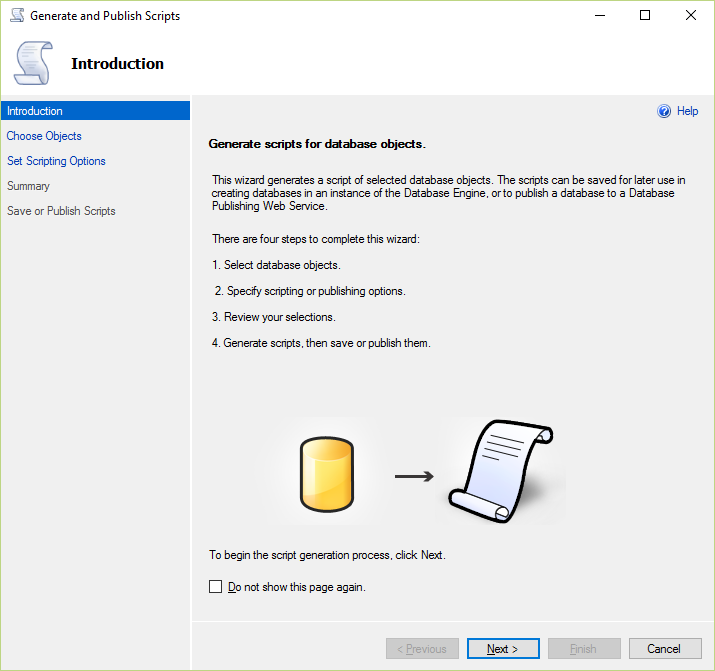 Generate and Publish Scripts Introduction page
On the Choose Objects page, select all of the tables you wish to export. Click Next >.
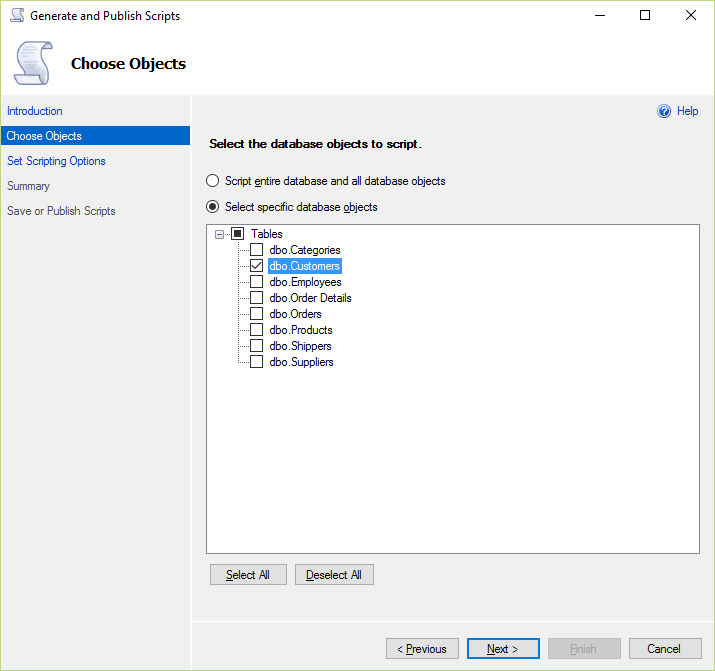 Generate and Publish Scripts Choose Objects page
On the Set Scripting Options page, select Save scripts to a specific location. Choose the Save to file option with Single file selected. In the File name box, give the sql file a name. When you are done choosing the file name, click the Advanced button to configure additional export options
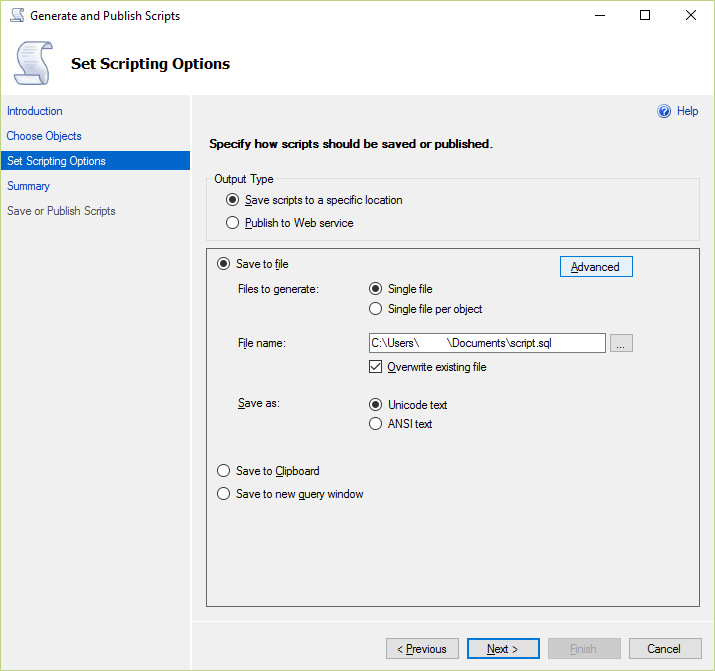 Generate and Publish Scripts Set Scripting Options page
In the Advanced Scripting Options, select Schema and data for the Types of data to script property. Click OK.
 Generate and Publish Scripts Advanced Scripting Options
On the Summary page, click Next >.
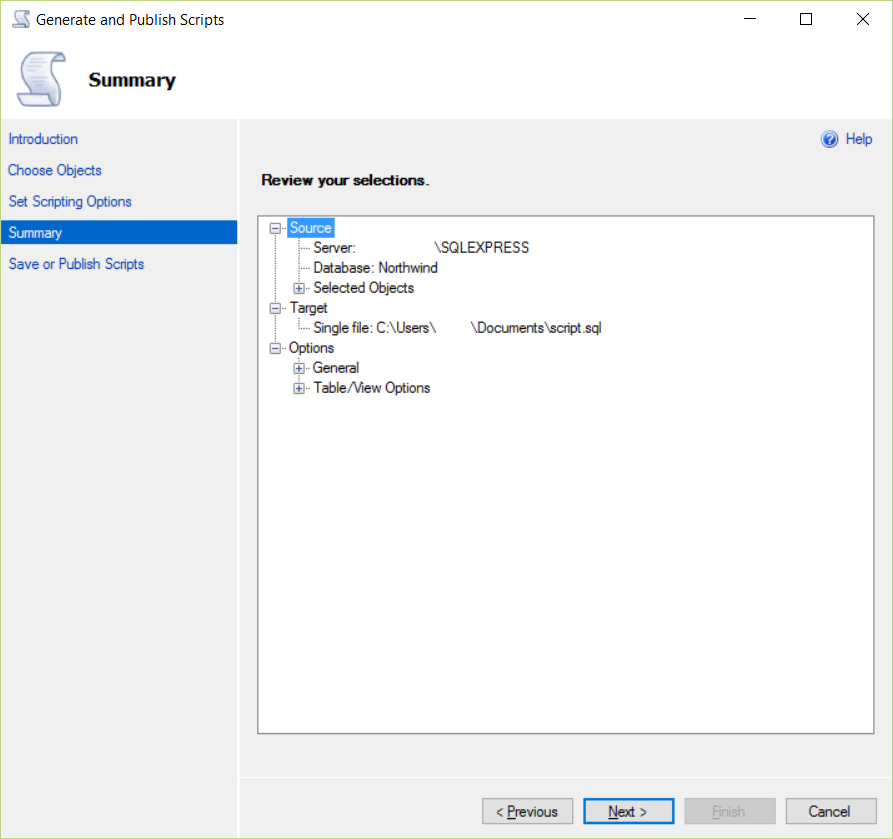 Generate and Publish Scripts Summary page
Click Finish on the Save or Publish Scripts when the export completes.
 Generate and Publish Scripts Save or Publish Scripts page