Define Named Layouts
Description
The Defined named layouts property gives you access to the Named Layouts Builder.
Clicking the  button next to the 'Define named layouts' property will open the builder.

Create a Named Layout
Open the grid builder, define a Data Source and Query, and select four fields to use with the grid in the Fields page. This example uses for fields from the Northwinds database's Customers table.
Find the 'Multiple Named Layouts'' section in Grid Properties.
Check the 'Has named layouts'' checkbox and then click the
button next to the Define named layouts property.
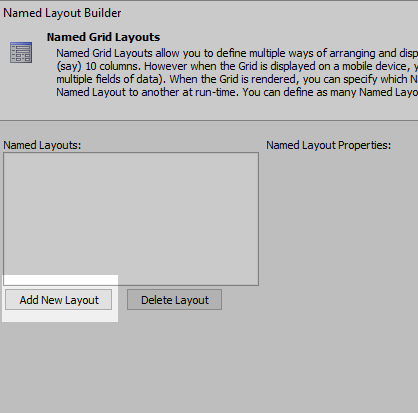
The Named Layout Builder will open.
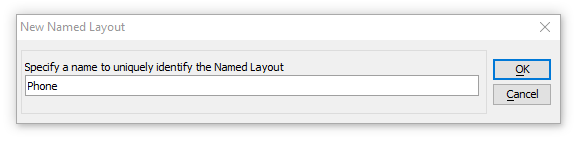
Click the 'Add New Layout' button under the 'Named Layouts:' menu. The New Named Layout dialog will open.
Give the layout the name 'Phone' and click OK.
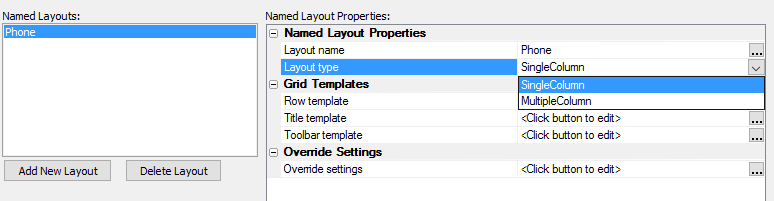
In the 'Named Layout Properties' section find the Layout type and select SingleColumn from the dropdown.
In the Grid Templates section of the Named Layout Properties, click the
button next to the Row template property.
The 'Named Layout - Row Template' editor will open. On the left side of the editor is a list of available fields. Double click on each available field to add it to the layout definition.
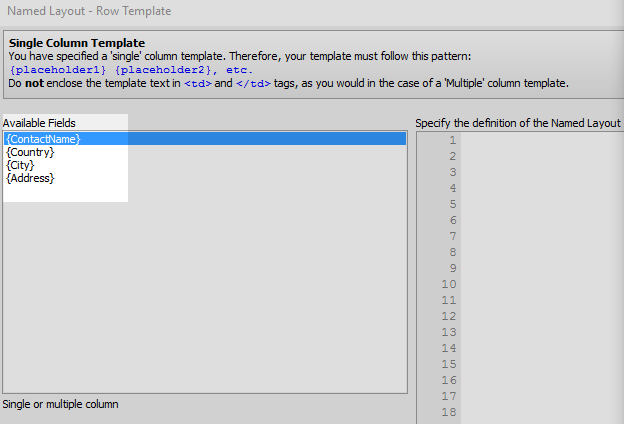
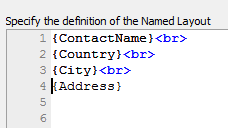
These are the fields that will appear in the layout. The result should look something like this:

Optionally you can add some html breaks between the field placeholders so that the fields will stack vertically. Click OK to close the editor.
In the 'Named Layout Builder' click on the
button next to the Title template property.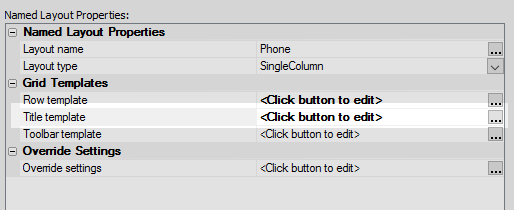
This will open the 'Named Layout - Column Titles' editor. This is where you can define how the layout will sort, if there will be sorting options, and what field will be used.

Select a placeholder starting with "{grid.columnSorterLink:Field=" from the Available fields list that uses a field that you want the layout to sort by. Double click on the placeholder to add it to the field definition. This example will sort based on the ContactName field.

Click OK to close the editor and OK again to close the Named Layout Builder.
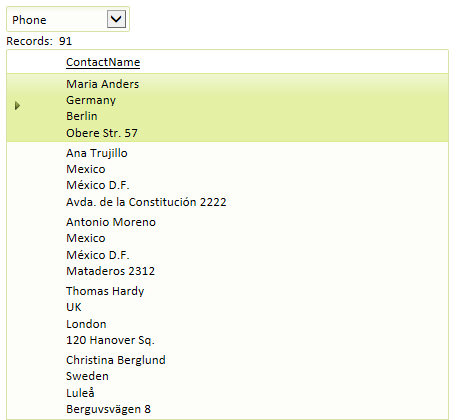
Run the new layout in the Live Preview or Working Preview tab. The preview will probably open with the default grid layout. A dropdown at the top of the screen should let you switch to the new Phone layout.
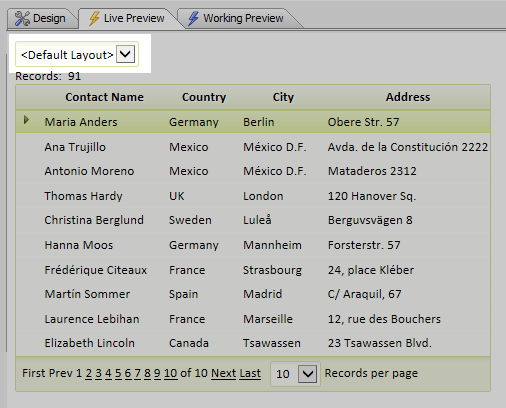
Result: