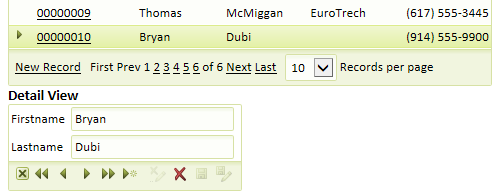
Open the Detail View
Description
To create a Detail View you will first need to open a grid in the Grid Builder . From the Web Projects Control Panel click on the Create a new grid component button. The Select Grid Component Template dialog will open. Click the Start with a blank Grid Component radio button and click OK . This will open the Grid Builder dialog. Alternatively, you can also get to the Grid Builder from the Web Projects Control Panel by clicking on the New component or file button. The New File dialog will open, select the Web Component option and click Next> then Grid and then Next > again. This will bring you to the Select Grid Component Template and then the Grid Builder .
Once you open the Grid Builder , go to the Design page and click on Component Type at the top of the Design page menu. Under the Grid Layout Menu select Grid is: Read Only . Then go down to the b ottom of the page and check the Grid contains a Detail View checkbox. If you checked 'Grid is: Updateable', then the 'Grid contains a Detail View box' will remain inactive. Making the grid 'Updateable' gives users the ability to update information directly within the fields of a grid, making the Detail View somewhat redundant. You might notice that the Detail View also has a ' Read Only ' and ' Updateable ' option.
Opening a Grid Component from the HTML Editor
In the Web Projects Control Panel select an A5W page that contains a grid component.
Click Editto display the HTML Editor.
Double click the grid component that is on the page.
Click Yes to agree that you want to edit the component.
Display the Component Type page.
Select the Read onlyradio button.
Check the Grid contains a 'Detail View' partcheck box. The Detail View is the form used to add, delete, and edit records.


