Swapping and Moving Rows in a Repeating Section
Description
You can use javascript to add swapping and moving capabilities to repeating sections. This allows user to move the location of rows within a repeating section.
The following methods can be used to swap and move rows in a repeating section.
For an explanation on how to add these capabilities to a component watch this video or follow the guide below.
Adding Move Up and Move Down Capabilities to a Repeating Section
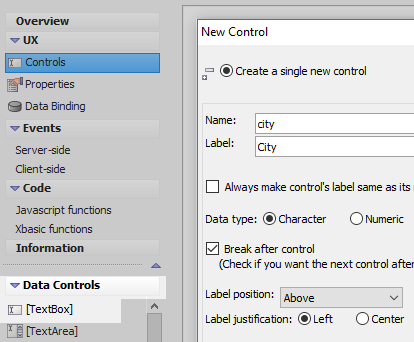
In the UX Builder on the UX Controls page open the 'Data Controls' menu. Click on the [TextBox] option in order to add a textbox control to the component. Give the textbox a name and label, like 'city'.
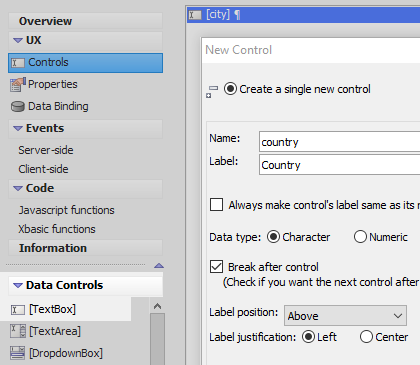
Add a second [TextBox] control to the component and give the control a name and label.
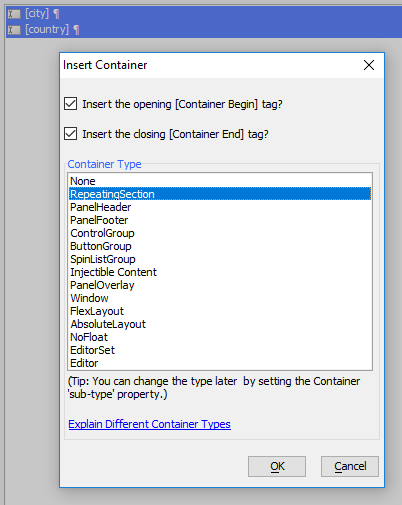
Highlight both controls and click the toggle break seymbol in the UX Controls page toolbar to remove any toggle breaks. Open the 'Containers' menu. Click the [Container] option.

From the 'Container Type' menu select the 'RepeatingSection' option and click OK.
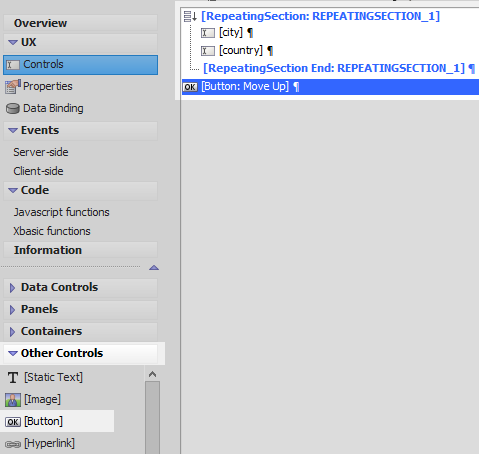
The opening repeating section container tag should look like this '[RepeatingSection:REPEATINGSECTION_1]'.

Highlight the closing repeating section tag, [RepeatingSectionEnd:REPEATINGSECTION_1]. Open the 'Other Controls' menu and click on the [Button] option to add a button control to the bottom of the controls tree.

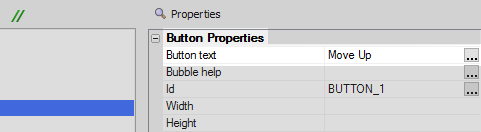
Highlight the button control in the controls tree. In the properties list on the right set the 'Button text' property to read 'Move Up'.
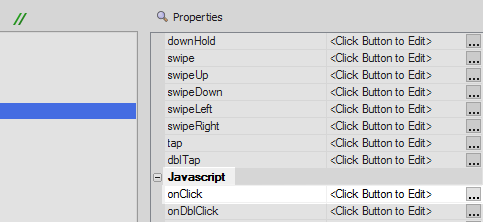
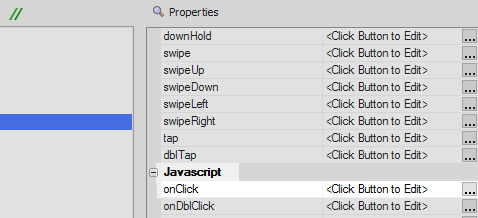
Scroll down the properties list to the 'Javascript' section click the [...] button next to the 'onClick' property.
In the Edit onClick Event dialog select the 'Text mode' radio button. Add the following definition to the onClick event definition and click 'Save'.
{dialog.object}.moveUpRepeatingSectionRow('REPEATINGSECTION_1');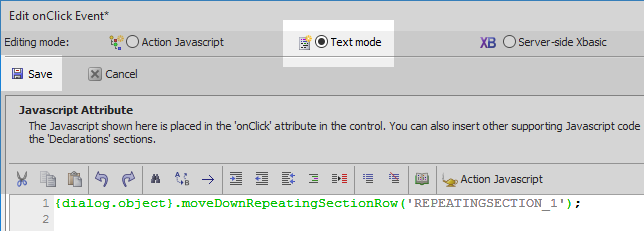
In the 'Other Controls' menu click the [Button] option again to add a second button to the control underneath the 'Move Up' button.
Highlight the new button. In the properties list on the right set the 'Button text' property to read 'Move Down'.

Scroll down to the 'Javascript' section of the properties list and click the [...] button next to the 'onClick' property.
In the Edit onClick Event dialog select the 'Text mode' radio button. Add the following javascript definition to the onClick Event and click 'Save'.
{dialog.object}.moveDownRepeatingSectionRow('REPEATINGSECTION_1');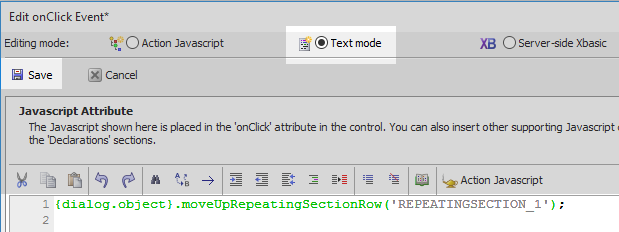
Run the component in 'Live Preview'. Enter some text into a field
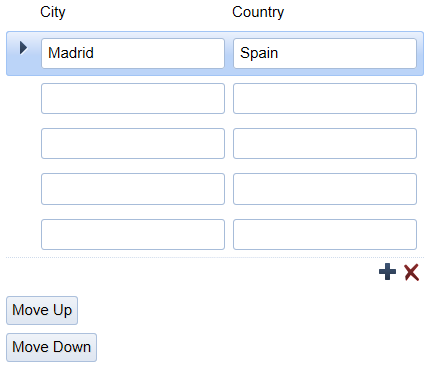
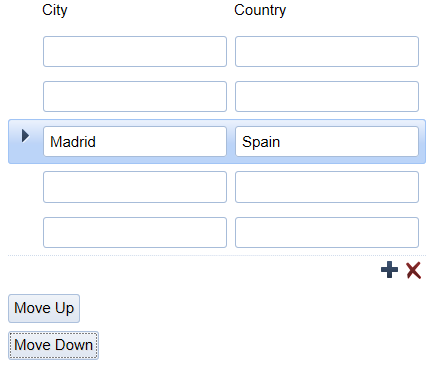
Place the cursor on the row with the entered data. Click the Move Down and Move Up buttons to change the row's location in the repeating section
Adding a Swap Button
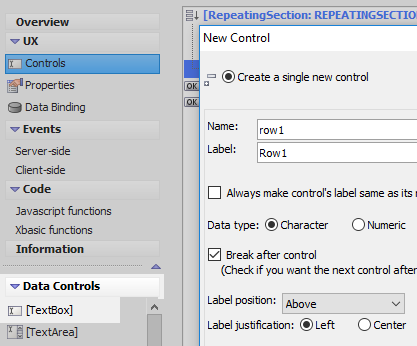
Continuing from the section above, on the UX Controls page open the 'Data Controls' menu and click on the [TextBox] control. Give the textbox the name and label of 'row1'.
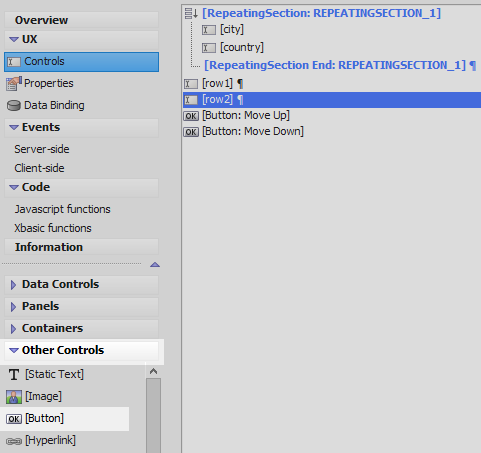
Add a second textbox control with the name and label of row2.

Open the 'Other Controls' menu and click on the [Button] option to add a button control to the component.
Highlight the button control. In the properties list on the right set the 'Button text' property to read 'Swap'.

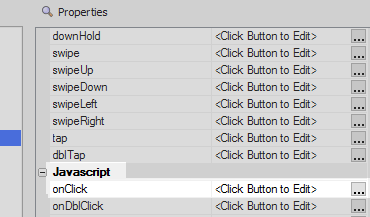
Scroll down the properties list to the Javascript section. Click the [...] button next to the 'onClick' property.
In the Edit onClick Event dialog select the 'Text mode' radio button and add the following Javascript to the onClick event definition. Click 'Save'.
var r1 = {dialog.Object}.getValue('row1');
var r2 = {dialog.Object}.getValue('row2');

{dialog.object}.swapRepeatingSectionRows('REPEATINGSECTION_1',r1,r2);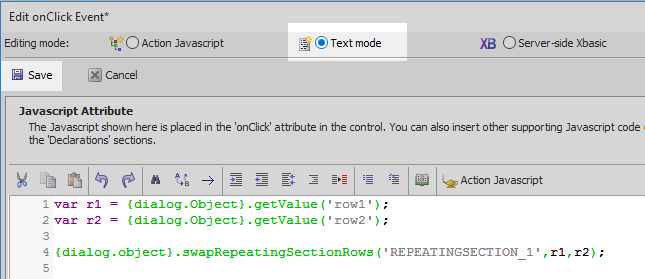
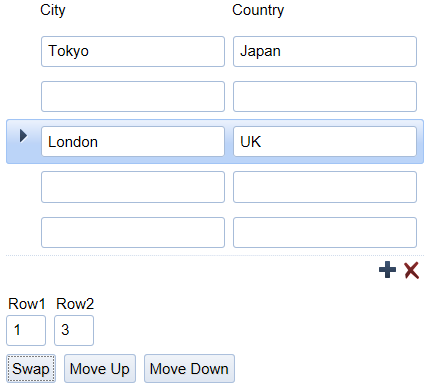
Run the component in Live Preview. Fill in two rows on the repeating section.
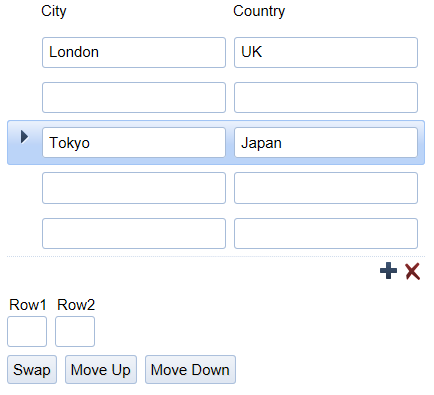
Enter the number of the first row into the 'row1' textbox and 'row2' into the second textbox. Click the 'Swap' button. The two rows should be swapped.