Getting and Setting Ink Control Values
Description
The Ink Control is a 'Data Control' and the getValue() and setValue() functions, that are used with other data controls, will also work with the Ink Control. The data generated from any given image defined in the Ink Control is stored as simple text. This makes ink files lightweight and easy to store.
Using the getValue() and setValue() functions with an Ink control is described in this video and in the guide below.
Use the getValue() Function with an Ink Control
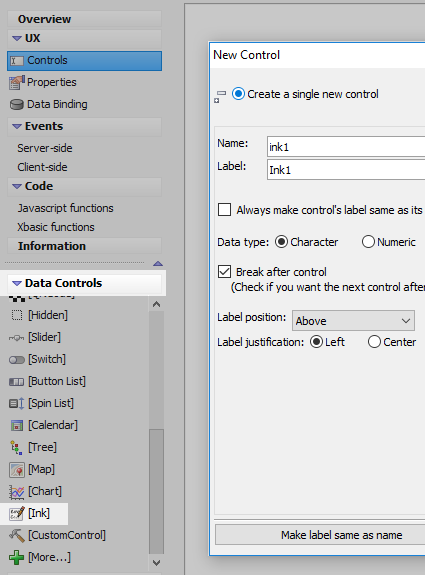
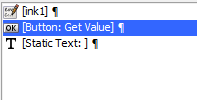
In the UX Builder on the UX Controls page open the 'Data Controls ' menu. Select the [Ink] option to add an ink control to the component. Leave the name of the ink control set to be 'ink1'.
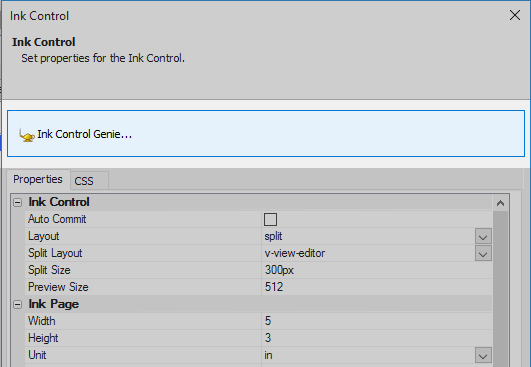
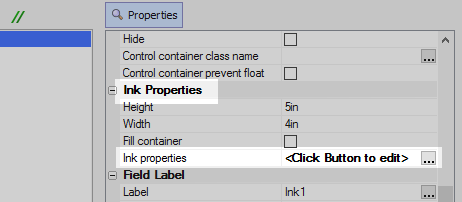
Highlight the ink control in the controls tree. In the properties list on the right click the [...] button next to the 'Ink properties' property in the 'Ink Properties' section.

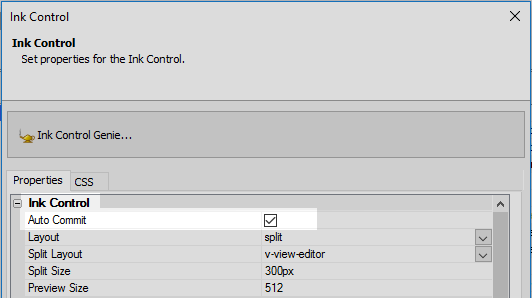
In the 'Ink Control' dialog click the big 'Ink Control Genie...' button at the top of the dialog.
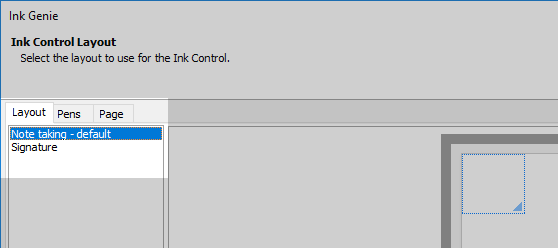
On the Ink Genie's 'Layout' page highlight the 'Note taking - default' option in the layout menu and click OK and OK again.
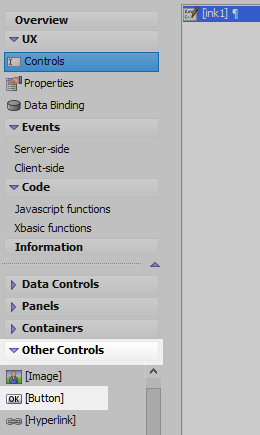
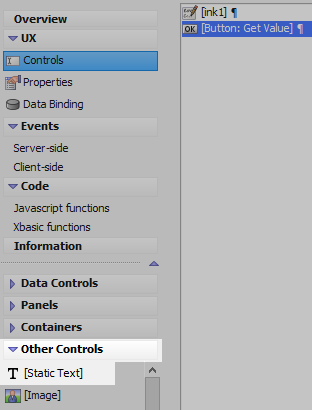
Open the 'Other Controls' menu and click on the [Button] option.
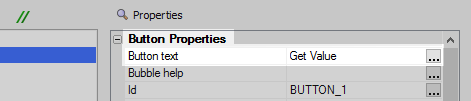
Highlight the button in the controls tree. In the properties list on the right set the 'Button text' property to read 'Get Value'.
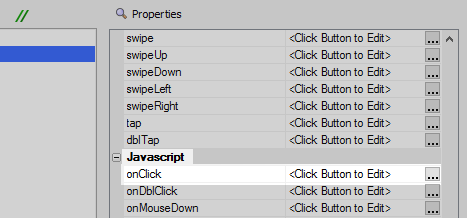
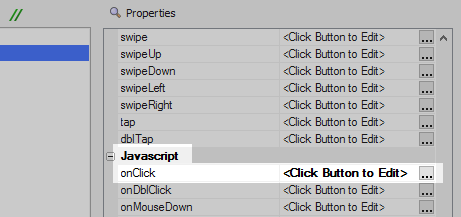
Scroll down to the 'Javascript' section of the properties list. Click the [...] button next to the onClick property.
In the 'Edit onClick Event' dialog select the 'Text mode' radio button option in the 'Editing mode' menu. Add the following code to the onClick event definition and click the 'Save' button.
var val = {dialog.object}.getValue('ink1');
var ele = $('div1');
ele.innerHTML = val;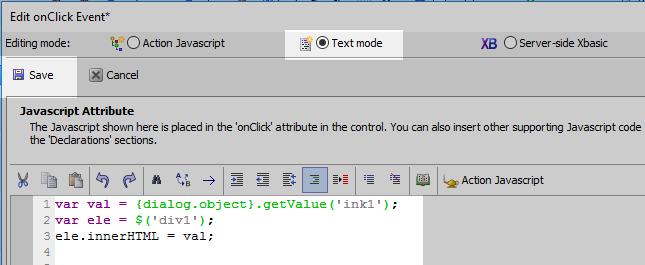
In the 'Other Controls' menu on the left click on the [Static Text] option to add a static text control to the component.
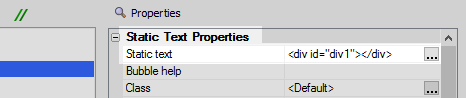
Highlight the static text control in the controls tree. In the properties list set the 'Static text' property to be the following 'div' with an id of 'div1'.
<div id="div1"></div>
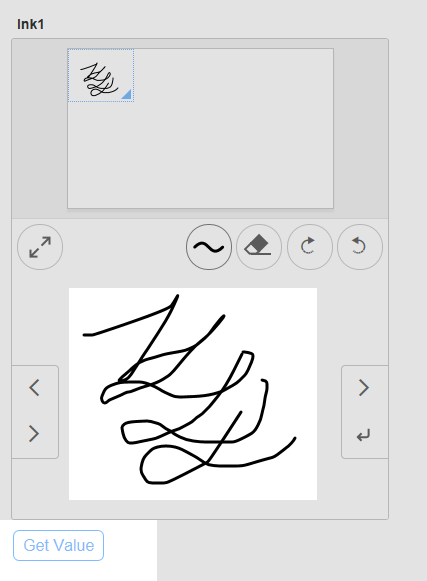
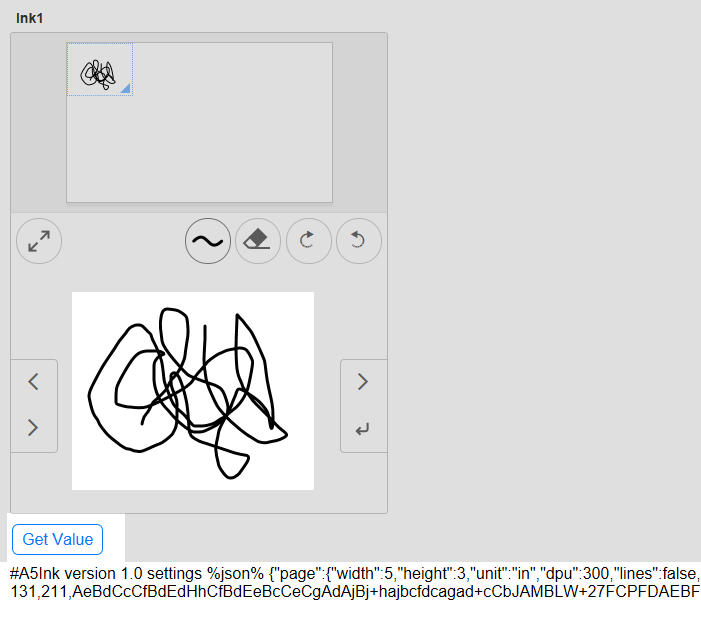
Run the component in Live Preview. If you draw something in the ink control and click the 'Get Value' button then nothing should happen. This is because the Ink control does not automatically commit values when an ink image is completed. Two methods of forcing the ink control to commit a value are described in the sections below.
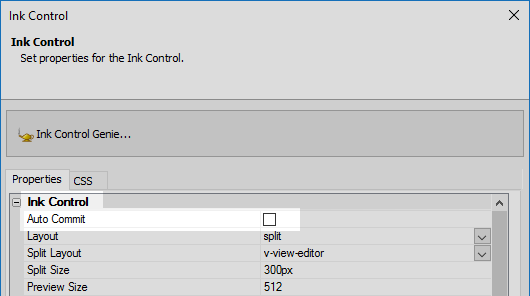
Highlight the ink control in the controls tree. In the properties list on the right click the [...] button next to the 'Ink properties' property to open the 'Ink Control' dialog.
On the properties tab of the 'Ink Control' dialog check the 'Auto Commit' checkbox in the 'Ink Control' properties section.
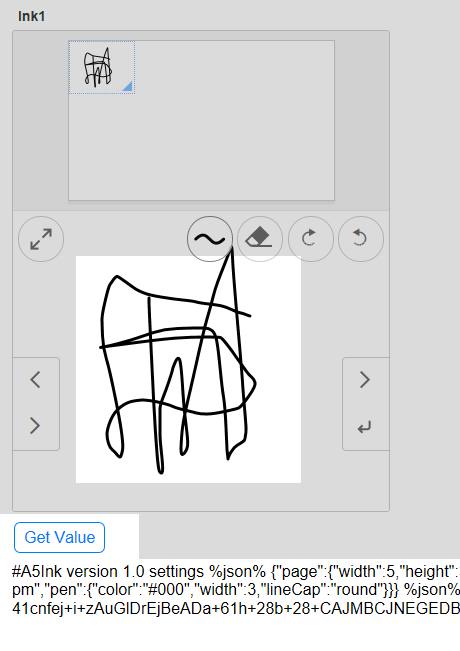
Run the component again in Live Preview. Draw something on the Ink control and click the 'Get Value' button. The value of the ink control should be returned in text format.
Make the Ink Control Commit Values Programmatically
First make sure that the 'Auto Commit' checkbox in the 'Ink Control' dialog is turned off.
On the UX Controls page highlight the 'Get Value' button control.
Scroll down the properties list to the Javascript section. Click the [...] button next to the 'onClick' property.
In the 'Edit onClick Event' dialog the 'Text mode' option should be highlighted. Add the following two lines of code above the existing onClick definition
var iObj = {dialog.object}.getControl('ink1');
iObj.commit();
The entire 'Edit onClick Event' should now look like the following. Click 'Save'
var iObj = {dialog.object}.getControl('ink1');
iObj.commit();

var val = {dialog.object}.getValue('ink1');
var ele = $('div1');
ele.innerHTML = val;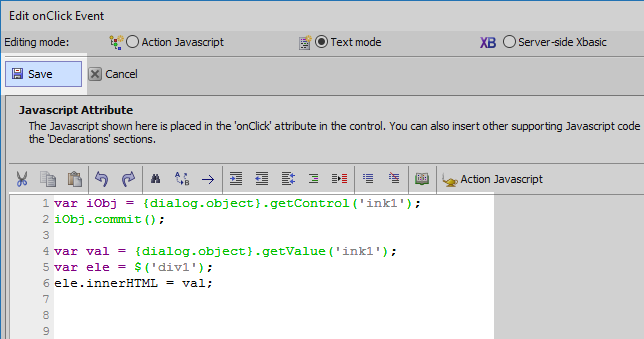
Run the component in Live Preview. Draw something in the ink control and click the 'Get Value' button. You should see the value of the drawing displayed in text format.
See Also