Displaying Driving Directions on a Map Control
Description
When you place a map on a UX Component you can call any of the various methods that map object exposes. There are quite a few different methods exposed by the map object. In this example we show how the .plotRoute() method can be used topic display a route and driving directions for a starting and ending address.
This example is based on this video, FP11_DLGMAP2, which can also be found in the video library.
Creating a Component that Displays Driving Directions
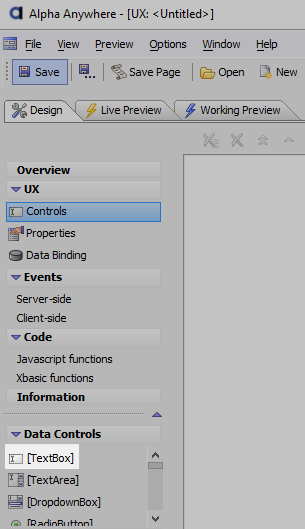
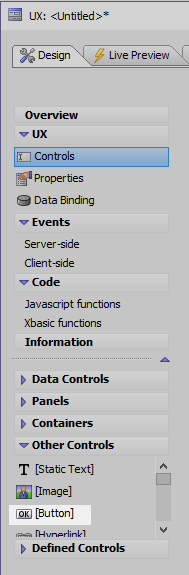
Open the UX builder.
On the UX Controls page, in the Other Controls menu, click on the [Static Text] option to create a Static Text control.
 Static Text control
Go to the Static text property in the control properties menu.
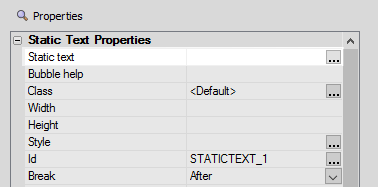
Add the following div to the Static text property. It should now look like this
<div id="routePanelId" style="width: 5in; 6in; overflow:auto;">directions</div>

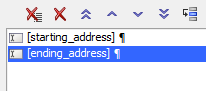
Add a textbox control to the component. Give the control the name starting_address
In Field properties, set the Default value property to the default address you want to start at.
255 commonwealth ave, boston ma

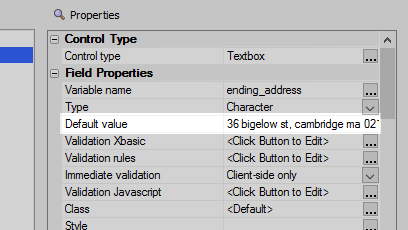
Create a second textbox control named ending_address.
In Field properties, set the Default value property to the default address that you want to end at.
36 bigelow st, cambridge ma 02139
Add a button control to the UX component and name it 'Get Directions'.
Highlight the button control and, in the Javascript section of the properties list, click the
 button next to the OnClick event.
 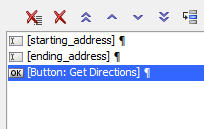 Added Button
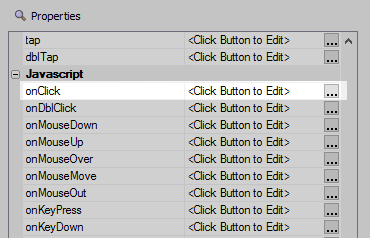 OnClick Event property
Add the following code to the onClick event after selecting 'Text mode' as the editing mode. Click 'Save' once you have added the code.
var a1 = {dialog.Object}.getValue('starting_address'); var a2 = {dialog.Object}.getValue('ending_address'); var m1 = {dialog.Object}.getControl('M1'); m1.plotRoute(a1,a2);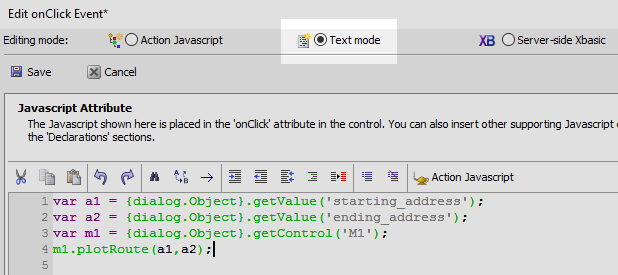 Text mode
- This code first reads the value of starting address field and stores it in variable called a1. Then it reads the value of the ending_address and puts it in a variable called a2. Then it gets a pointer to the map control M1, the variable name that we will assign to the map control when we put it on the dialog. With a pointer to the map control, the component can now call the plotRoute() method for that control. To gain access to all of the methods that the map control has you can click the 'Insert UX component method' button at the bottom of the screen. To see only map related methods type map into the filter bar.
 Add methods to your code
- In this code the location in the plot route method were entered as actual addresses, represented by variables a1 and a2, but we could also have used variables representing latitude and longitude.
From the Data controls menu add a map control to you component. Give this map control the name 'm1'.
 Map control
Now run the component in Live Preview and click the 'Get Directions Button'

Hint: If you want to add a reverse direction button simply add another button control named "Return Trip" and enter the exact same code to the OnClick Event that you did with the first control. In the last line of the Javascript...
m1.plotRoute(a1,a2);
swap the a1 and a2 variables so the method looks like this...
m1.plotRoute(a2,a1);