Populate a Tree Control Using Javascript
Description
You can popluate a tree in a UX component using javascript. This example uses javascript to populate a node on a tree control and then to repopulate the entire tree.
This guide is watchable through this video.
Using Javascript to Populate a Node on a Tree
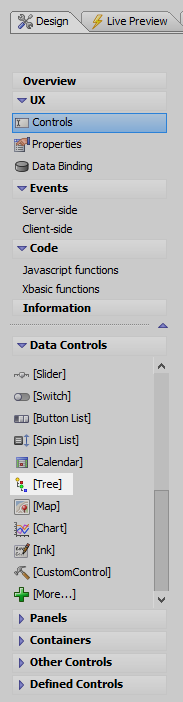
Open the UX Builder. Open the UX Controls page in the Design tab and look at the Data Controls menu. Add a Tree control to the component.
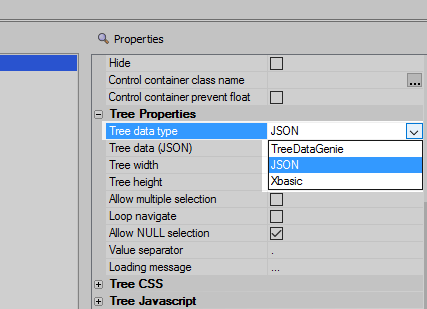
Highlight the tree control and view its control properties list. Scroll down the list to the Tree Properties section and find the Tree data type property, set this to the JSON option.
The Tree data (JSON) property should appear underneath "Tree data type". Click the
 button next to the Tree data (JSON) property.
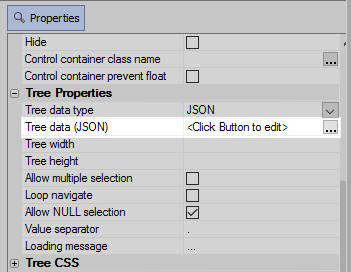
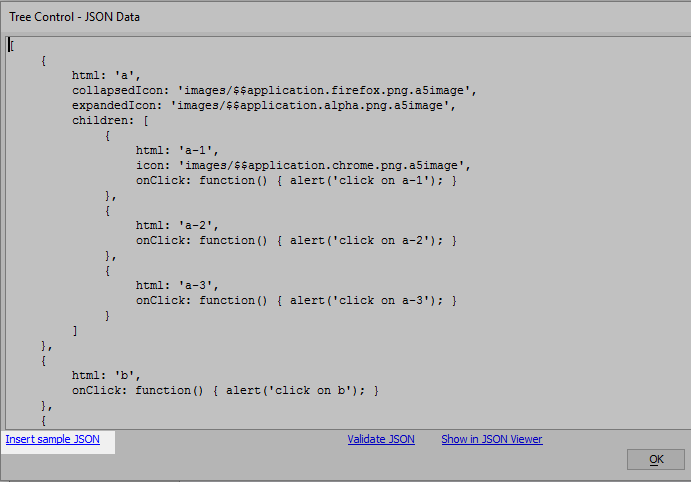
In the Tree Control - JSON Data dialog click the Insert sample JSON button in the lower left corner. Then click OK.
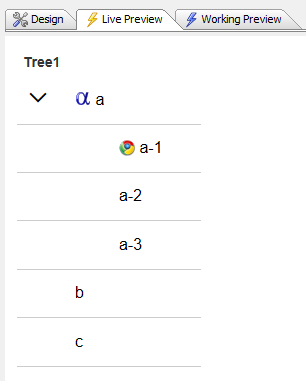
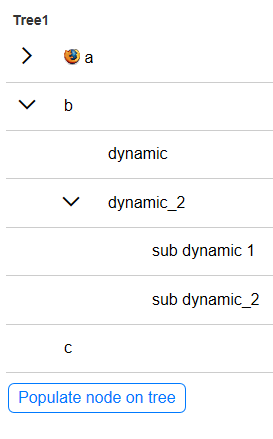
Run the tree control in the Live Preview tab to see what it looks like.
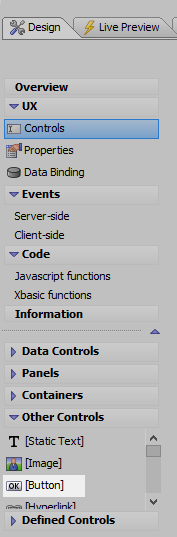
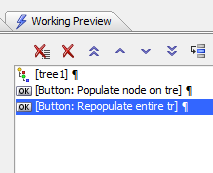
On the UX Controls page again go to the Other Controls menu, lower left, and add a Button control to the component. Give it the name "Populate node on tree" in the 'Button text' property.
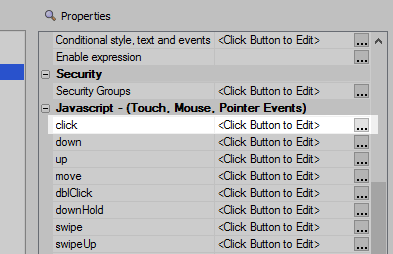
Highlight the button. Scroll down the control properties list to the "Javascript (Touch, Mouse, Pointer Events)" section. Click the
button next to the click property.

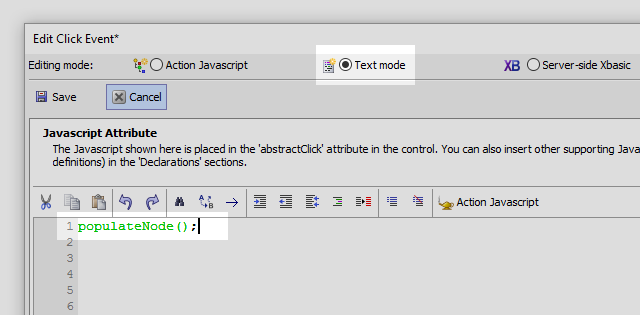
In the Edit Click Event dialog click 'Text mode' and enter the following and click Save.
populateNode();
Open the Code > Javascript functions page add the following code.
function populateNode() { var t = {dialog.object}.getControl('tree1'); var _dc = [ { html: 'sub dynamic 1'}, { html: 'sub dynamic_2', onClick: function() { alert('you clicked on sub-dynamic_2'); }} ] var _d = [ { html: 'dynamic'}, { html: 'dynamic_2', children: _dc } ] t.populateNode([1], _d); }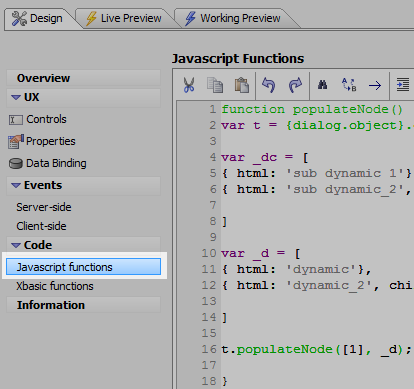 The Javascript functions pageIn t.populateNode([1], _d); the [1] is the address of the node to populate (the second node in the tree). The _d is the data.
Save and run the component in Live Preview, you should see the dynamically added nodes when you expand the tree.
On the UX Controls page go tp the Other Controls menu and add a second button to the component. Give this button the name "Repopulate entire tree".
Highlight this button control and view the control's properties list. Find the "Javascript (Touch, Mouse, Pointer Events)"" section and click the
button next to the "click" property.
Click the 'Text mode" option and add the following code to the Edit Click Event dialog.
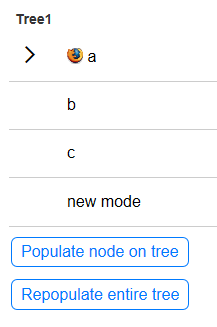
var t = {dialog.object}.getControl('tree1');
var _d = t.data;
_d.push({ html: 'new mode'});
t.populate(_d)
This code gets a pointer to the tree control, gathers existing nodes on the tree control, pushes a new node onto the tree control, and then repopulates the tree.
Go to Live Preview. Every time you click the "Repopulate entire tree" button a new node should appear.