Dynamic Text
Description
You can update the data in a ControlBar dynamically and animated the ControlBar when it is refreshed.
To see an example on how to add dynamic text to a ControlBar watch this video.
Create a Button that Updates ControlBar Text Using an Action
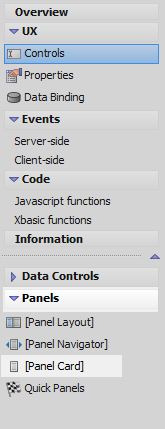
In the UX Builder open the Controls page check the Mobile checkbox.

Open the Panel menu on the left and select the [Panel Card] option to add a Panel Card to the component.
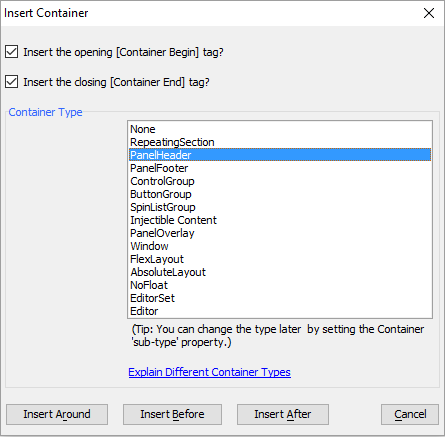
Highlight the Panel Card. Open the Containers menu and select the [Container] option.

Select 'PanelHeader' from the Container Type list and click 'Insert After'.
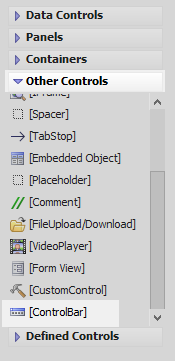
Highlight the Panel Header. Open the Other Controls menu and click [ControlBar] to add a ControlBar inside the Panel Header.
Highlight the ControlBar. In the properties list on the right click on the 'ControlBar properties' property to open the ControlBar Builder.

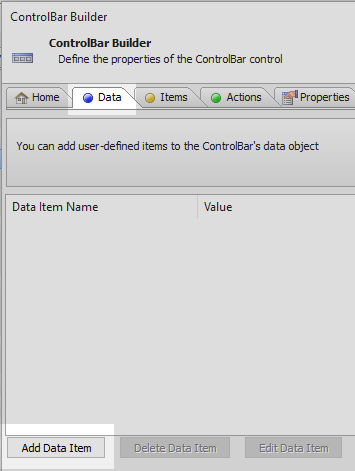
On the ControlBar Builder's 'Data' pane click the Add Data Item button.
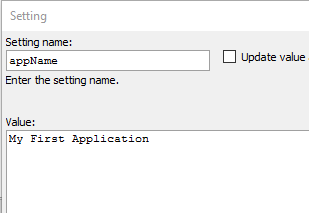
Give the data item a Setting name of 'appName' and a value of 'My First Application'. Click OK
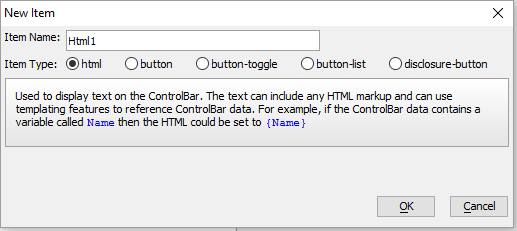
Open the 'Items' pane and click the Add ControlBar Item button.
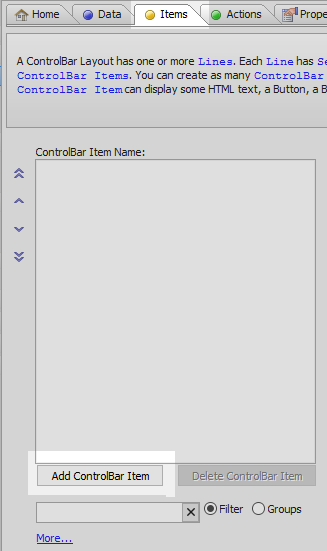
Select 'html' from the Item Type radio buttons and click OK.
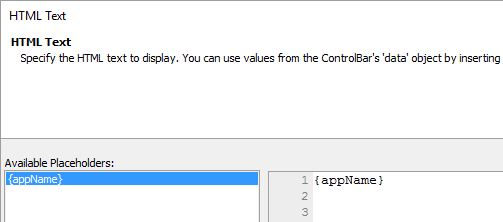
Click the
 button next to the HTML text item property. This is in the ControlBar Item Properties list under HTML Settings.
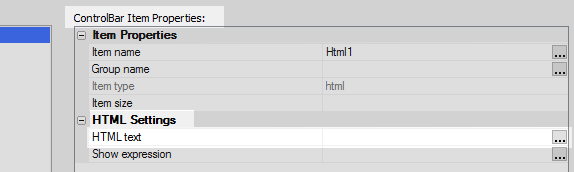
Double click on {appName} to add it to the editor and click OK. The HTML text property should now read {appName}.
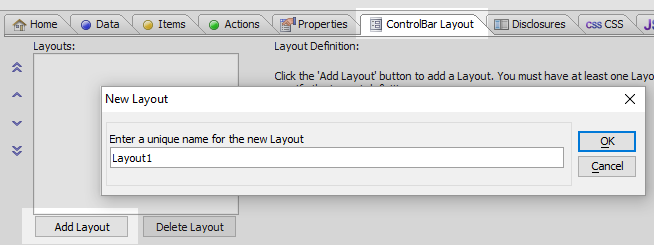
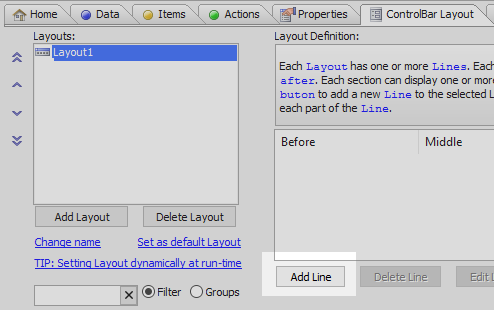
Open the ControlBar Layout pane. Click the Add Layout button. Give the layout the name 'Layout1' and click OK.
Click the 'Add Line' button
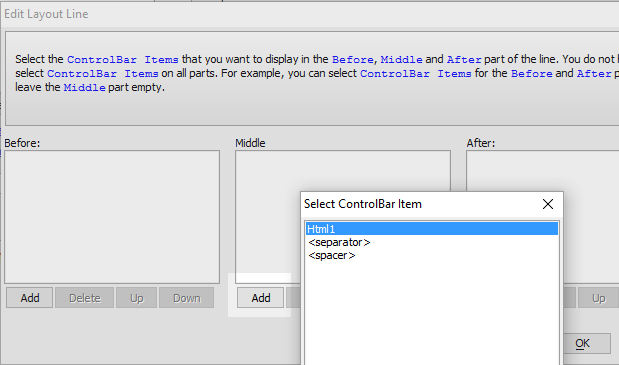
Hit the 'Add' button under the 'Middle' section in the Edit Layout Line dialog. Select the HTml1 item that you defined on the Items pane. Click OK and OK again to close the ControlBar Builder.
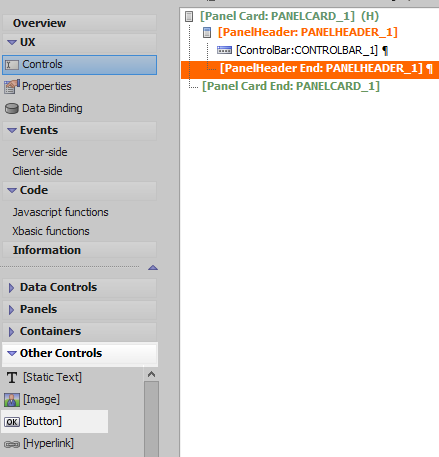
On the Controls page highlight the [PanelHeader End:PANELHEADER_1] tag. Open the 'Other Controls' menu and select [Button] to add a button underneath the Panel Header.
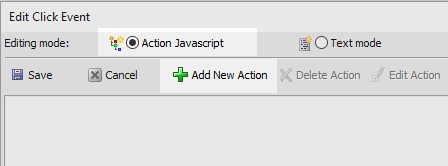
Double click on the button control to open the Edit Click Event dialog.
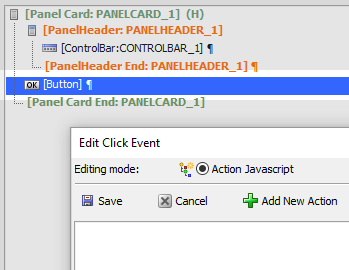
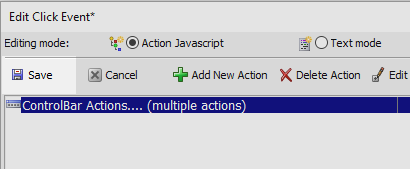
Choose the 'Action Javascript' setting and click the 'Add New Action' button.
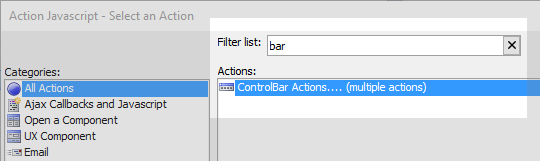
Type 'bar' into the Filter list and then in the 'Actions' list select the 'ControlBar Actions' option and click OK.
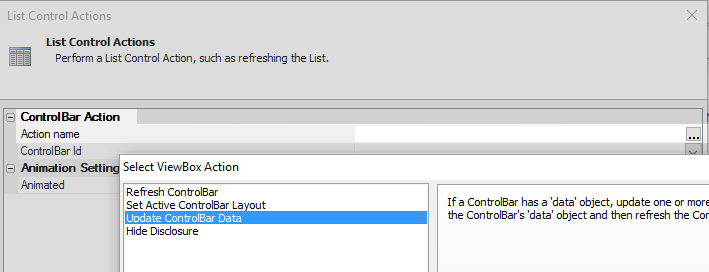
In the List Control Actions dialog click the
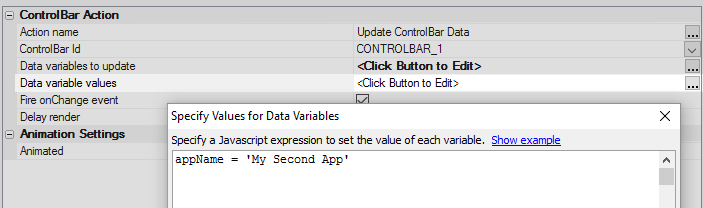
button next to the 'Action name' property and select
Update ControlBar Data from the list.
Set the 'ControlBar Id' property to be 'CONTROLBAR_1'.
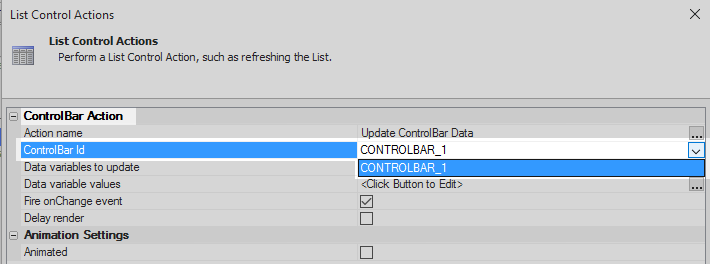
Click the
button next to the Data variables to update property. Select 'appName' from the list and
click OK.

Click the
button next to the 'Data variable values' property. Assign appName a new value and click OK.
The value should look something like this:
appName = 'My Second App'
Save the new action.
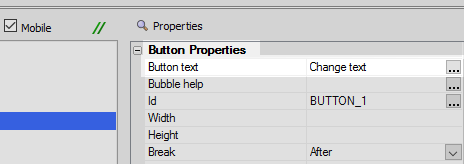
Highlight the button control. In the Button Properties section of the properties list change the 'Button text' property to read 'Change text'
Run the Component in Live Preview.
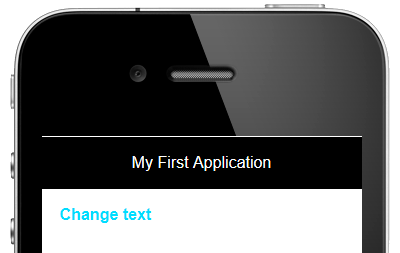
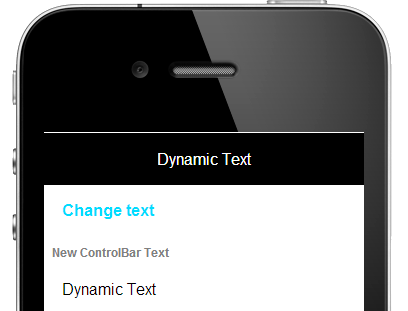
When you click the Change Text button you should see the ControlBar change as well.

Add Dynamic Text to the ControlBar
This guide continues to modify the component built in the section above.
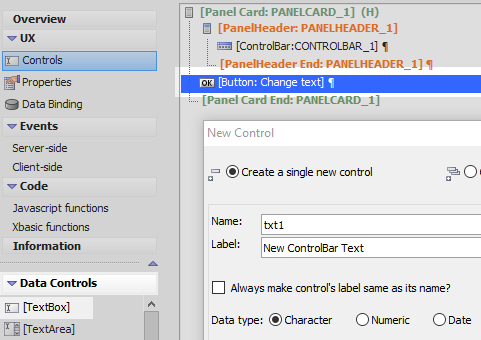
Highlight the button control. Open the 'Data Controls' menu and click on [TextBox] option to add a textbox control to the component. Give the textbox control the name 'txt1'.
Double click on the button control to open the 'Edit Click Event' dialog.
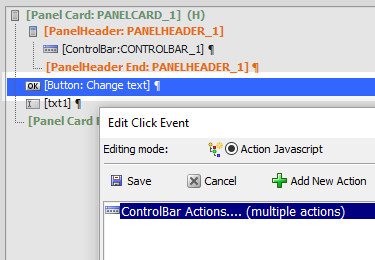
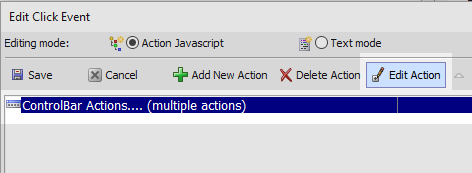
Highlight the ControlBar Actions action that you defined in section 1 and click the 'Edit Action' button.
Click the
button next to the Data variable values property. Change the value of the appName variable to be
the following and click OK, OK, and Save:
appName = {dialog.object}.getValue('txt1')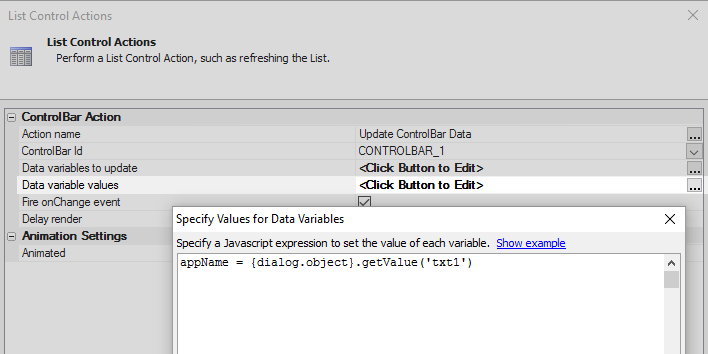 DON'T add a ';' at the end of this statement.
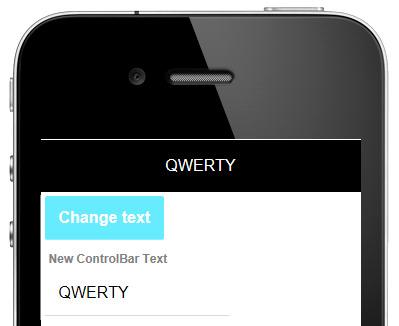
Run the component in Live Preview. Type something into the textbox control.
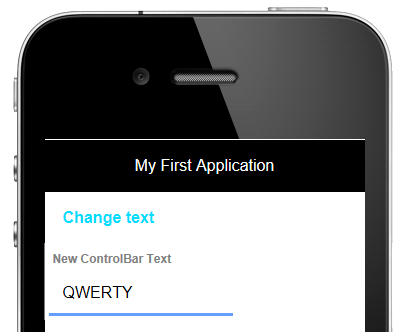
Hit the 'Change text' button. The ControlBar should update to reflect the textbox control's text.