Dynamically Set and Change Buttons in a ControlBar Button-list
Description
You can dynamically set and alter the buttons that appear in a button-list control in a toolbar.
For an explanation on how to dynamically set and change buttons in a control bar follow the guide below, or watch this video.
Create a Button to Dynamically Set Buttons in a ControlBar Button-List
In the UX Builder open the UX Controls page. In the toolbar check the 'Mobile' checkbox.

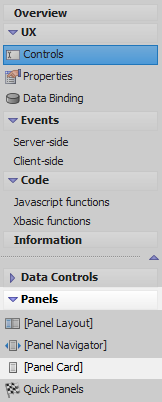
Open the Panels menu and select the [Panel Card] option to add a Panel Card to the component.
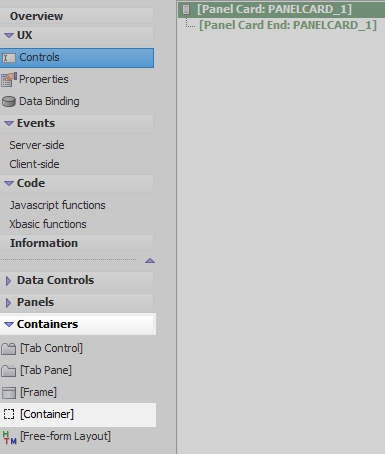
Highlight the Panel Card and open the 'Containers' menu. Click on the [Container] option.
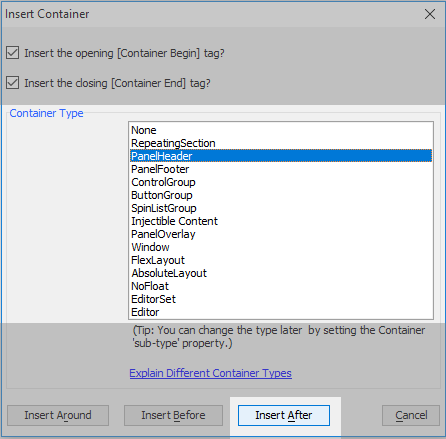
From the 'Container Type' list select the 'PanelHeader' option and click 'Insert After'.
Highlight the PanelHeader. Open the 'Other Controls' property and click on the [ControlBar] option to add a control-bar to the PanelHeader.

Highlight the ControlBar. In the properties list on the right click the
 button next to the 'ControlBar properties' property to open the ControlBar Builder.
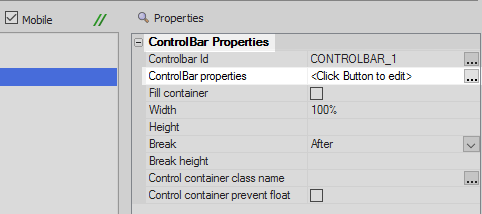
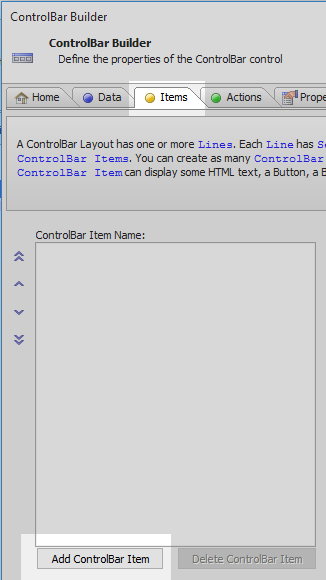
On the ControlBar Builder's 'Items' pane click the 'Add ControlBar Item' button.
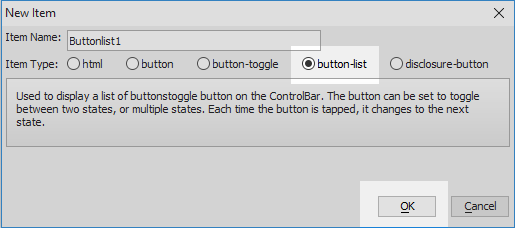
From the 'Item Type' choices select 'button-list' and click OK.
In the ControlBar Item Properties click the
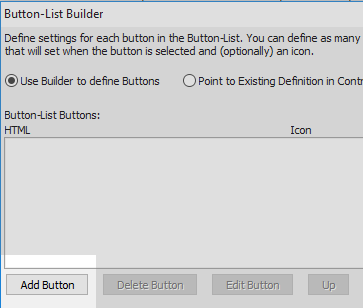
button next to the 'Button-list Settings' property, in the Button-List Settings section.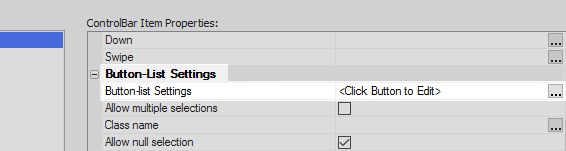
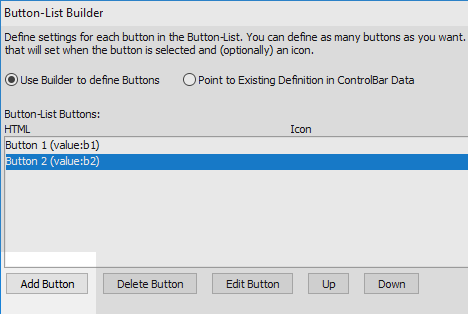
Click the 'Add Button' button.
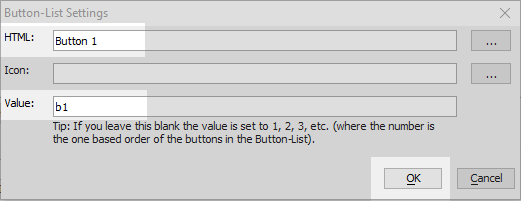
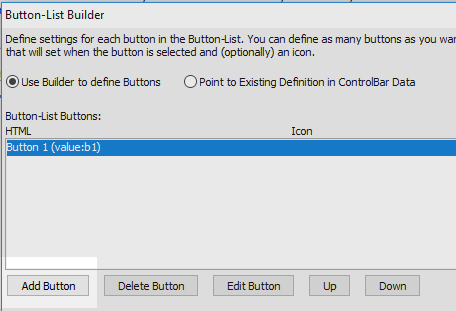
In the 'HTML' textbox type 'Button 1'. Set the 'Value' to be 'b1' and click OK.
Click the 'Add Button' button.
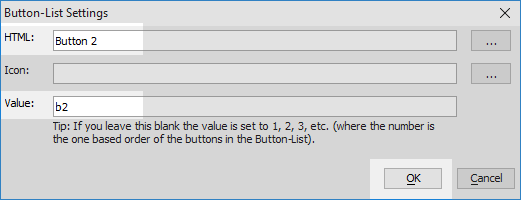
In the 'HTML' textbox type 'Button 2'. Set the 'Value' to be 'b2' and click OK.
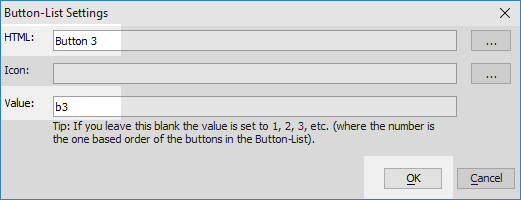
Click the 'Add Button' button.
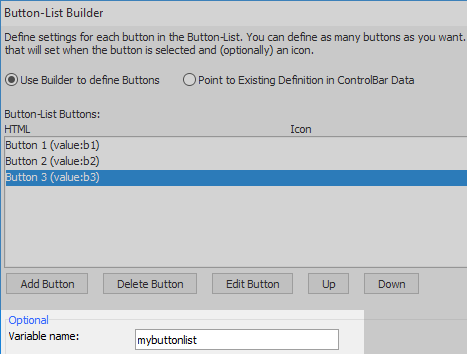
In the 'HTML' textbox type 'Button 3'. Set the 'Value' to be 'b3' and click OK.
In the Button-List Builder's 'Optional' menu set the Variable name to be 'mybuttonlist'. Click OK to close the Button-List Builder.
In the ControlBar Item Properties list's Button-List Settings section check the 'Fill width' checkbox.
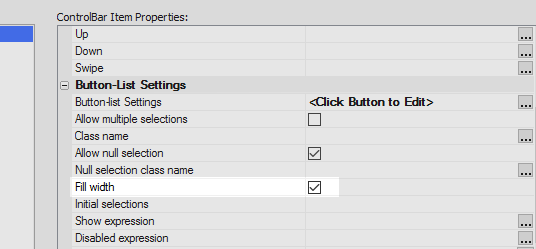 This will cause the buttons that were just added to fill the width of the entire panel header once the ControlBar Layout is defined.
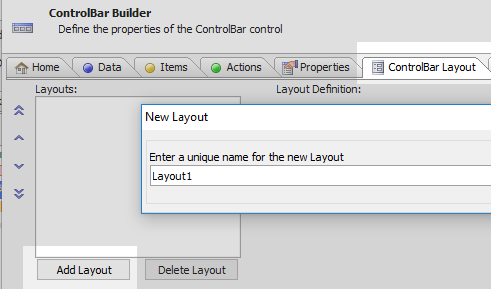
Open the 'ControlBar Layout' pane and click the 'Add Layout' button. Use the default name, 'Layout1'.
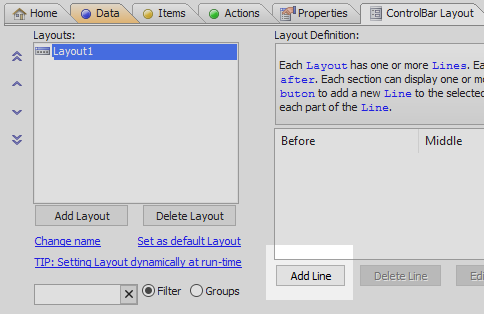
Click the Add Line button.
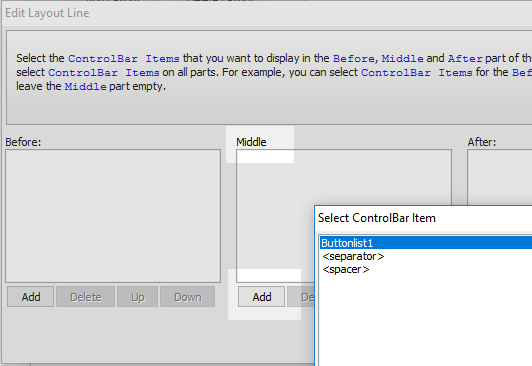
In the 'Edit Layout Line' dialog click the 'Add' button under the 'Middle' section, select 'Buttonlist1', and click OK.
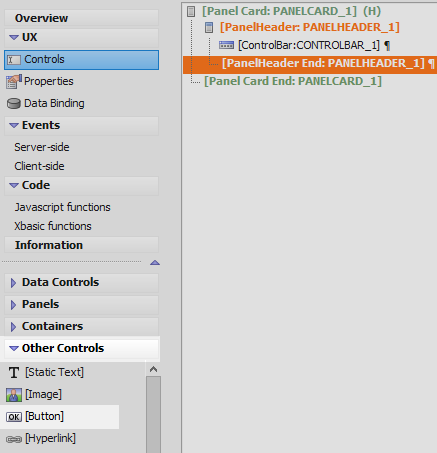
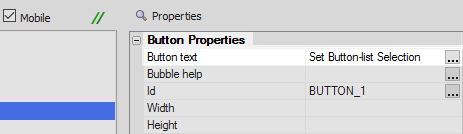
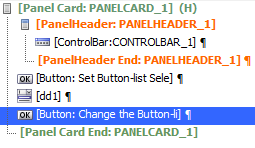
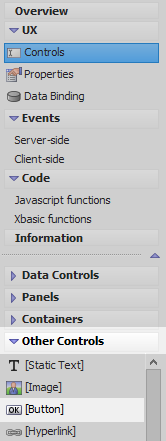
Click OK to Close the ControlBar Builder and highlight [PanelHeader End: PANELHEADER_1]. Open the 'Other Controls' menu and click on [Button] to add a button control underneath the Panel Header.
In the properties list's Button Properties' section set the 'Button text' property to read 'Set Button-list Selection'.
Scroll down to the 'Javascript - (Touch, Mouse, Pointer Events) section. Click the
button next to the 'click' property.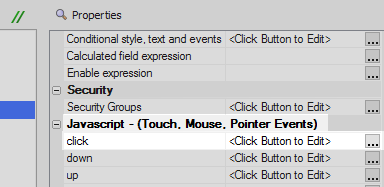
From the Editing mode options check the 'Text mode' radio button. Add the following javascript and click Save:
var cb = {dialog.object}.getControl('CONTROLBAR_1')

var path = 'mybuttonlist.value'
var val = [{dialog.object}.getValue('dd1')];

cb.update(path,val);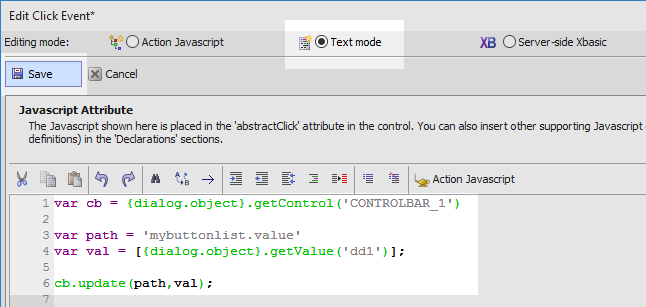
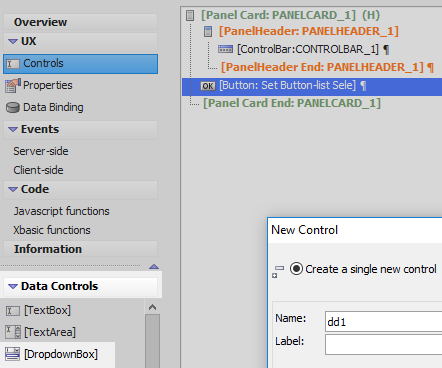
Open the Data Controls menu and select the [DropdownBox] option to add a dropdown box control to the component. Name the dropdown box 'dd1'.
Highlight the dropdown box. In the properties list click the
button next to the 'Choices' property in the DropDownBox Properties section.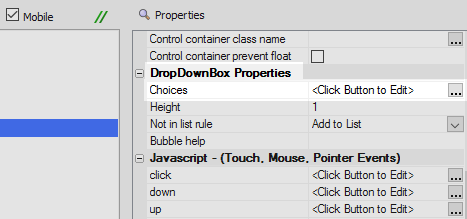
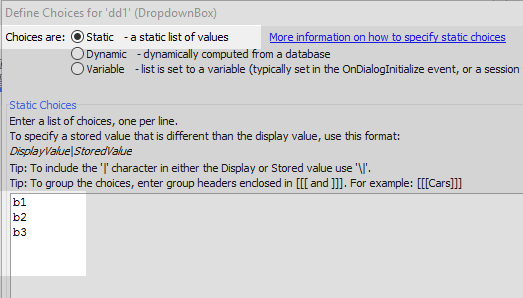
In the 'Choices are:' menu check the 'Static' option. Add the following choices, each separated by a line.
b1
b2
b3
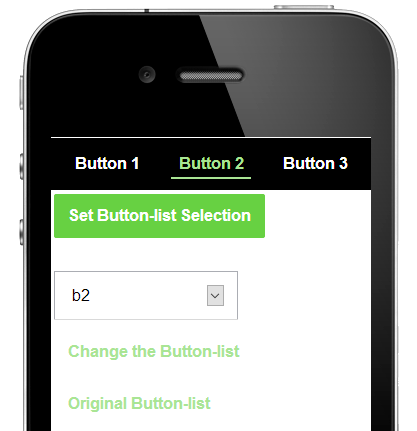
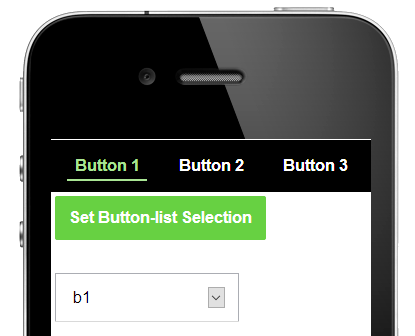
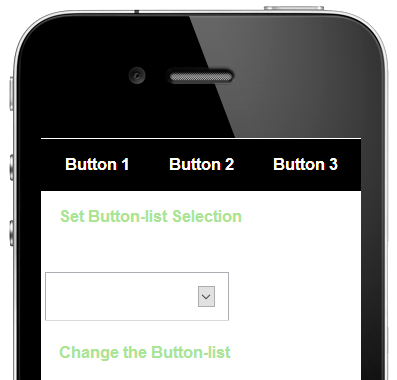
Run the component in Live Preview. Click the dropdown box and select one of the values.
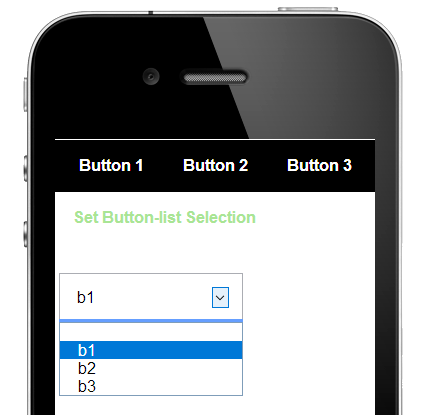
Now click the 'Set Button-list Selection' button. The value in the dropdown should determine which button is active.
Add a Button to Change the Buttons in the ControlBar Button List.
Highlight the dropdown control. Open the Other Controls menu and click on [Button] to add a button to the component.

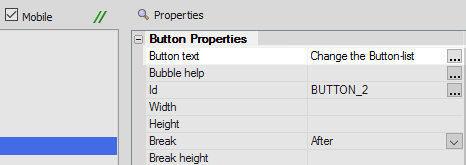
In the properties list under 'Button Properties', change the 'Button text' to read "Change the Button-list".
Scroll down to the Javascript - (Touch, Mouse, Pointer Events) section. Click the
button next to the 'click' event.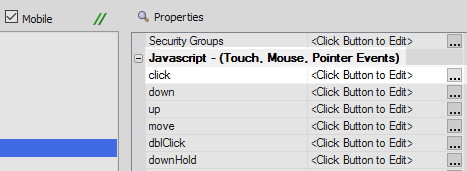
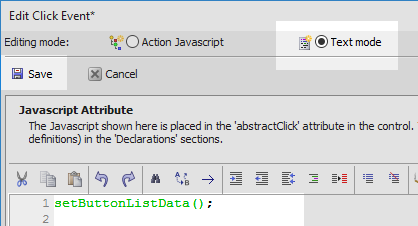
Select the 'Text mode' option and add the following javascript function call to the click event and hit 'Save'.
setButtonListData();
In the Main menu open the Code Javascript Page.

Define the setButtonListData() function by adding the following code to the Javascript Functions page:
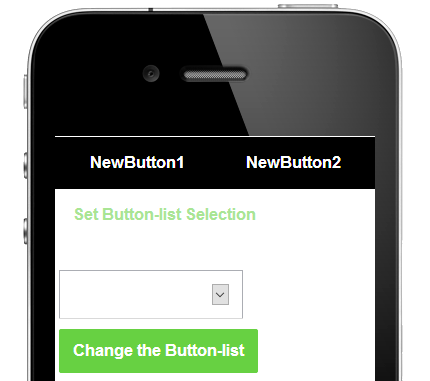
function setButtonListData() {

    var newData = [
        {
            "html": "NewButton1",
            "icon": "",
            "value": "nbl"
        },
        {
            "html": "NewButton2",
            "icon": "",
            "value": "nb2"

        }
    ];

    var cb = {dialog.object}.getControl('CONTROLBAR_1');
    cb.update('mybuttonlist.data',newData);

}
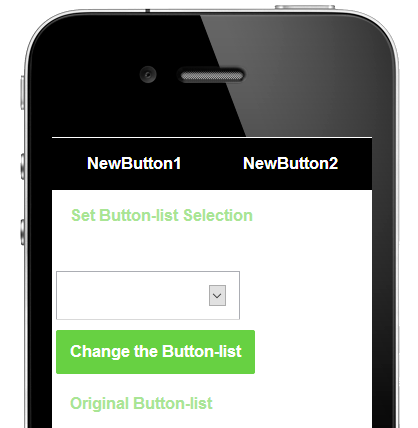
Run the component in Live Preview.
Click the "Change the Button-list" button. The buttons in the control bar's button list should change.
Add a Button to return to the Original Button values.
On the UX Controls page and highlight the 'Change the Button-list' button.
Open the 'Other Controls' menu and click the [Button] option to add another button to the component.
In the properties list set the button's 'Button text' property to read 'Original Button-list'.

Scroll down the properties list to the 'Javascript - (Touch, Mouse, Pointer Events) section. Click the
button next to the 'click' property.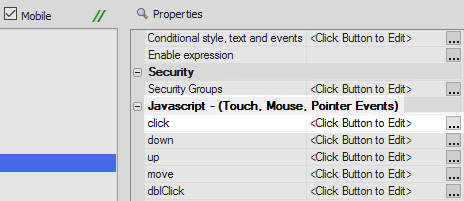
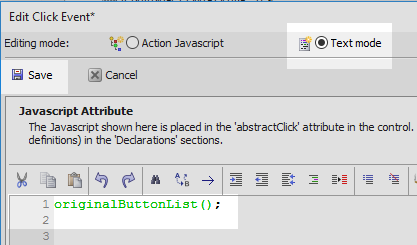
Select the 'Text mode' option, add the following javascript function call, and click Save.
originalButtonList();
In the Main menu open the Code Javascript functions page. Under the existing setButtonListData() function that you defined add the following code to define originalButtonList():
function originalButtonList() {

    var newData = [
        {
            "html": "Button 1",
            "icon": "",
            "value": "b1"
        },
        {
            "html": "Button 2",
            "icon": "",
            "value": "b2"
        },
        {
            "html": "Button 3",
            "icon": "",
            "value": "b3"
        }
    ];

    var cb = {dialog.object}.getControl('CONTROLBAR_1');
    cb.update('mybuttonlist.data',newData);

}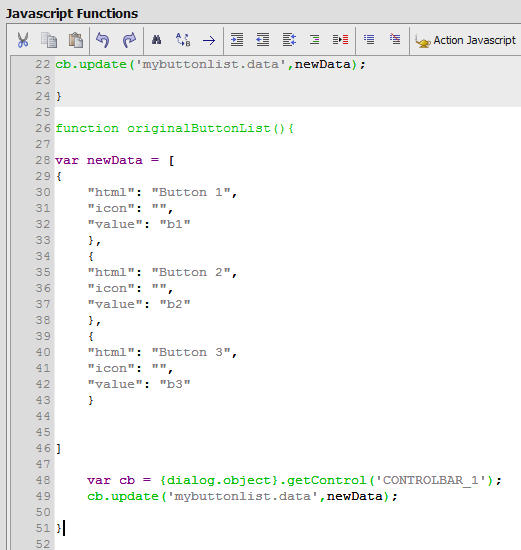
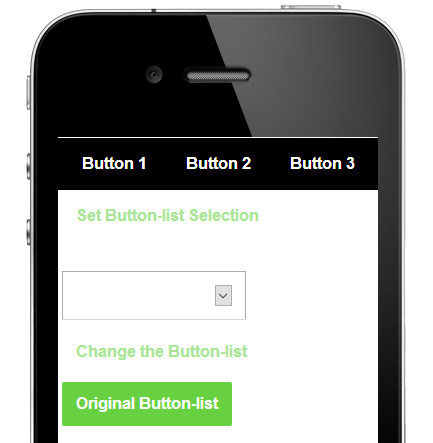
Run the component in Live Preview. Click the "Change the Button-list" button to alter the button-list.
Now click the "Original Button-list" button to show the original state of the button-list.
Videos
Setting the Selected Button in a Button List using Javascript
The selected button(s) in a ControlBar Button List can be set programmatically using Javascript. It is also possible to completely change the buttons shown in a Button List programmatically.
In this video we show how this is done.