Synchronize a UX Component with an Embedded UX Component
Description
For a video explanation of this subject watch this video.
Creating a Child UX With Arguments
This section will focus on creating the Component to be embedded in a parent UX Component. A defined 'Argument' in the embedded component will be used to synchronize it with the parent.
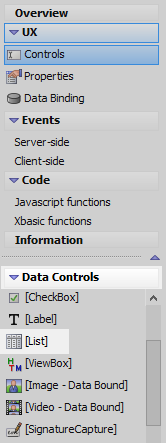
In the UX Builder on the UX Controls page. Open the 'Data Controls' menu and click on [List] to add a list control to the component.
In the properties list click on the
 button next to the 'List properties' property in the List Properties section.
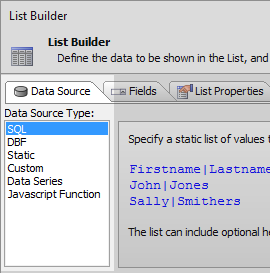
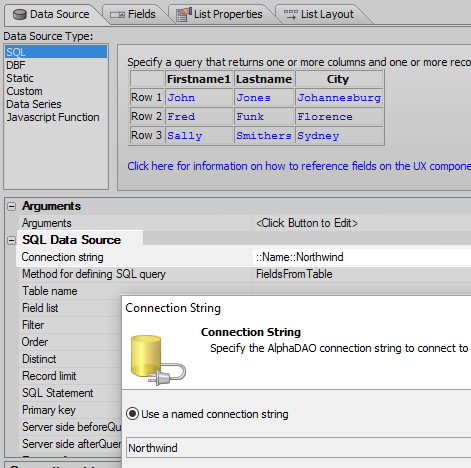
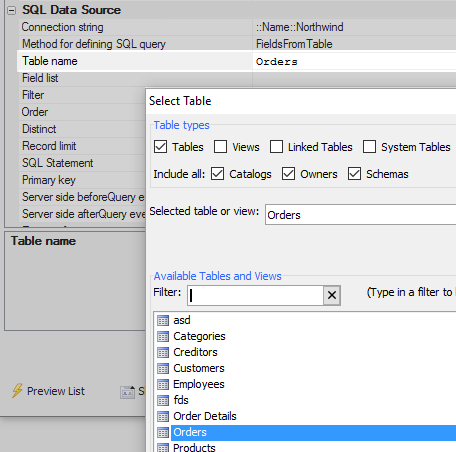
In the List Builder's Data Source pane set the 'Data Source Type' to be SQL.
Set the 'Connection string' property in the SQL Data Source section to be the 'Northwind' database.
Set the 'Table name' property to the 'Orders' table.
Click the
button next to 'Field list' property. Select the OrderID, CustomerID, EmployeeID, and OrderDate fields.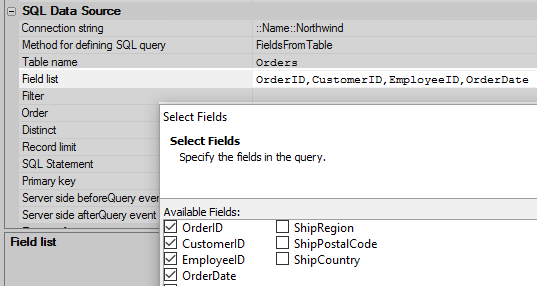
Click on the
button next to the 'Arguments' property in the Arguments section. 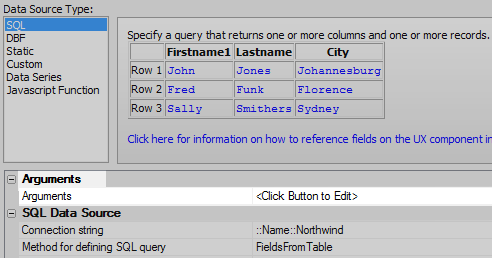
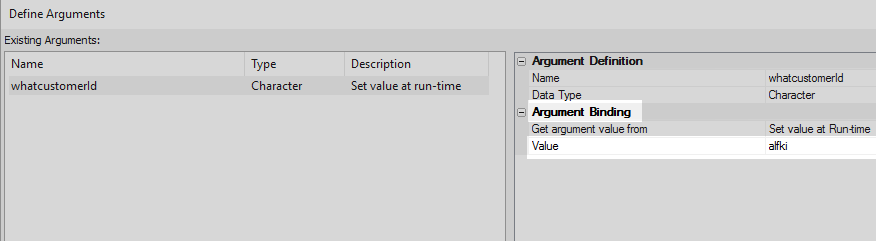
Click the 'Insert New Argument' button. Create a new argument named 'whatcustomerId'.
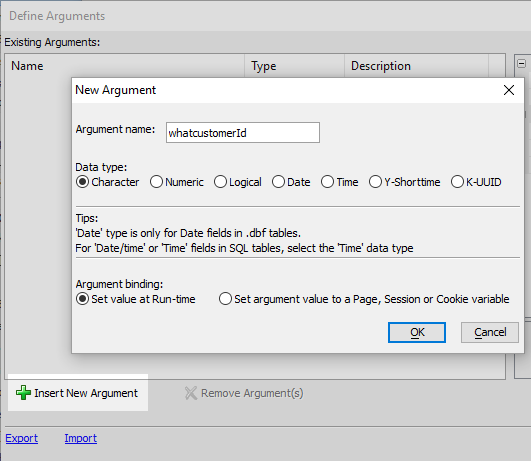
Set the 'Value' property to be alfki. This references the CustomerId field. You will need to type this is to the property textbox. Click OK.
Click the
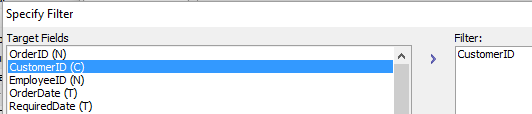
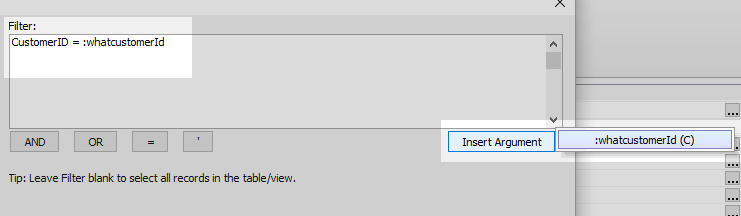
button next to the 'Filter' property in the SQL Data Source section..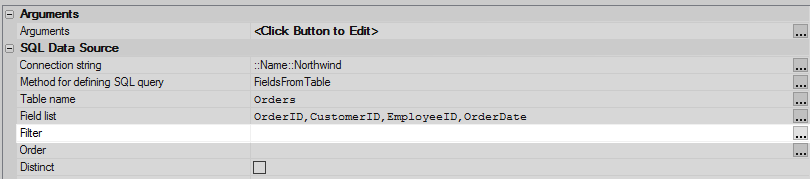
In the 'Target Fields' list double click on the 'CustomerID' field to add it to the filter.
Click the '=' button.
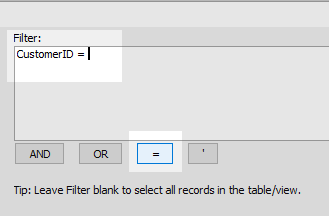
Click on the 'Insert Argument' button. Select the 'whatcustomerId' argument. Click OK
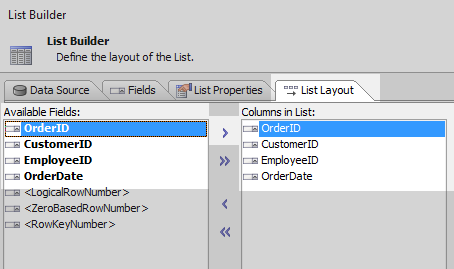
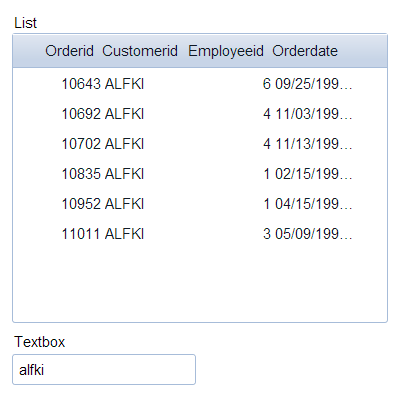
Open the 'List Layout' pane. Use the blue > arrow to move the OrderID, CustomerID, EmployeeID, and OrderDate fields from the Available Fields list to the Columns in List. Click OK to close the List Builder.
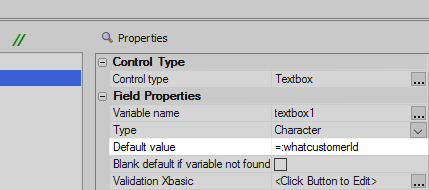
Open the 'Data Controls' menu. Click the [TextBox] option to add a text box control underneath the list control.

Highlight the textbox control. In the properties list on the right find the 'Default value' property under the Field Properties section. Set this to the following:
=:whatcustomerId
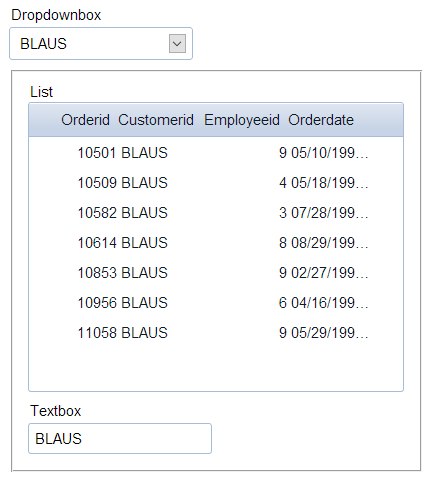
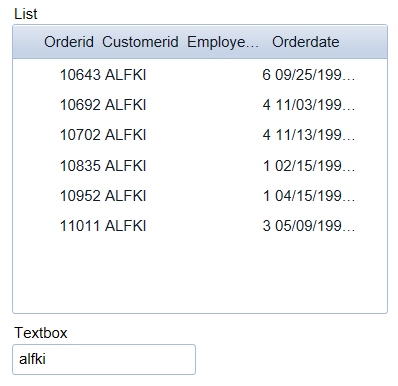
Save the component as 'child_ux' and run it in Live Preview. You should only see 'ALFKI' displayed in the CustomerId field. Close the component.
Embed the Child UX Component in a Parent Component
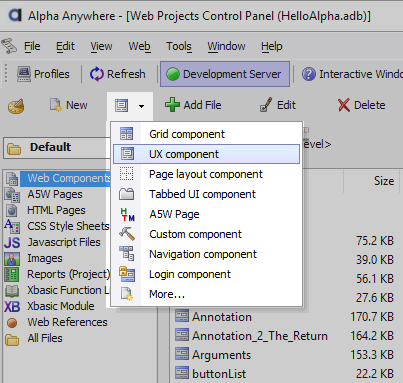
From the Web Projects Control Panel create a new blank UX component.
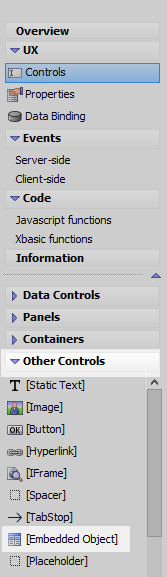
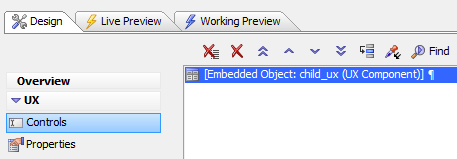
Open the 'Other Control' menu and click on the [Embedded Object] control.
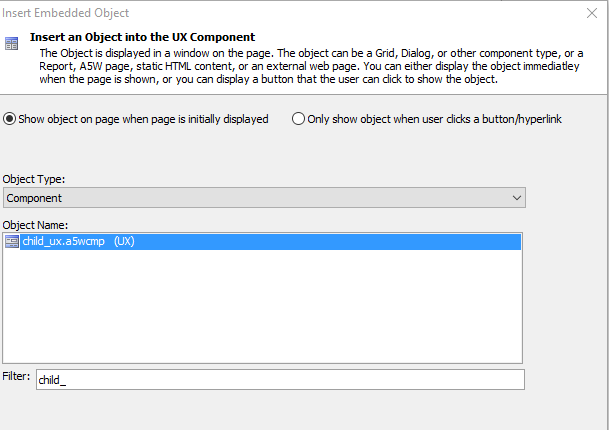
From the Object Name list select 'child_ux' and click OK
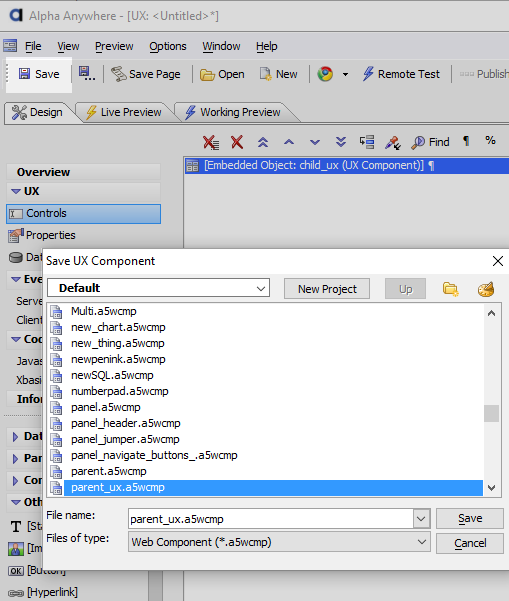
Save the component as 'parent_ux'
Run the component in Live Preview, you should see the child ux displayed.
Return to the Design tab.
Synchronize the Child List Control with the Parent.
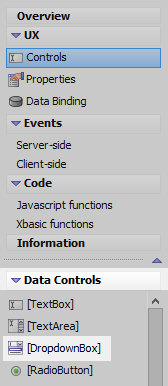
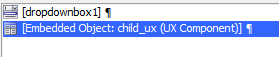
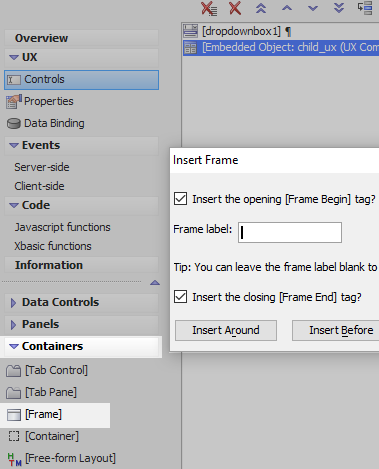
In the 'parent_ux' component's UX Controls page open the 'Data Controls' menu. Click on the [DropdownBox] option to add a dropdown box to the component. Use the blue up arrow in the toolbar to position the dropbox above the embedded object.
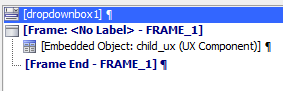
Highlight the Embedded Object.
Open the Containers menu and click on [Frame]. Select 'Insert Around' to place the Frame around the Embedded Object control.
Highlight the Embedded Object. In the properties list's Component Definition section set the 'Component alias' property to be 'UXCHILD'.
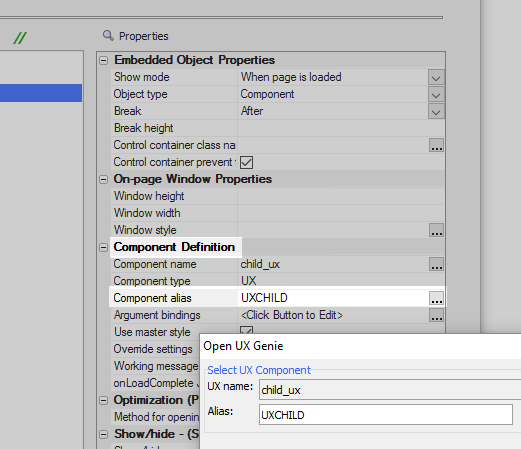
Click on the
button next to the 'Argument bindings' property, also in the Component Definitions section.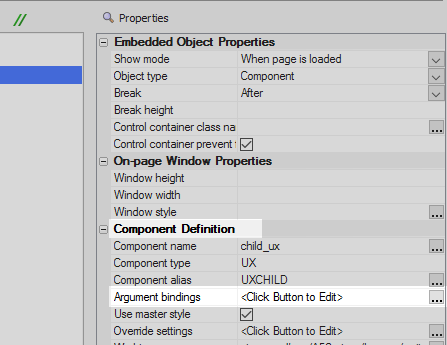
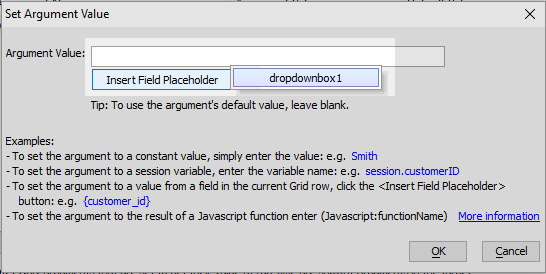
Highlight 'whatcustomerId' and click the 'Set Argument Value' button.
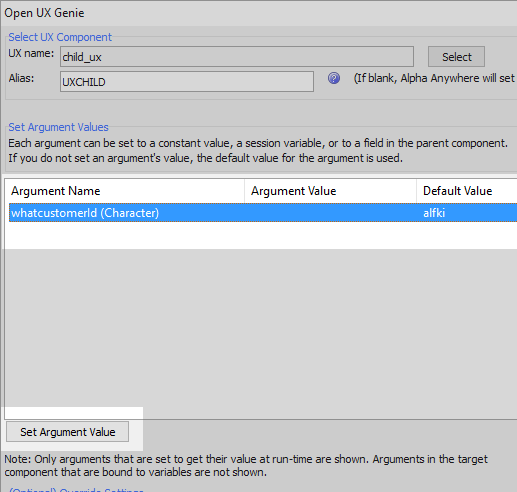
Click 'Insert Fields Placeholder'. Set the argument value to be the drop-down box you defined, dropdownbox1. Click OK and OK again.
Highlight the dropdown box control.
In the properties list under 'DropDownBox' Properties click the
button next to the 'Choices' property.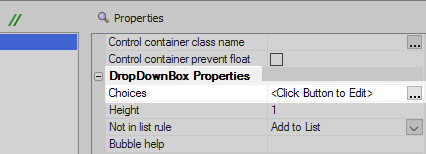
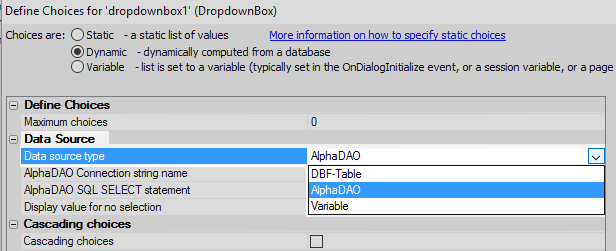
Select 'Dynamic'.

In the Define Choices dialog go to the 'Data Source' section. Set the Data source type to 'AlphaDAO'.
Set the 'AlphaDAO Connection string name' property to be the 'Northwind' database.
Click the
button next to the 'AlphaDAO SQL SELECT statement property.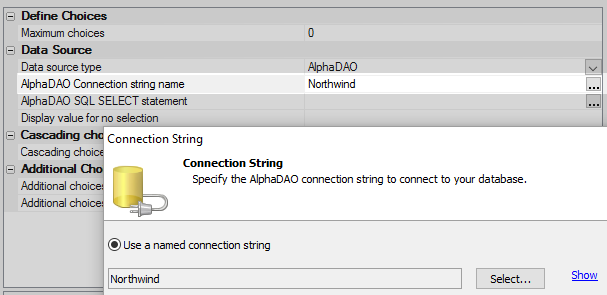
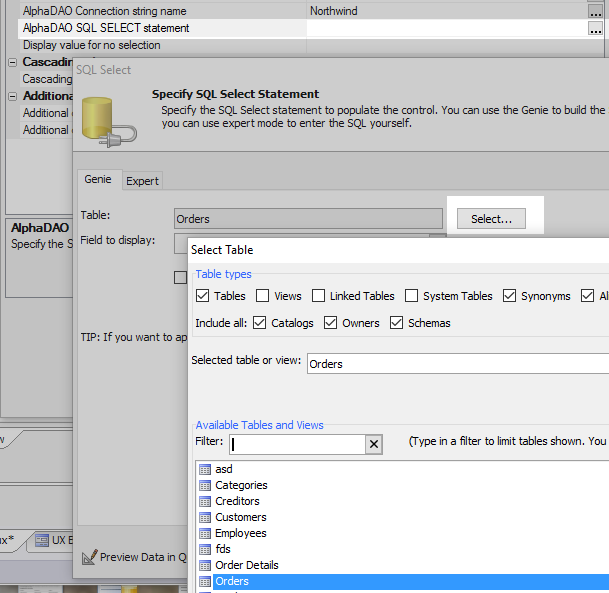
In the SQL Select dialog click the 'Select' button and set the Table to be 'Orders'.
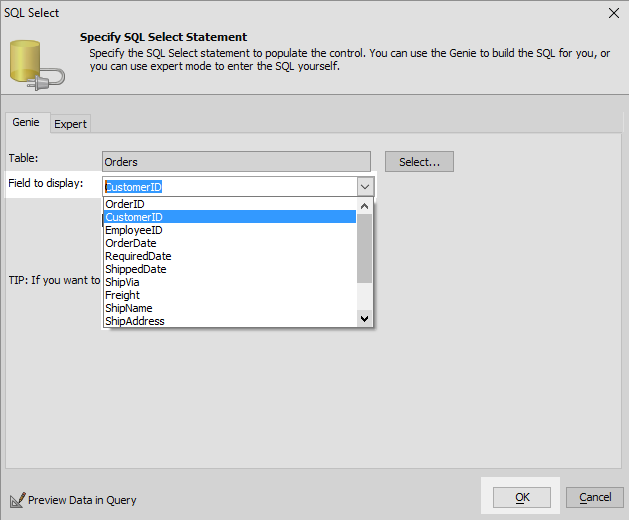
From the 'Field to display' dropdown select 'CustomerID'. Click OK and OK again to close the Choices dialog.
Scroll down the drop-down box's properties list to the 'Javascript' section. Click the
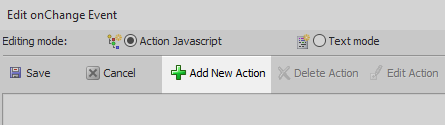
button next to the 'onChange' property.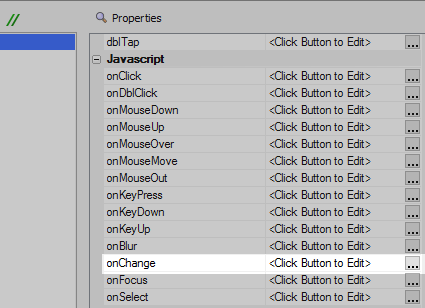
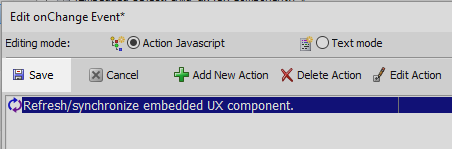
Click the 'Add New Action' button.
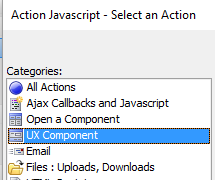
In the Categories list of the 'Select an Action' dialog choose 'UX Component'.
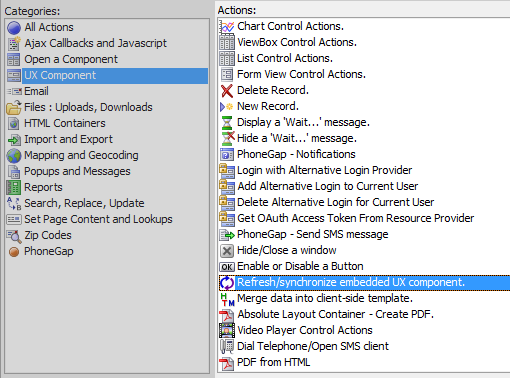
Scroll down to the bottom of the Actions list and click on 'Refresh/synchronize embedded UX component. Click OK
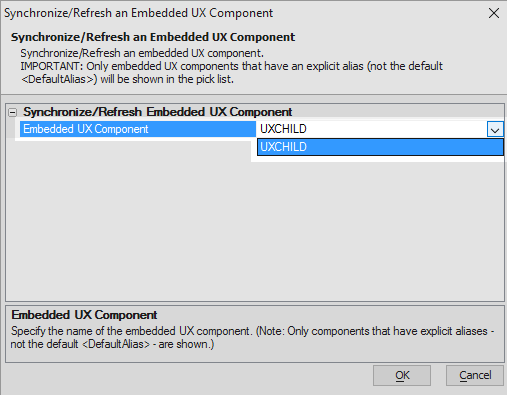
This action should show an 'Embedded UX Component' property. From the dropdown for this property select 'UXCHILD'. Click OK.
Save the new action.
Run the parent_ux component in Live Preview.
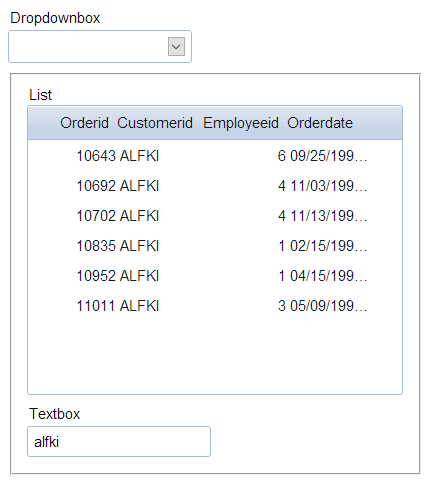
Whenever the Dropdownbox is updated you should see the child_ux respond by updating the list control. The Child textbox control, however, is not yet synchronized.

Synchronizing the Child's Textbox control.
In order to synchronize the textbox control it is necessary to make use of Alpha Anywhere's Client-side and Server-side Events.
Open the child_ux component in the UX Builder.

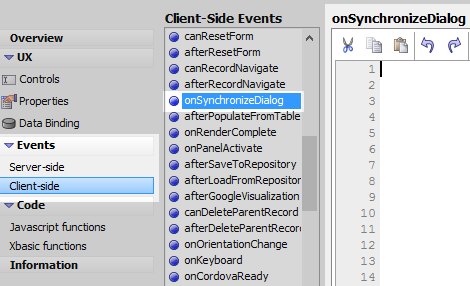
Open the Client-side Events page. In the Client-Side Events list highlight the onSynchronizeDialog event.
Add the following alert to the onSynchronizeDialog event. This will tell you when
alert('client side synchronize');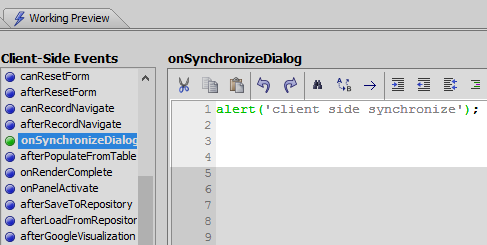
Open the Server-side Events page. Highlight the onSynchronize Event in the Server-Side Events list.
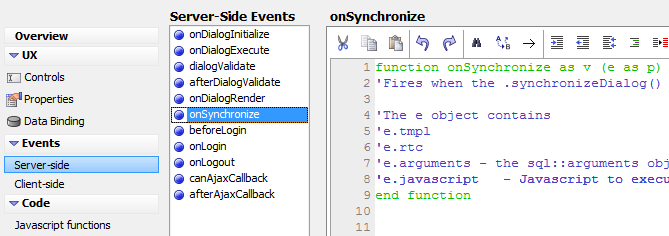
Add the following code inside the onSynchronize function definition
dim newval as c
newval = argval(e.arguments, "whatcustomerid")
e.javascript = "{dialog.object}.setValue('textbox1','"+js_escape(newval)+"');"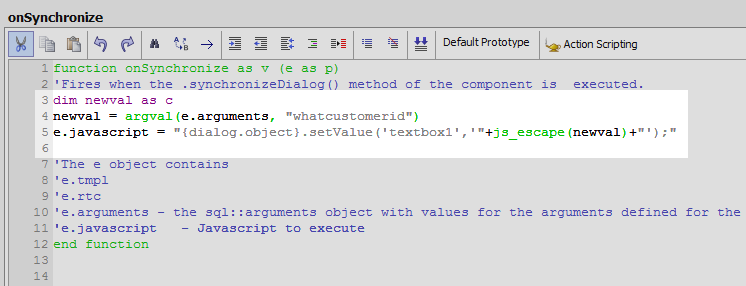
Save the Child component.
Reopen the parent_ux component and run it in Live Preview. When the dropdown box is updated both the list and the textbox should update as well.