Tree data (TreeDataGenie)
Description
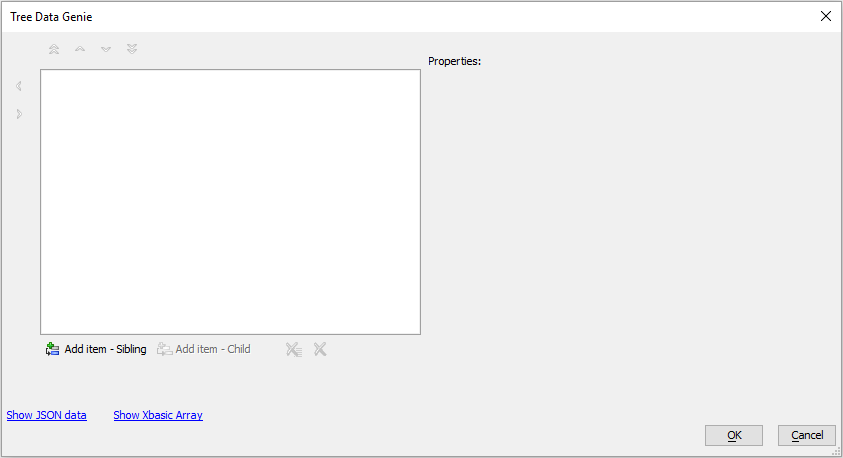
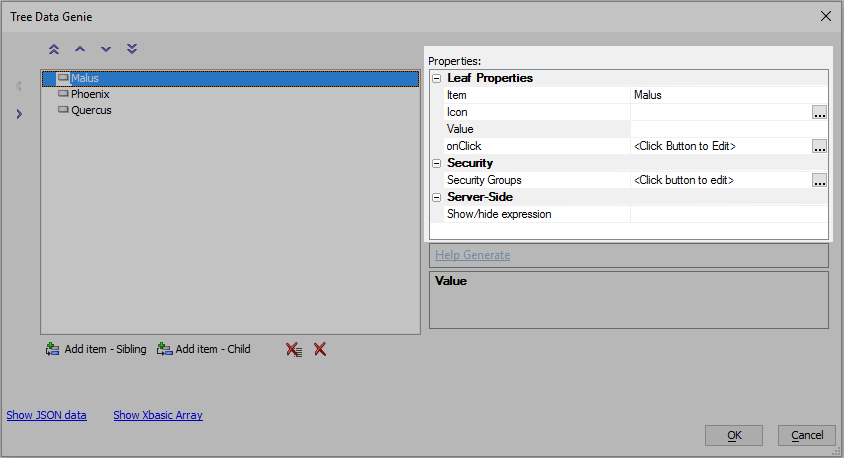
Clicking the ... button next to this property will open the Tree Data Genie.
Siblings
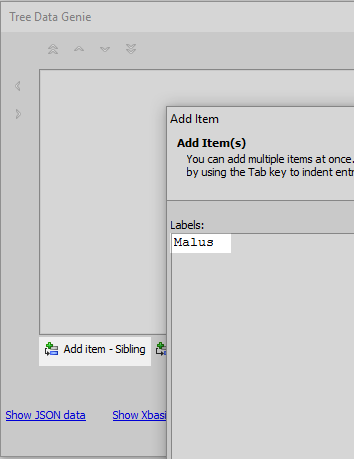
To add top level branches to a tree click the "Add item - Sibling" button and then type the name of the item or items you wish to add in the Add Item dialog.
Children
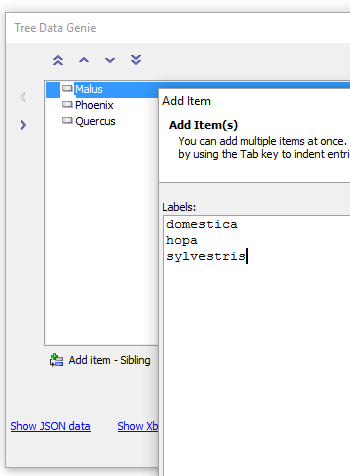
In order to add a child to any branch on the tree first highlight the parent branch and then click the "Add item - Child button".
The Add Item dialog will open. Type the name or names of the child items that you want to assign.
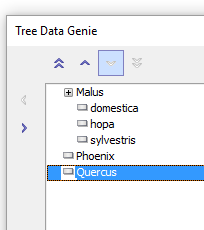
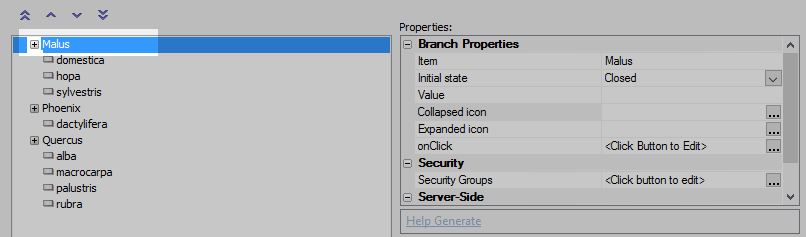
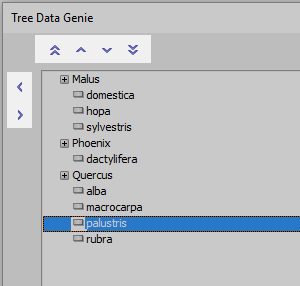
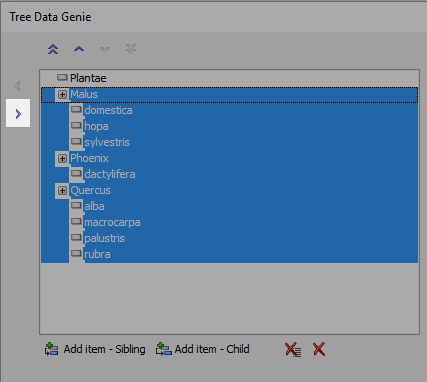
The added siblings look something like this in the genie:
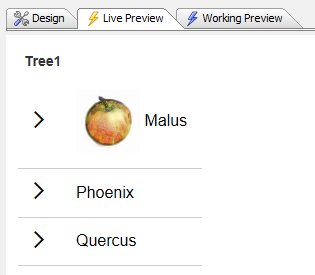
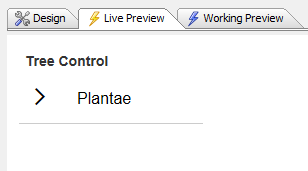
Run the tree control in Live Preview:

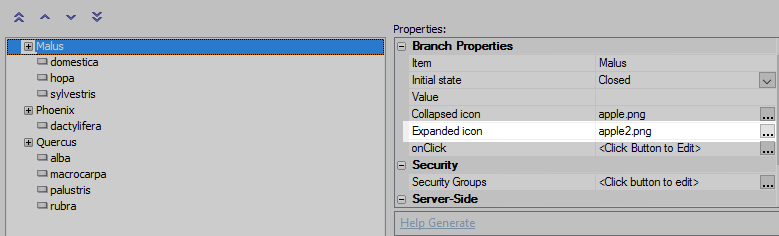
Item Properties
Each item on tree has its own properties list. This makes it easy to assign icons and javascript events to the item.
Adding a Collapsed Icon
To add an icon for when a branch of a tree is collapsed first click on the branch you want to add the icon.
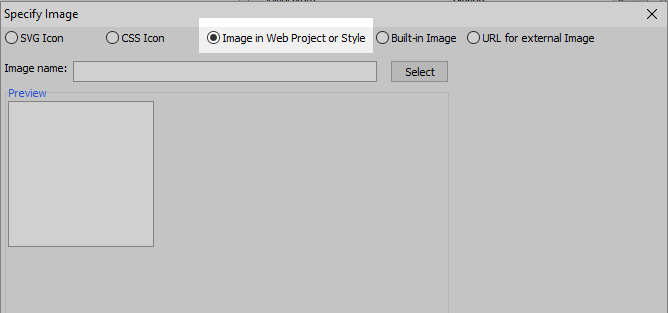
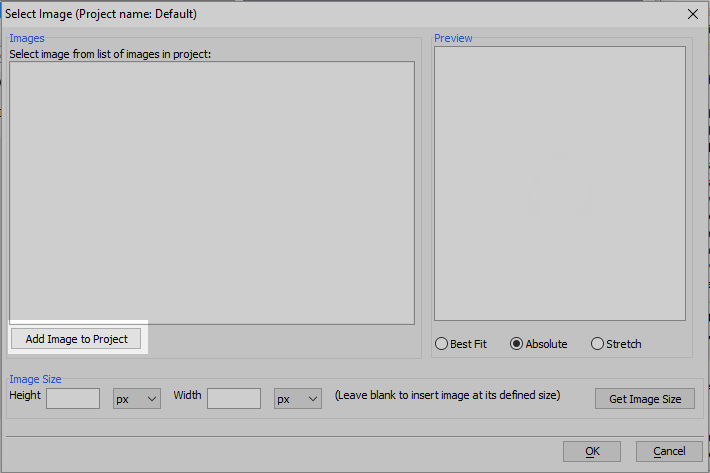
Click the ... button next to the Collapsed icon property. The Specify Image dialog will open.

If you have defined an image file somewhere on your desktop that you want to use as an icon check "Image in Web Project or Style" and hit select.
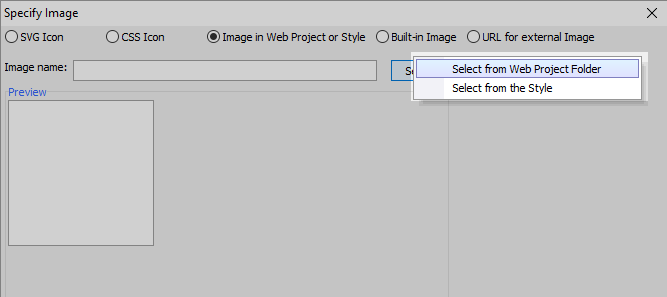
Choose "Select from Web Project Folder"
Click "Add Image to Project".
Click the up button next to file Sourcename and navigate to the icon file you want to use. Then click OK
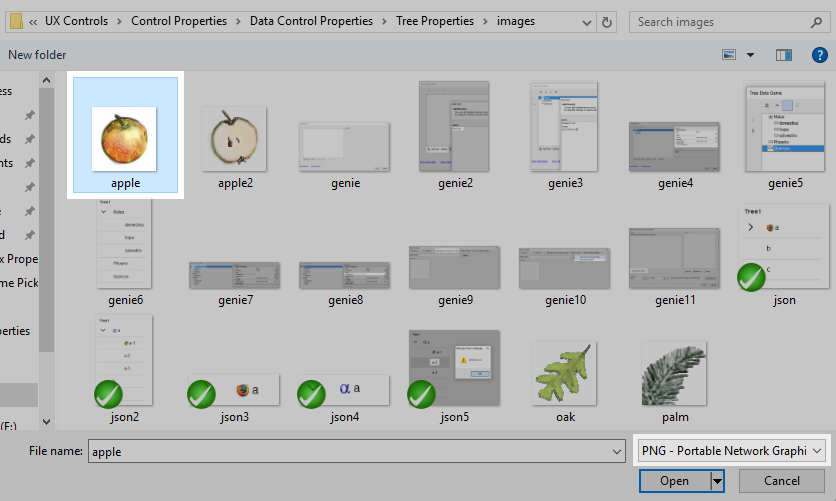 You might need to specify the specific file extension (ex .png) when navigating.
The file should now appear in your project list. Click OK and OK again to close the Specify Image editor. Also click OK to close the tree data genie and run the component in Live Preview - Full Preview.
Expanded Icons
Expanded icons appear when the branch of a tree is opened so that all of the children in that branch are displayed. You can add an icon to an expanded branch in pretty much the exact same way that you do for the collapsed branch. The only difference is that the expanded icon is defined in the Expanded icon property. See the section above this for an example.
 The Expanded Icon Property
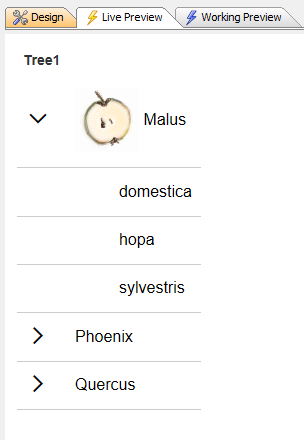 An example of an Expanded icon in Live Preview
Changing the structure of a tree.
When creating a tree it sometimes becomes necessary to promote or demote items. This is easily done using the arrow buttons in the top left corner of the Tree Data Genie.
Promoting and Demoting items
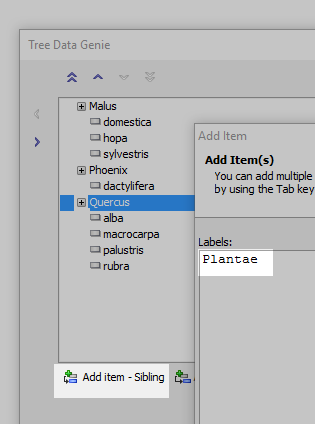
This page has so far used the genus and species names of various oak, apple, and palm trees to create a tree control. Say you wanted to place these under a higher level folder..
Create the folder that you want everything to fit under. Do this by clicking 'Add item - Sibling' or 'Add item - Child' button and then typing then item to add into the Add Item dialog.
Highlight the new item. Move the item to the top of the list by clicking the double up arrow. The single up arrow will also move the item up one row per click.

Now highlight everything you want grouped under the new branch. All of these items should already be underneath the item that they will be grouped under on the list.
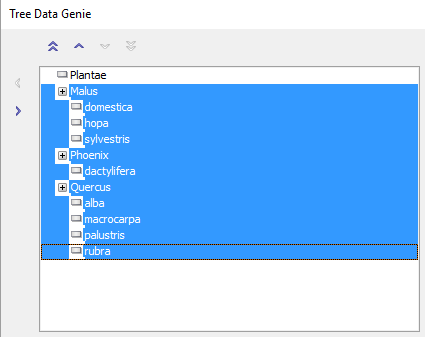
Click the > button on the left side of the Tree Data Genie to demote all of the highlighted items.
Adjust using the arrow buttons as needed
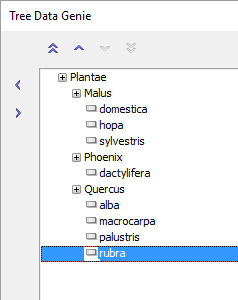 The new tree
Run in Live-Preview
 Collapsed
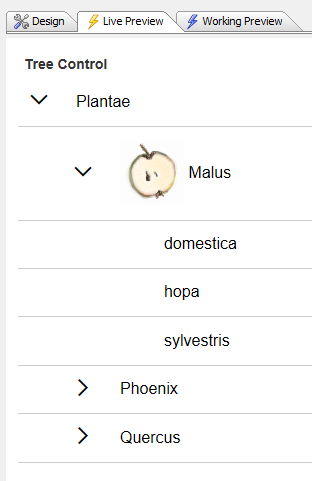 Expanded