Using Radio Buttons to Select a Record
Description
This technique allows you to identify a record selected with a radio button and read the value of a field bound to the radio button. In this example, the field will be the customer_id field, which is the unique key field for the customer table. This demonstration is based on the AlphaSports sample database.
Create a new page and save it as Customer_Grid.a5w.
Place the CustomerGrid1 grid on the page and save it.
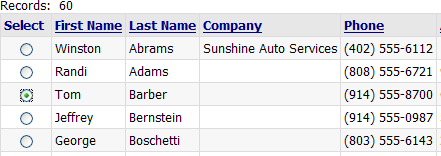
Create a grid based on the customer table. Make sure the customer_id field is placed on the grid in the left-most column.
Display the Grid > Fields page.
Select the Column Properties > Freeform layout check box.
Click '...' in the Column Properties > Freeform template field to display the Freeform Column Layout dialog. Enter the following HTML code.
<div align="center"><input type="radio" name="cust_id" value="{Customer_Id}"></div>Create a new page using the HTML Editor .
Save the page as Radio_Button.a5w.
Place the new grid on the page named.
Switch to the Source tab of the HTML Editor.
Modify the table cell that contains <%A5 ?x_out.Output.Body.Grid_HTML %>.
This is the line that displays the grid. The contents change from:
<td>
     <%A5 ?x_out.Output.Body.Grid_HTML %>
</td>
to:
<td>
    <form name=SelectCustomer method=post action="Customer_Grid.a5w">
        <%A5 ?x_out.Output.Body.Grid_HTML %>
        <input class=" <%a5 ? tmpl.style_name %> Button" type=submit name="label" value="Open Record" >
        <input class=" <%a5 ? tmpl.style_name %> Button" type=reset value="Clear Selection">
    </form>
</td>
This code adds a form and two buttons. Note that the grid component is inside the <form> ... </form> tags.
Save the Radio_Button.a5w page and open the Customer_Grid.a5w page.
Switch to the Source tab and add the following code in the override settings section.
In this case the grid component was named "CG". The contents change from:
with tmpl_CG
    componentName = "CG"
end with
to:
with tmpl_CG
    componentName = "CG"
    if eval_valid("cust_id")
        DBF.filter = "customer_id = '" + cust_id + "'"
    end if
end with
This code first tests (with eval_valid()) to see if it has received the cust_id variable from the calling page. If it has, the code redefines the DBF.filter property with the expression "customer_id = '" + cust_id + "'". The result is that the grid displays only those records where customer_id equals cust_id.
