Storing and Restoring Panels
Description
You can use Javascript to add the ability to save and restore the 'state' of a Panel. This means that when a user moves to a deeply nested panel inside a Panel Layout and/or Panel Navigator, they can save the Panel that they are on, move to a different panel, and then hit a 'Restore' button to take them back to the Panel that they saved.

To see a video on how to save a restore the 'state' of Panels in an application follow the guide below or watch this video.
In the UX Builder on the UX Controls page check the 'Mobile' checkbox.

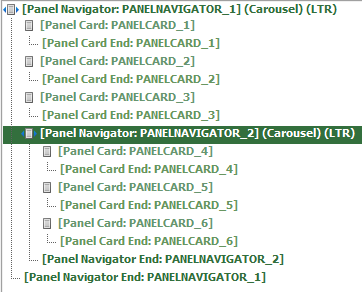
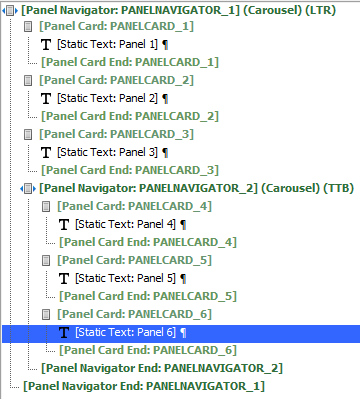
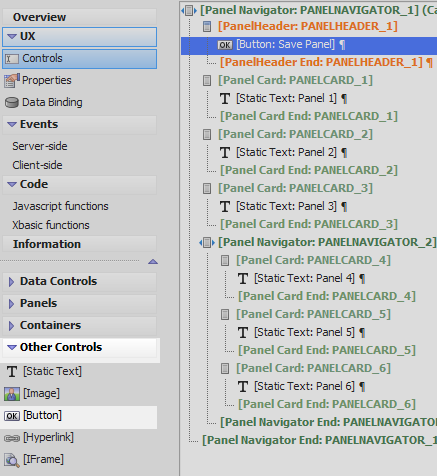
Open the Panels menu. Use the [Panel Navigator], and [Panel Card] options to create the following structure to the UX component.

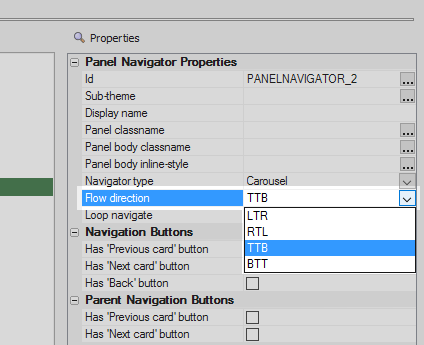
Highlight the nested 'Panel Navigator'
In the Properties list change this Navigator's 'Flow direction' property to be 'TTB', top-to-bottom
Highlight the first Panel Card in the component. Open the 'Other Controls' menu. Click on the [Static Text] option to add a Static Text control to the Panel.
 You can add color to the background of a control card by first highlighting it and then opening its 'Panel body style' property in the Panel Card Properties. This will open the Style Builder which will let you set the 'Background color' for the card.
Highlight the 'Static Text' control. In the properties list in the Static Text Properties section set the 'Static text' property to read 'Panel 1'
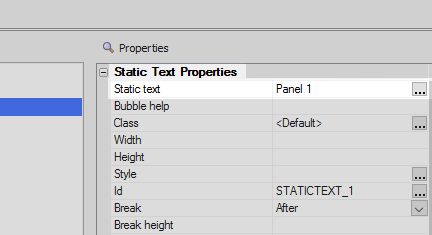
Add [Static Text] controls to the remaining Panels. Set each Static Control's 'Static text' property to a unique name.
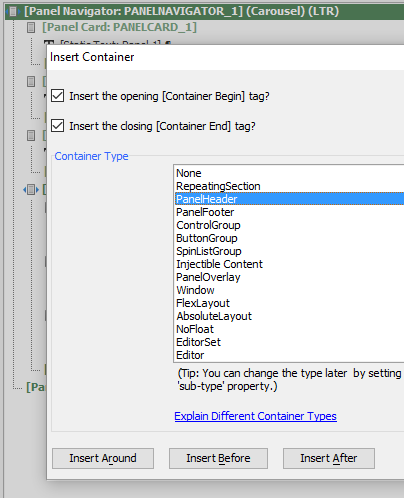
Highlight the main Panel Navigator. Open the 'Containers' menu and click on the [Container] option.

Select the 'PanelHeader' option and click 'Insert After' to add a panel header to the component.
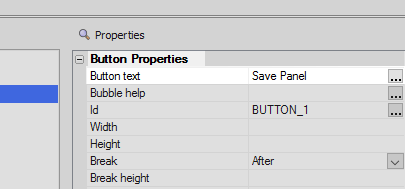
Highlight the Panel Header. Open the 'Other Controls' menu. Click on [Button] to add a button control to the Panel Header.

Highlight the button control. In the properties list under the 'Button Properties' set the 'Button text' property to be 'Save Panel'.
Scroll down the properties list to the Javascript section. Click the
 button next to the onClick property.
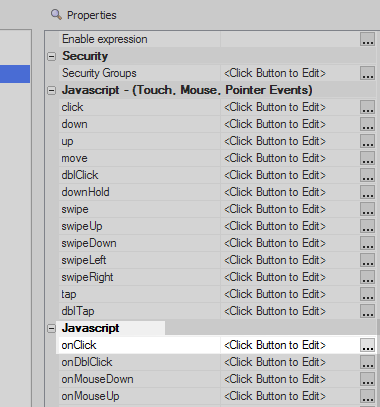
In the 'EditClick Event' dialog. Check the 'Text mode' radio button. Add the following code and click Save:
var panelObj = {dialog.object}.getPanelObject();
if(panelObj) {
window._state = panelObj.getState();
var msg = 'State was saved: \n\n' + $u.o.toJSON(window._state);
alert(msg);
}
Open the 'Other Controls' menu again and click on [Button] to add a second button control to the Panel Header.
Highlight the button control. In the properties list under the 'Button Properties' set the 'Button text' property to be 'Restore Panel'.

In the Javascript section, click on the
button next to the onClick property for the 'Restore Panel'
button. 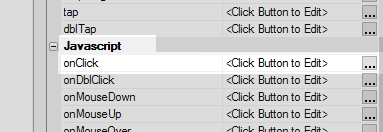
Select 'Text mode' from the radio button options and add the following Javascript. Click 'Save'.
var panelObj = {dialog.object}.getPanelObject();
panelObj.setState(window._state);
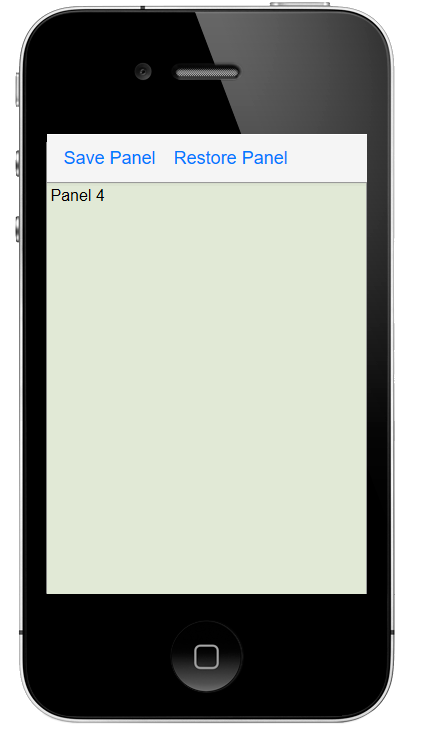
Run the Component in Live Preview. Navigate to one of the Panels in the Panel Navigator and click 'Save Panel'
Move to a different Panel.
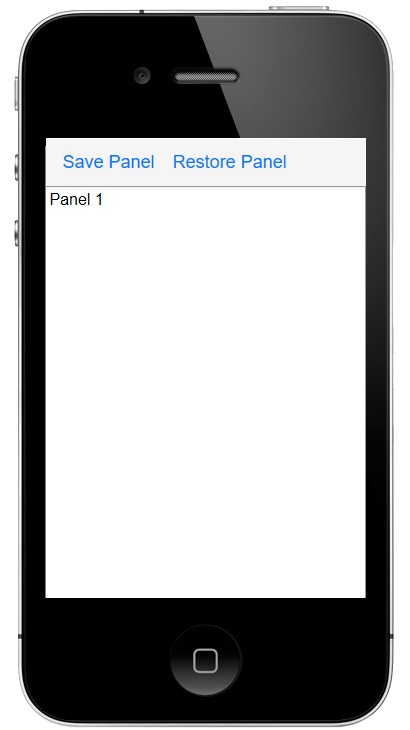
Hit the 'Restore Panel' button. You should return to the saved panel.